Before and after
Before and after

Note slab cast to level floor with form for the mat well still in place
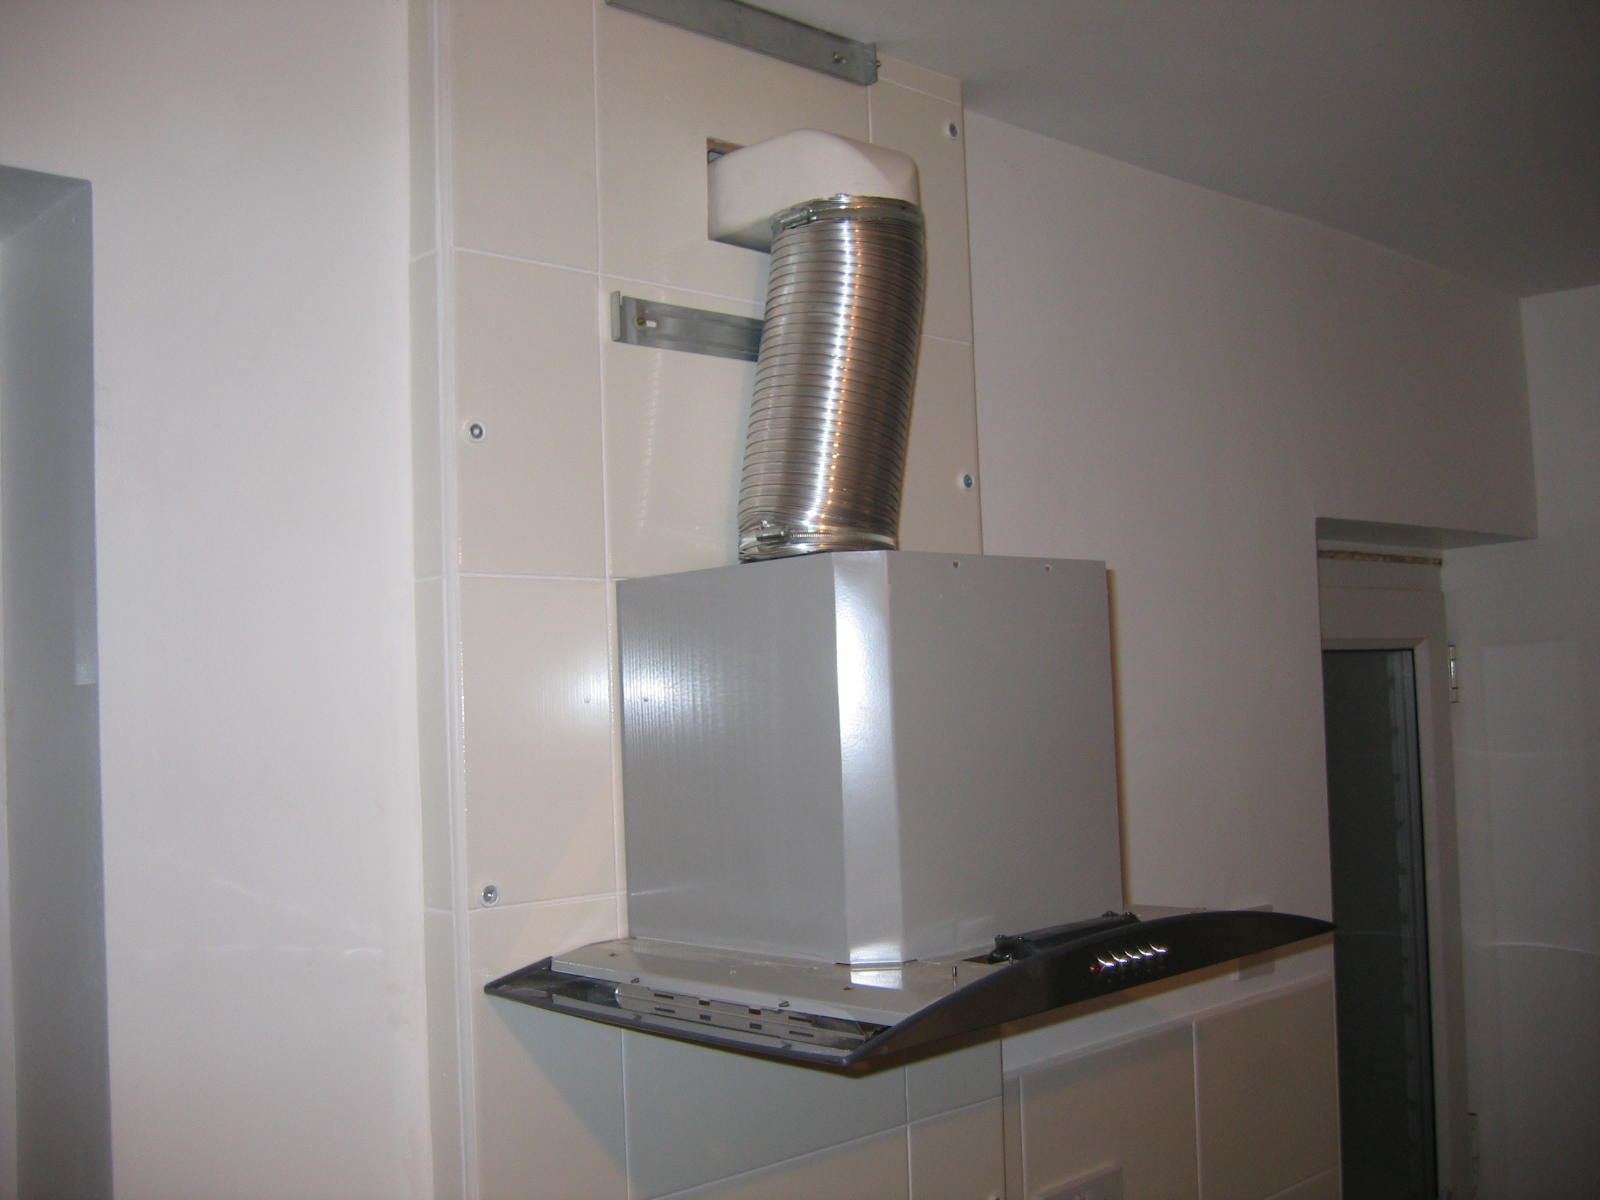
Chopping the vent for the extractor hood

| Stage | Picture 1 | Picture 2 | Picture 3 |
|---|---|---|---|
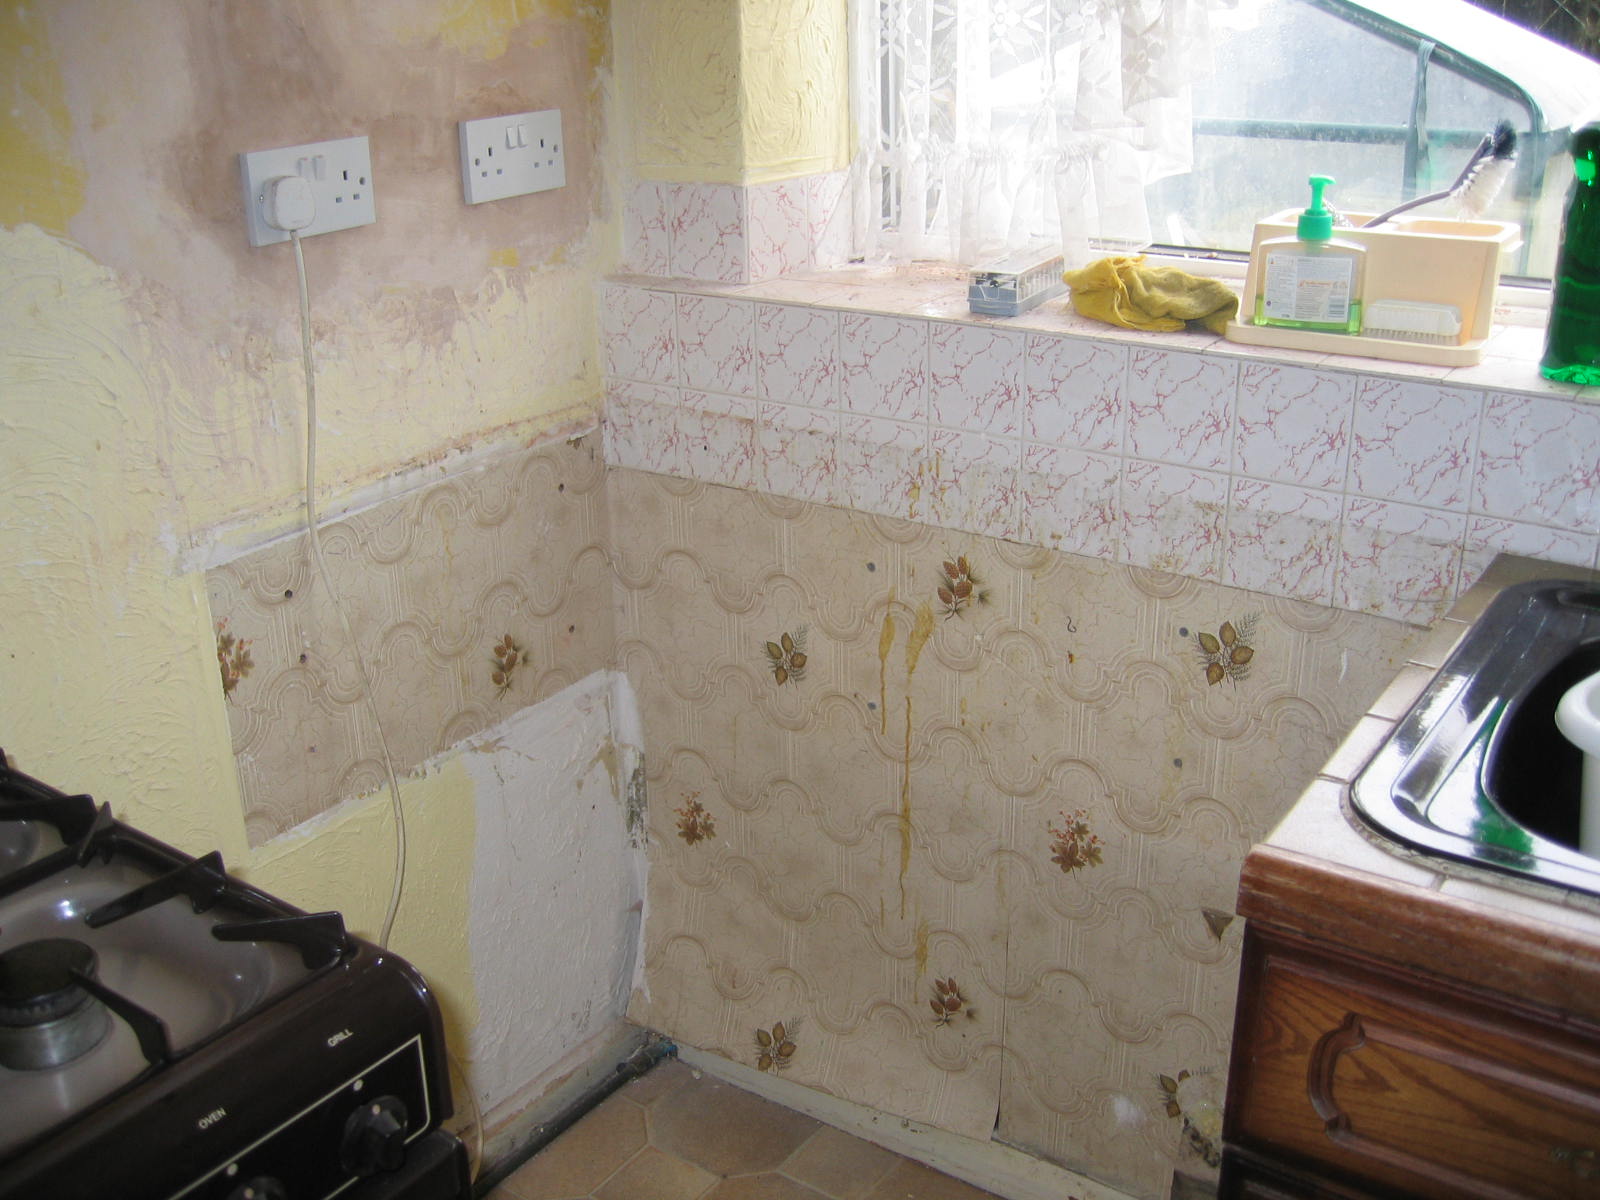
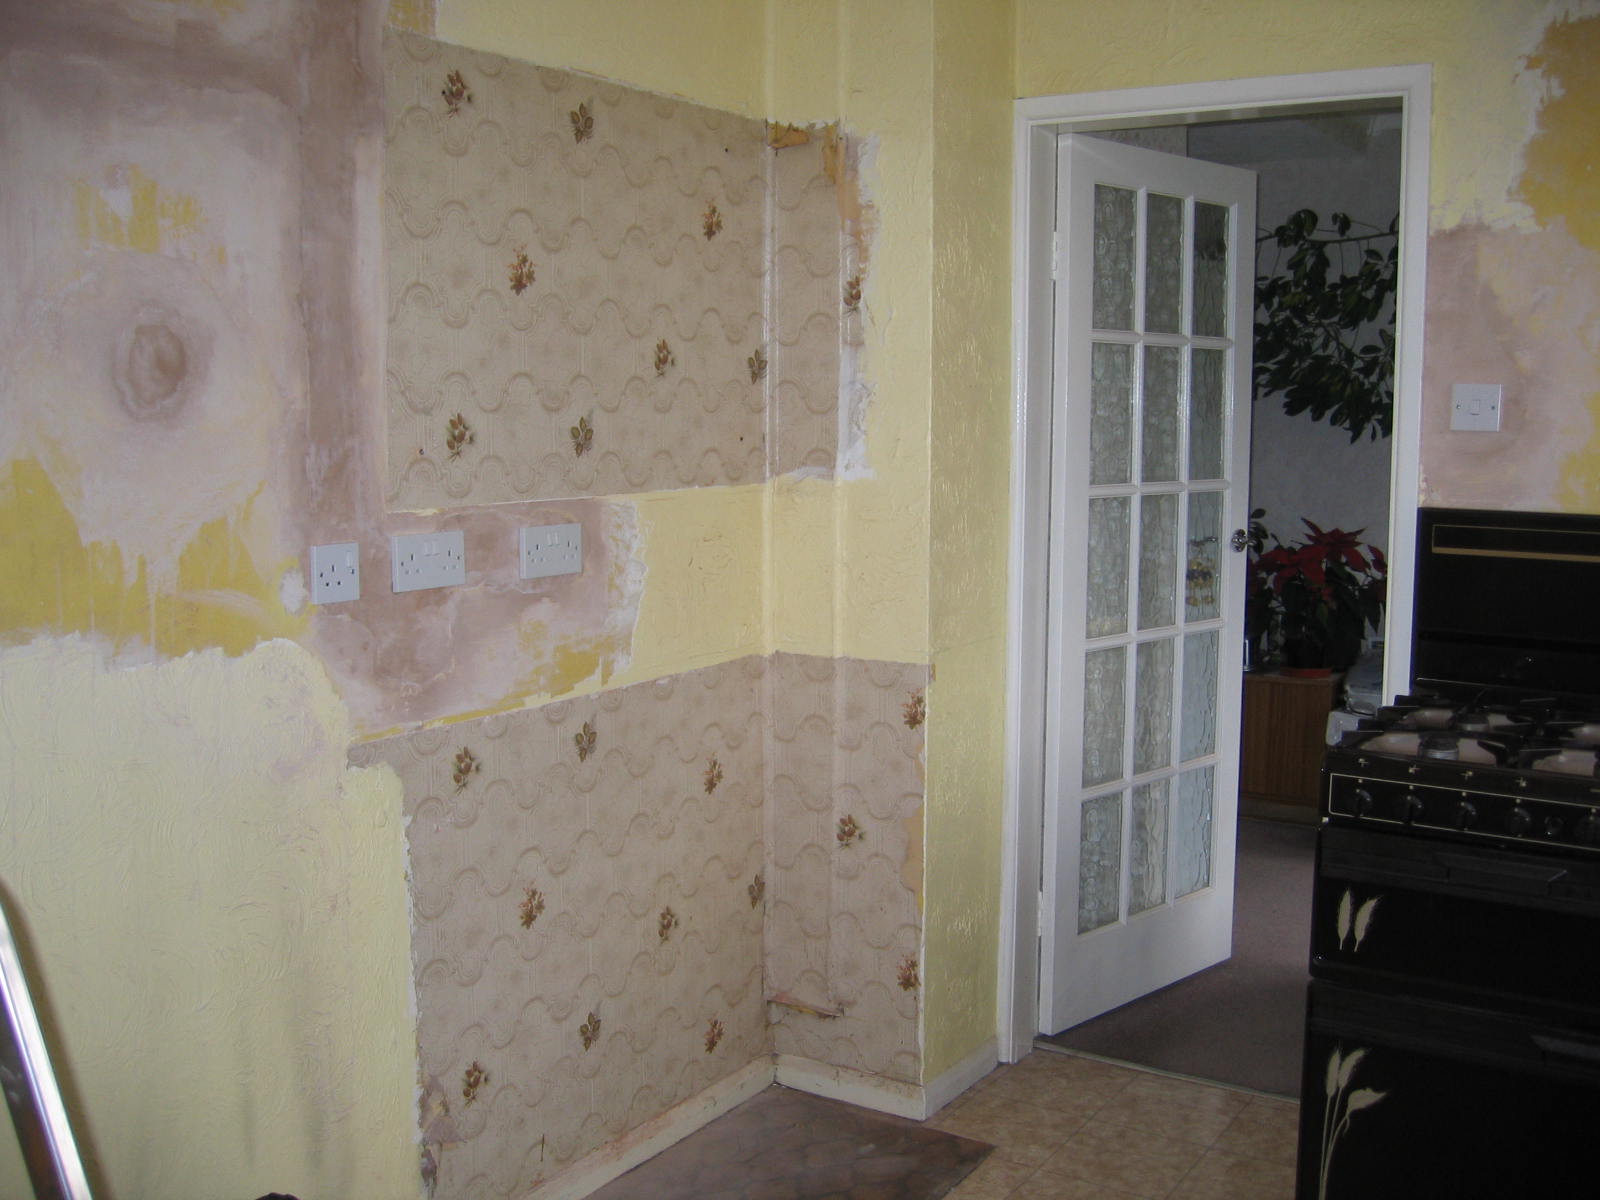
| Before we start | |||
| Stripping the original units | |
|
|
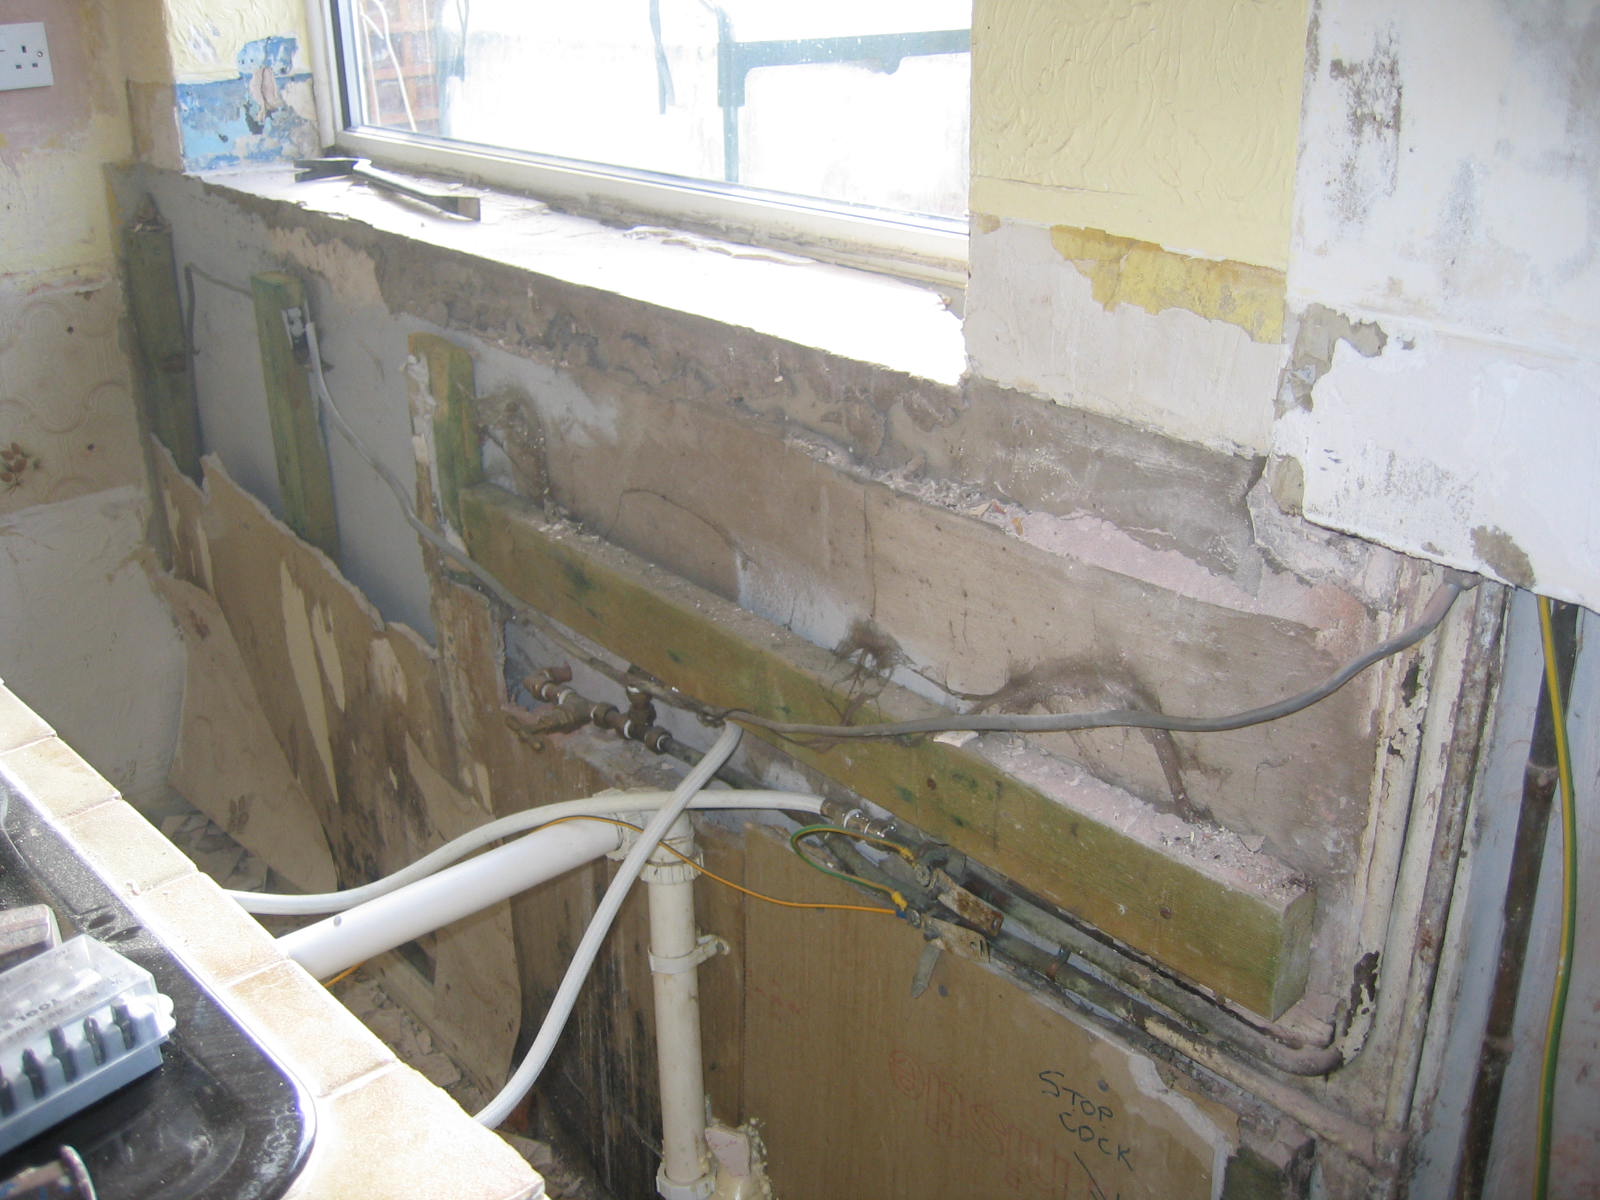
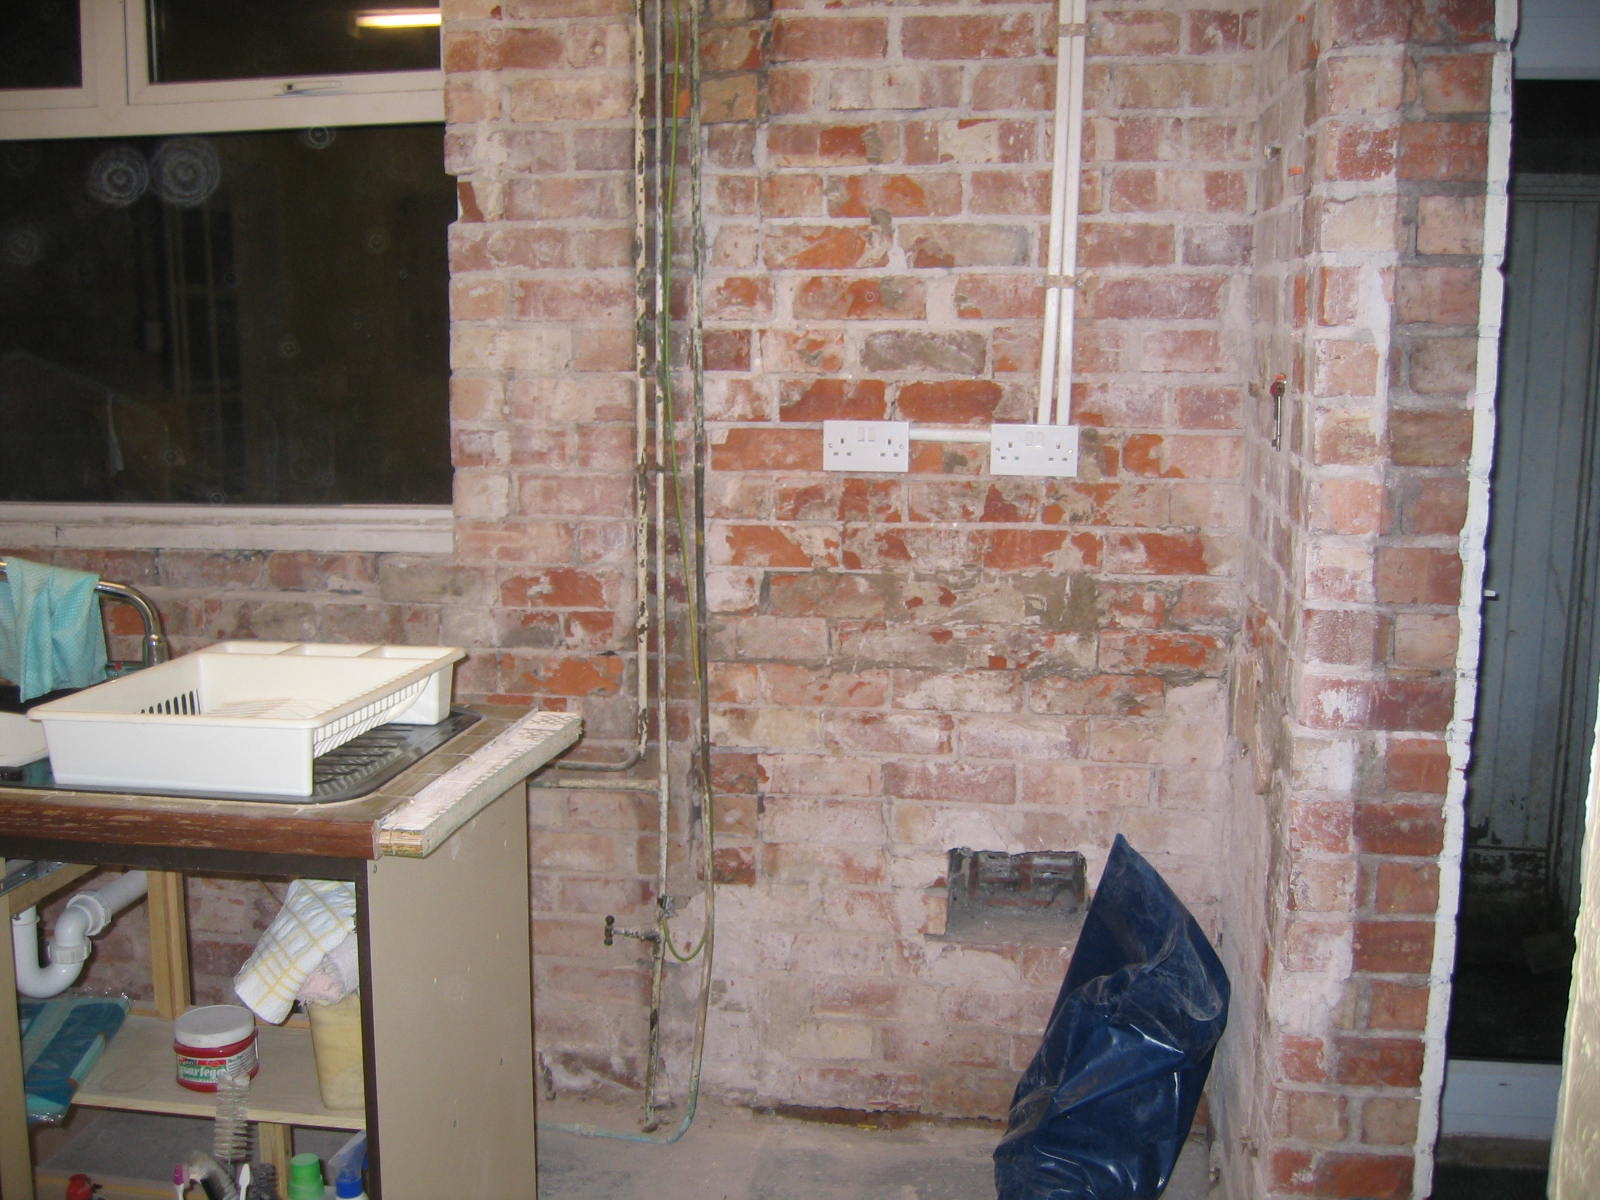
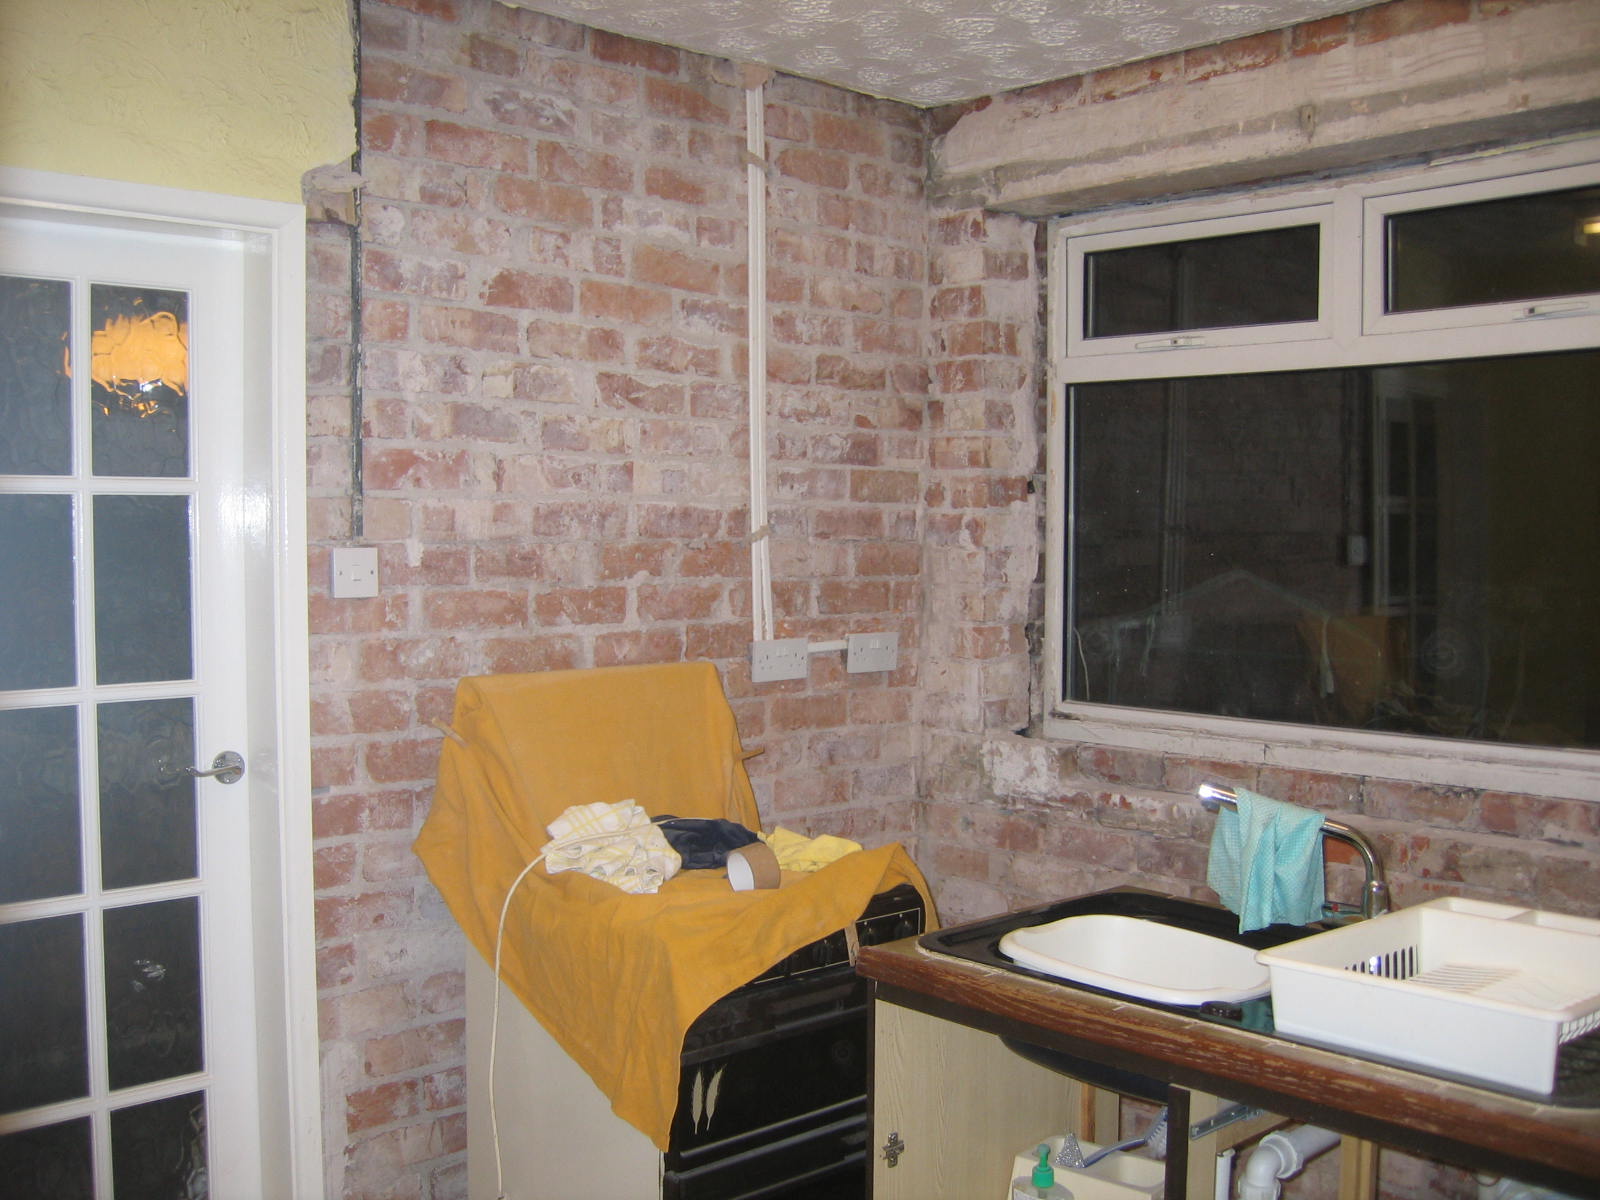
| Tear out the false half wall behind the sink | |
|
|
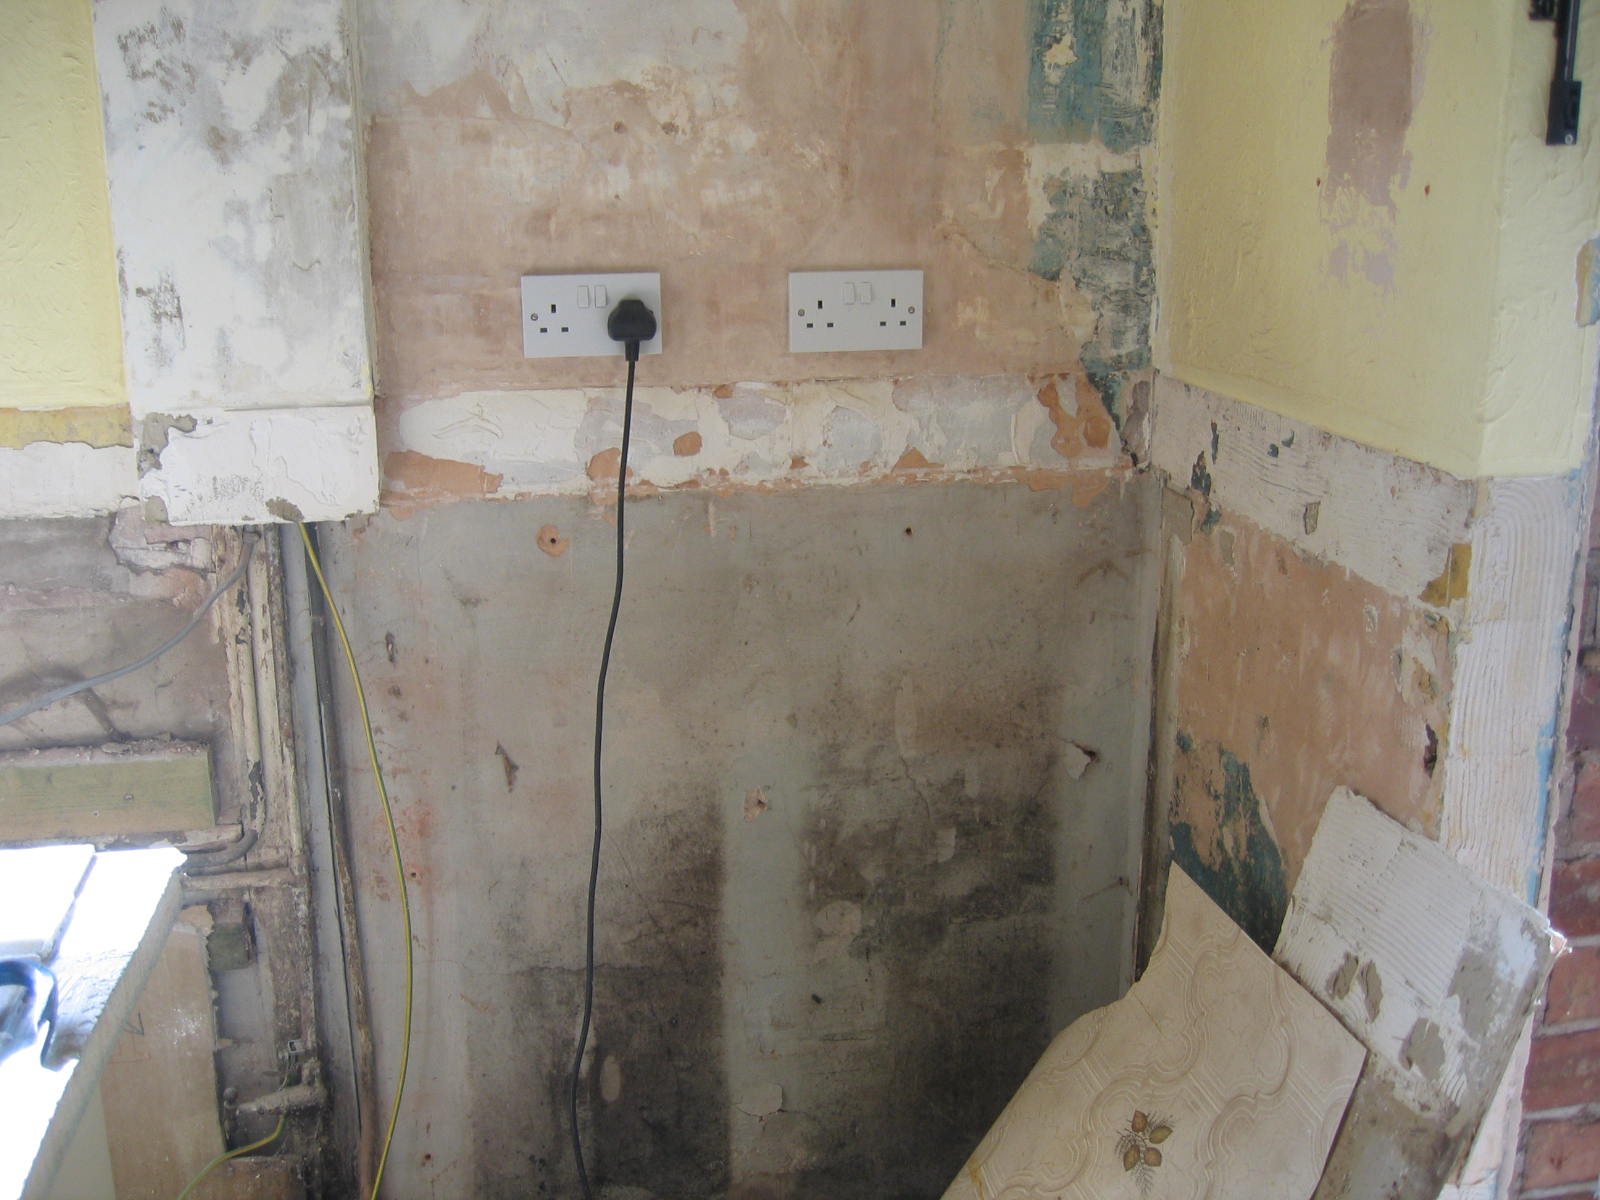
| Off with the plaster | |
|
|
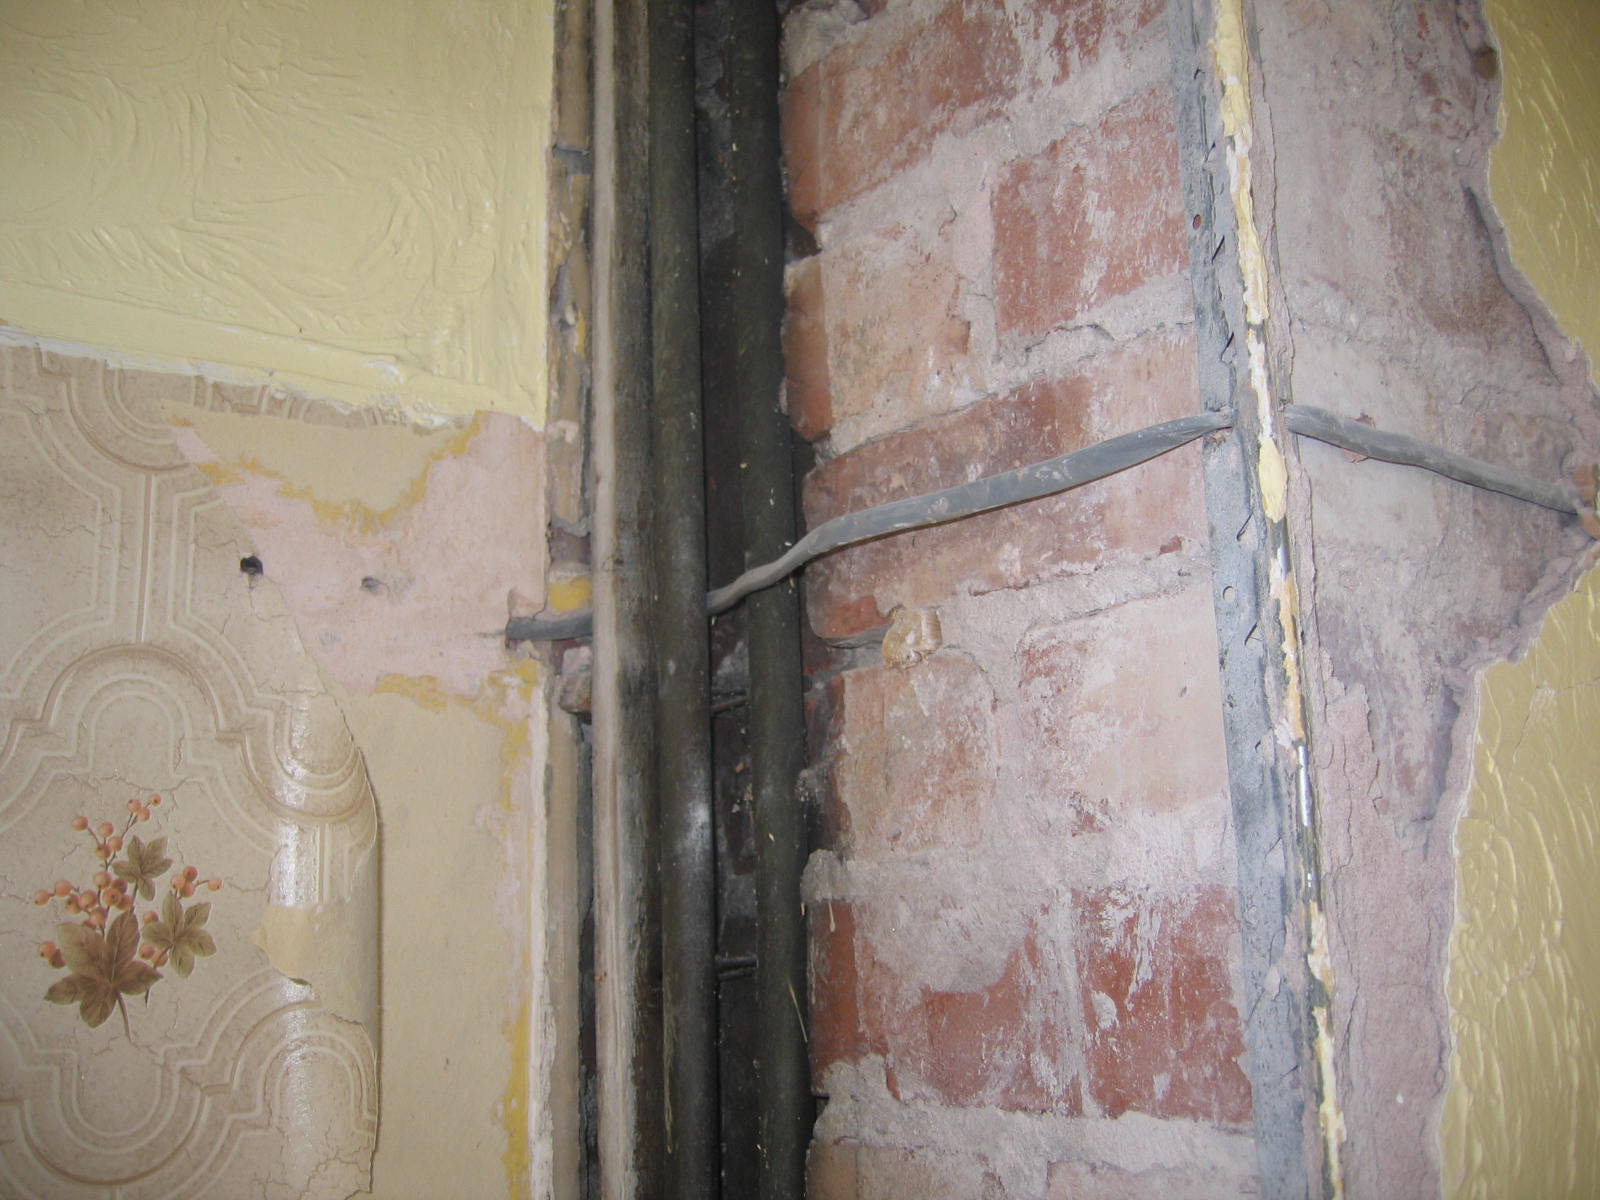
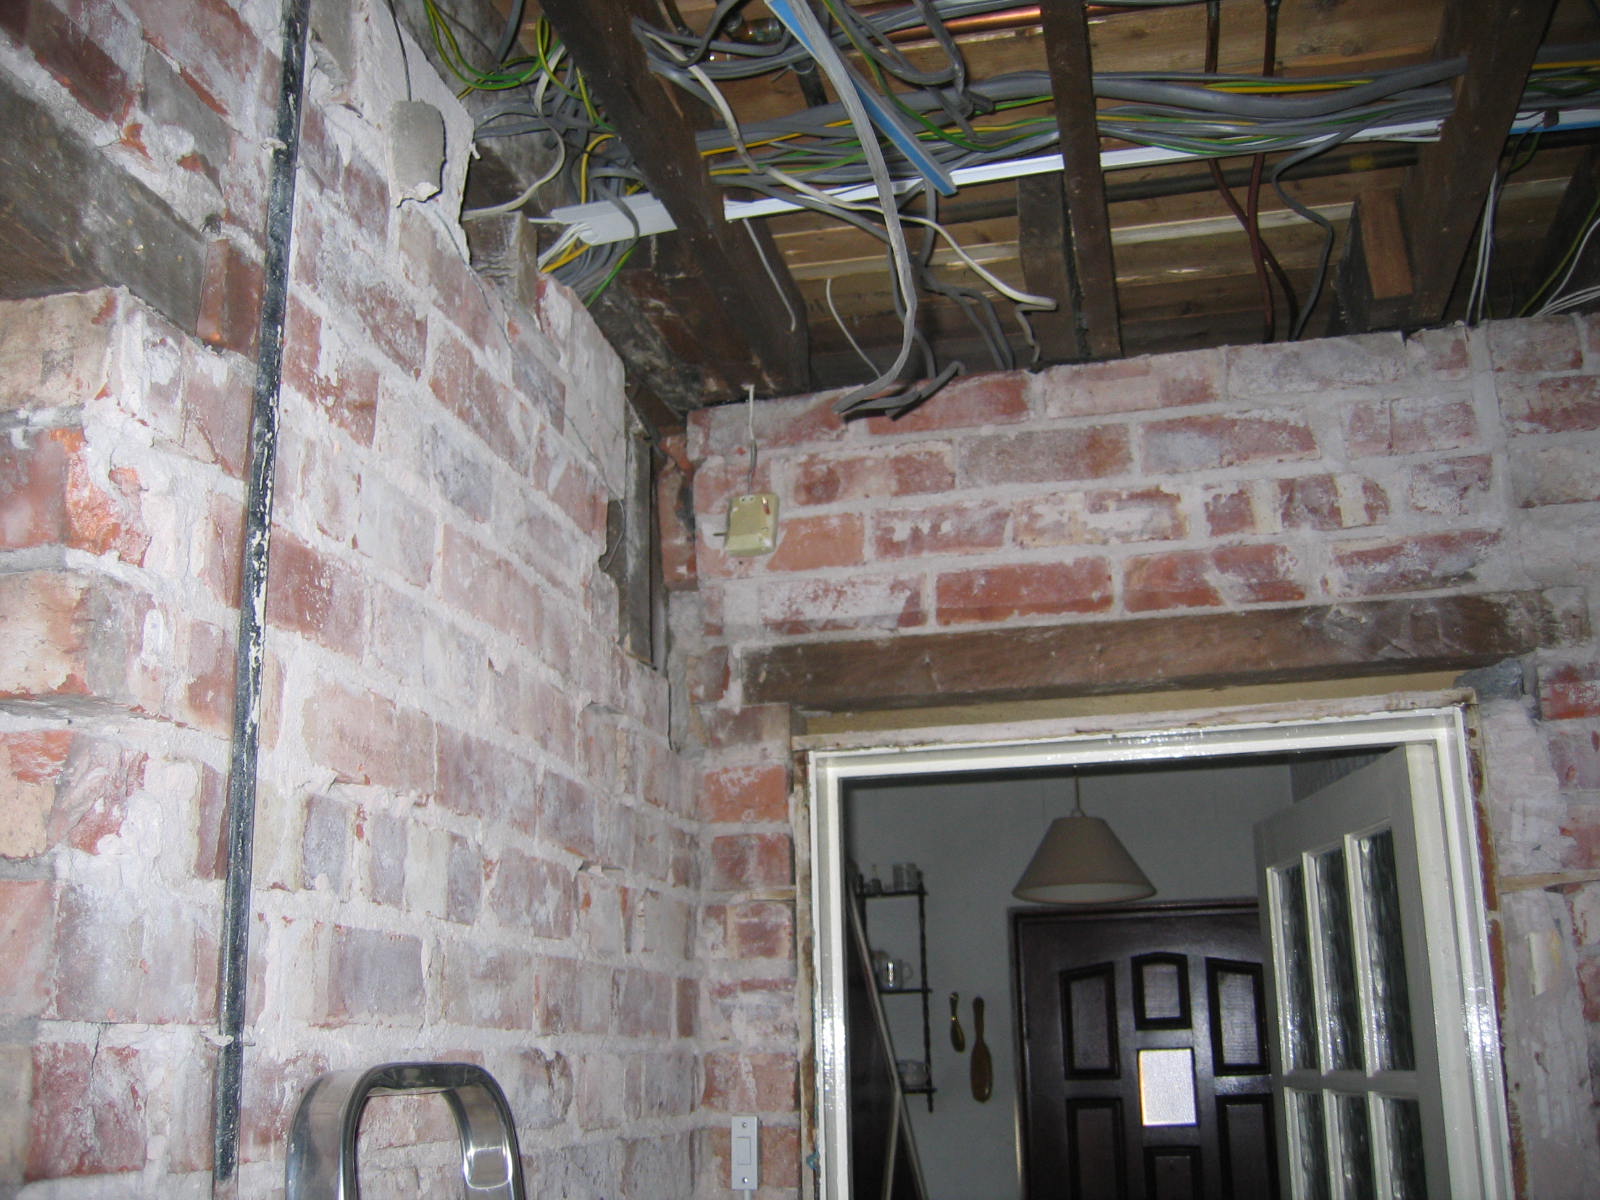
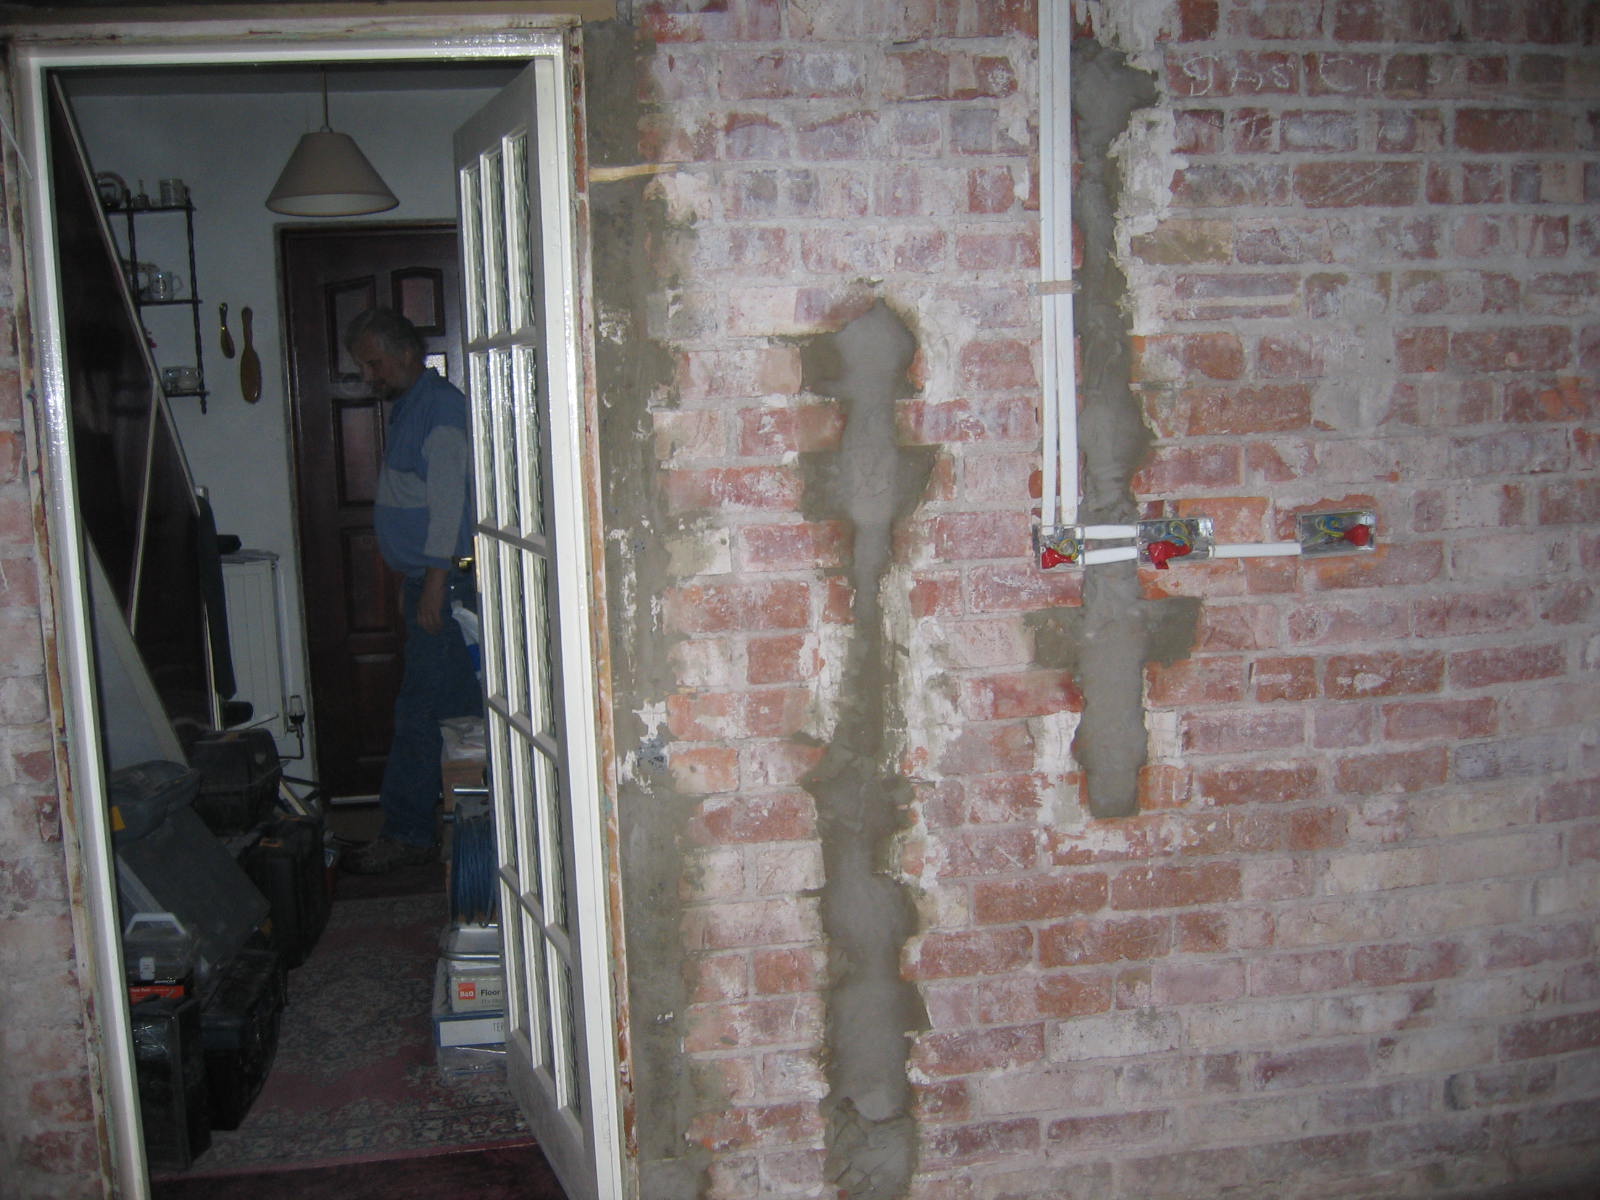
| Remove the redundant wiring and the unused but still pressurised gas pipes lost in the plaster and the long disconnected back boiler piping | |
|
|
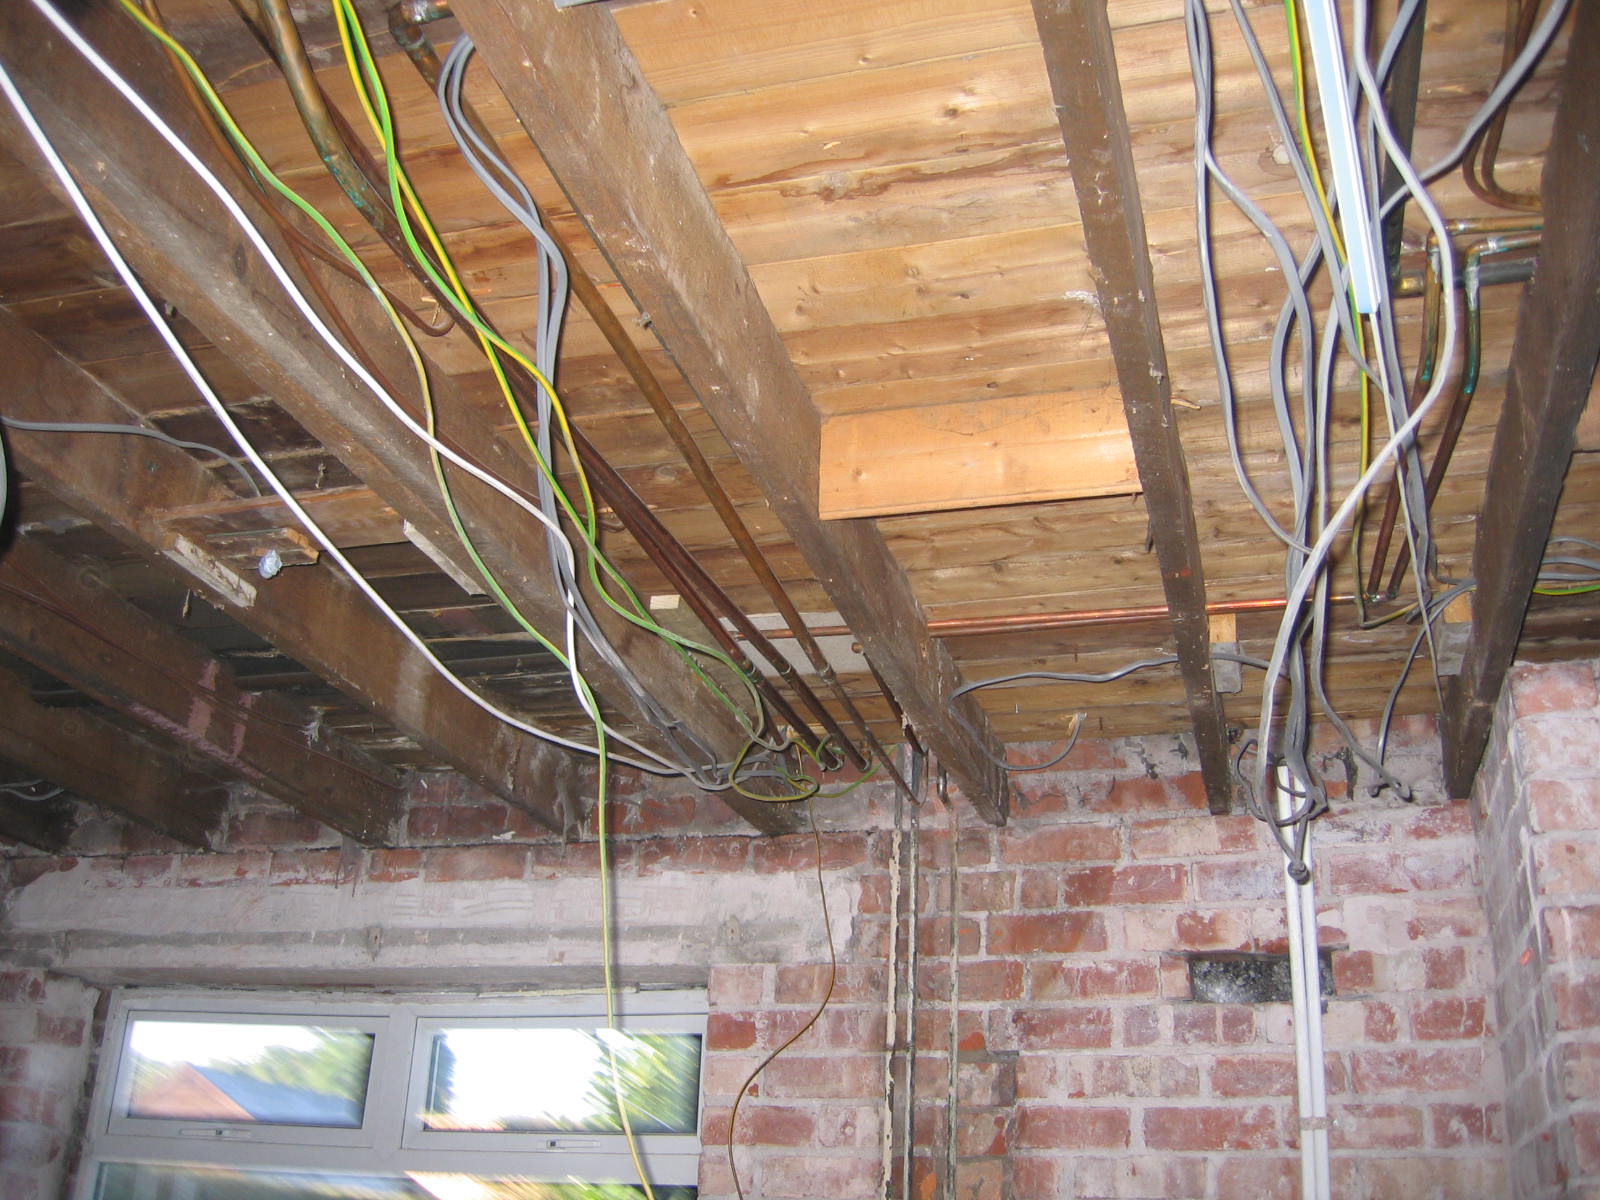
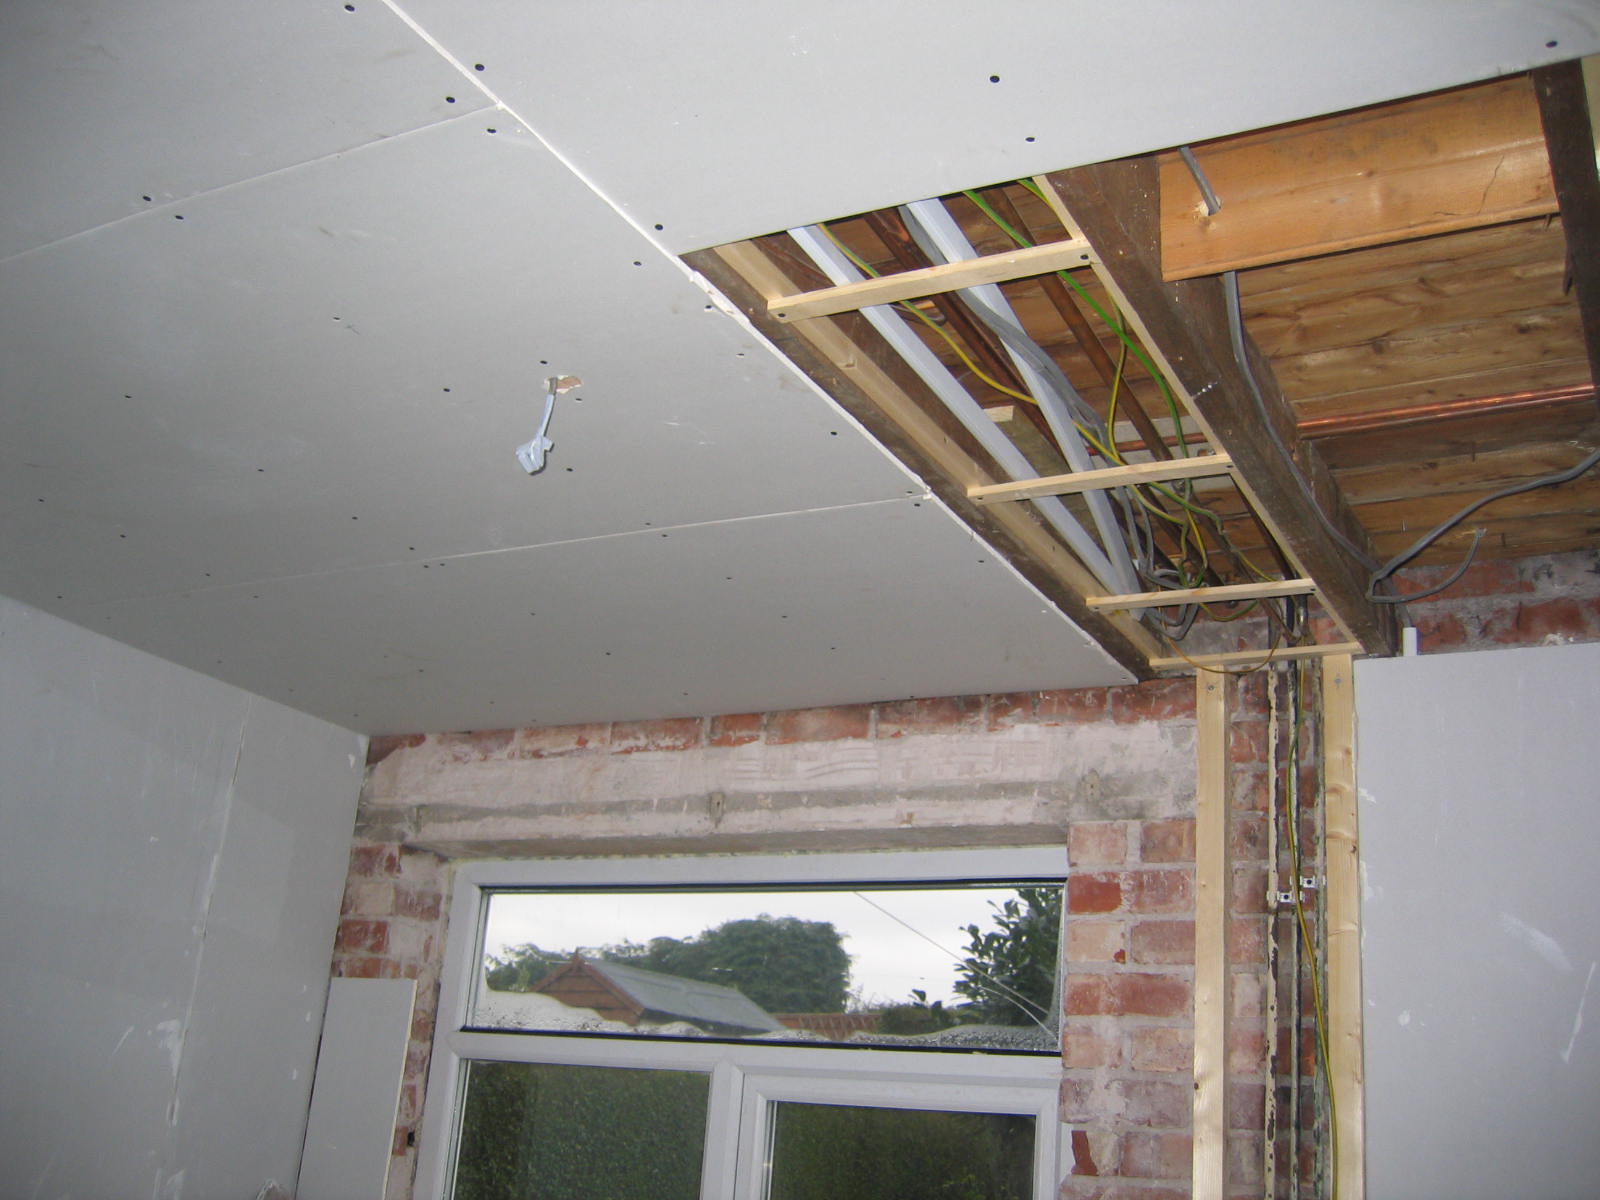
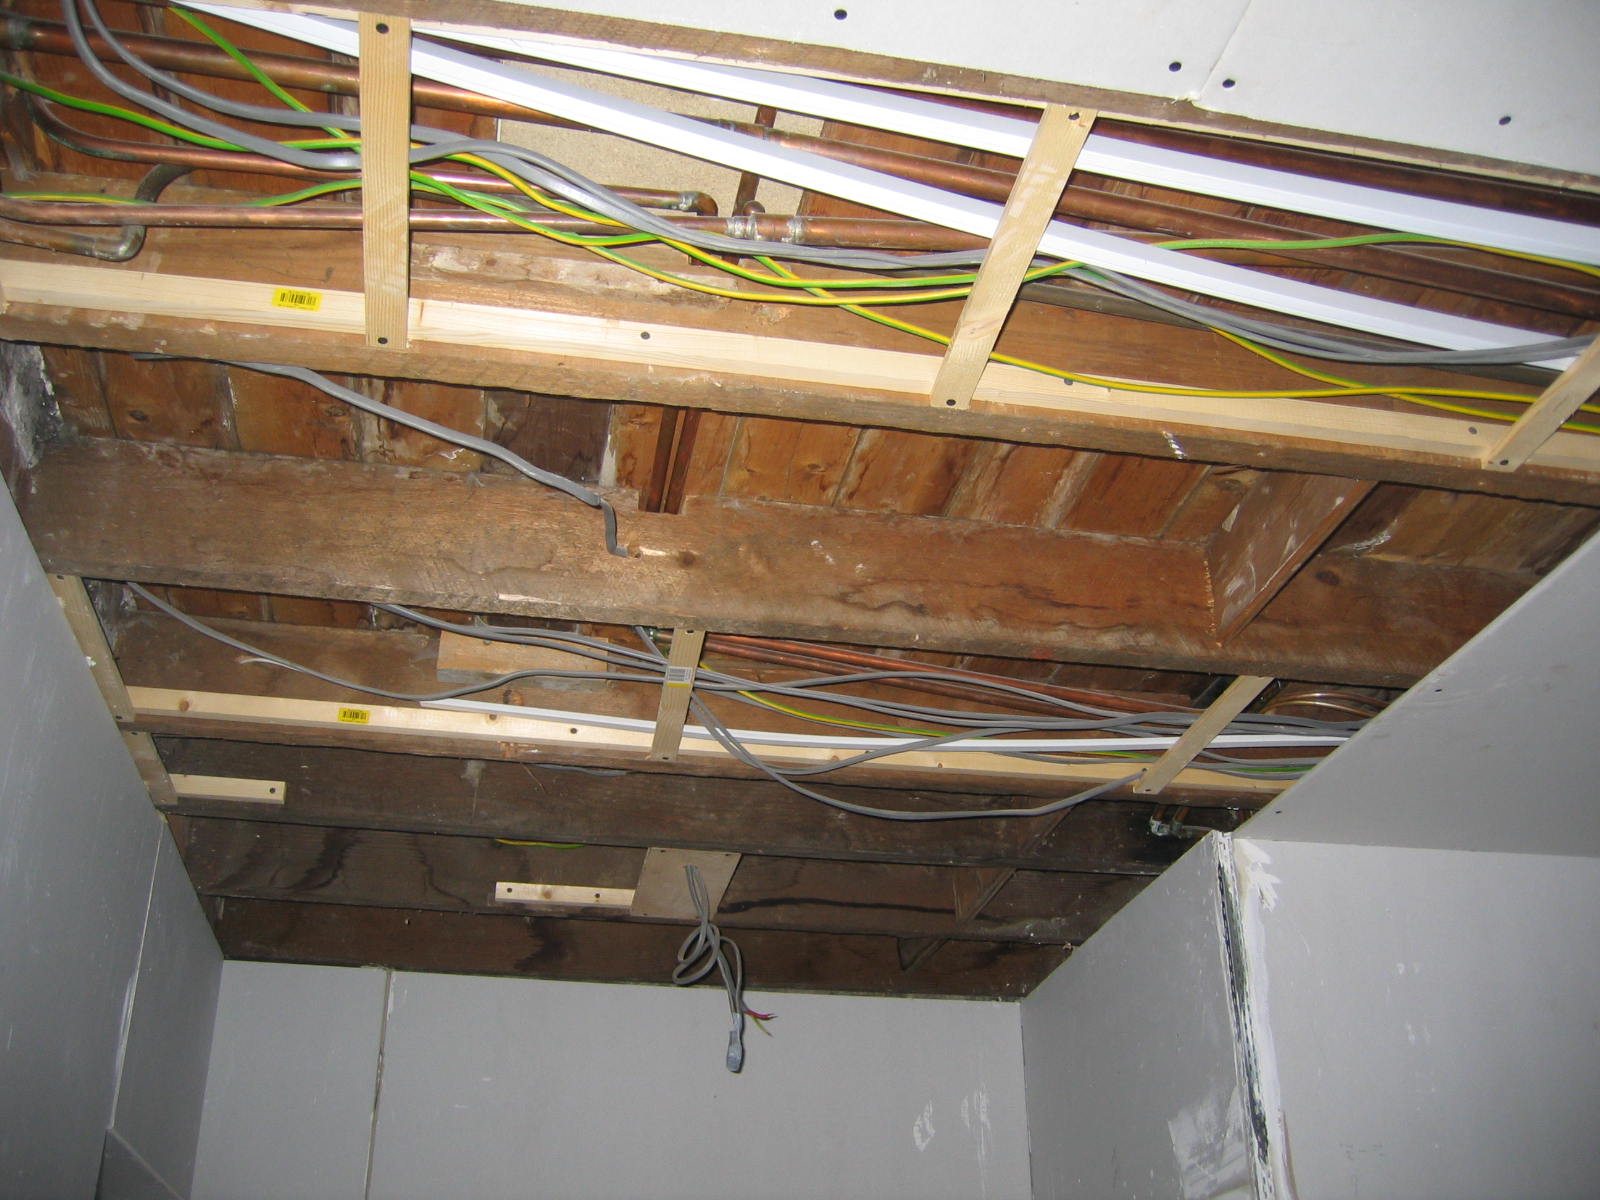
| Bring down the ceiling | |
|
|
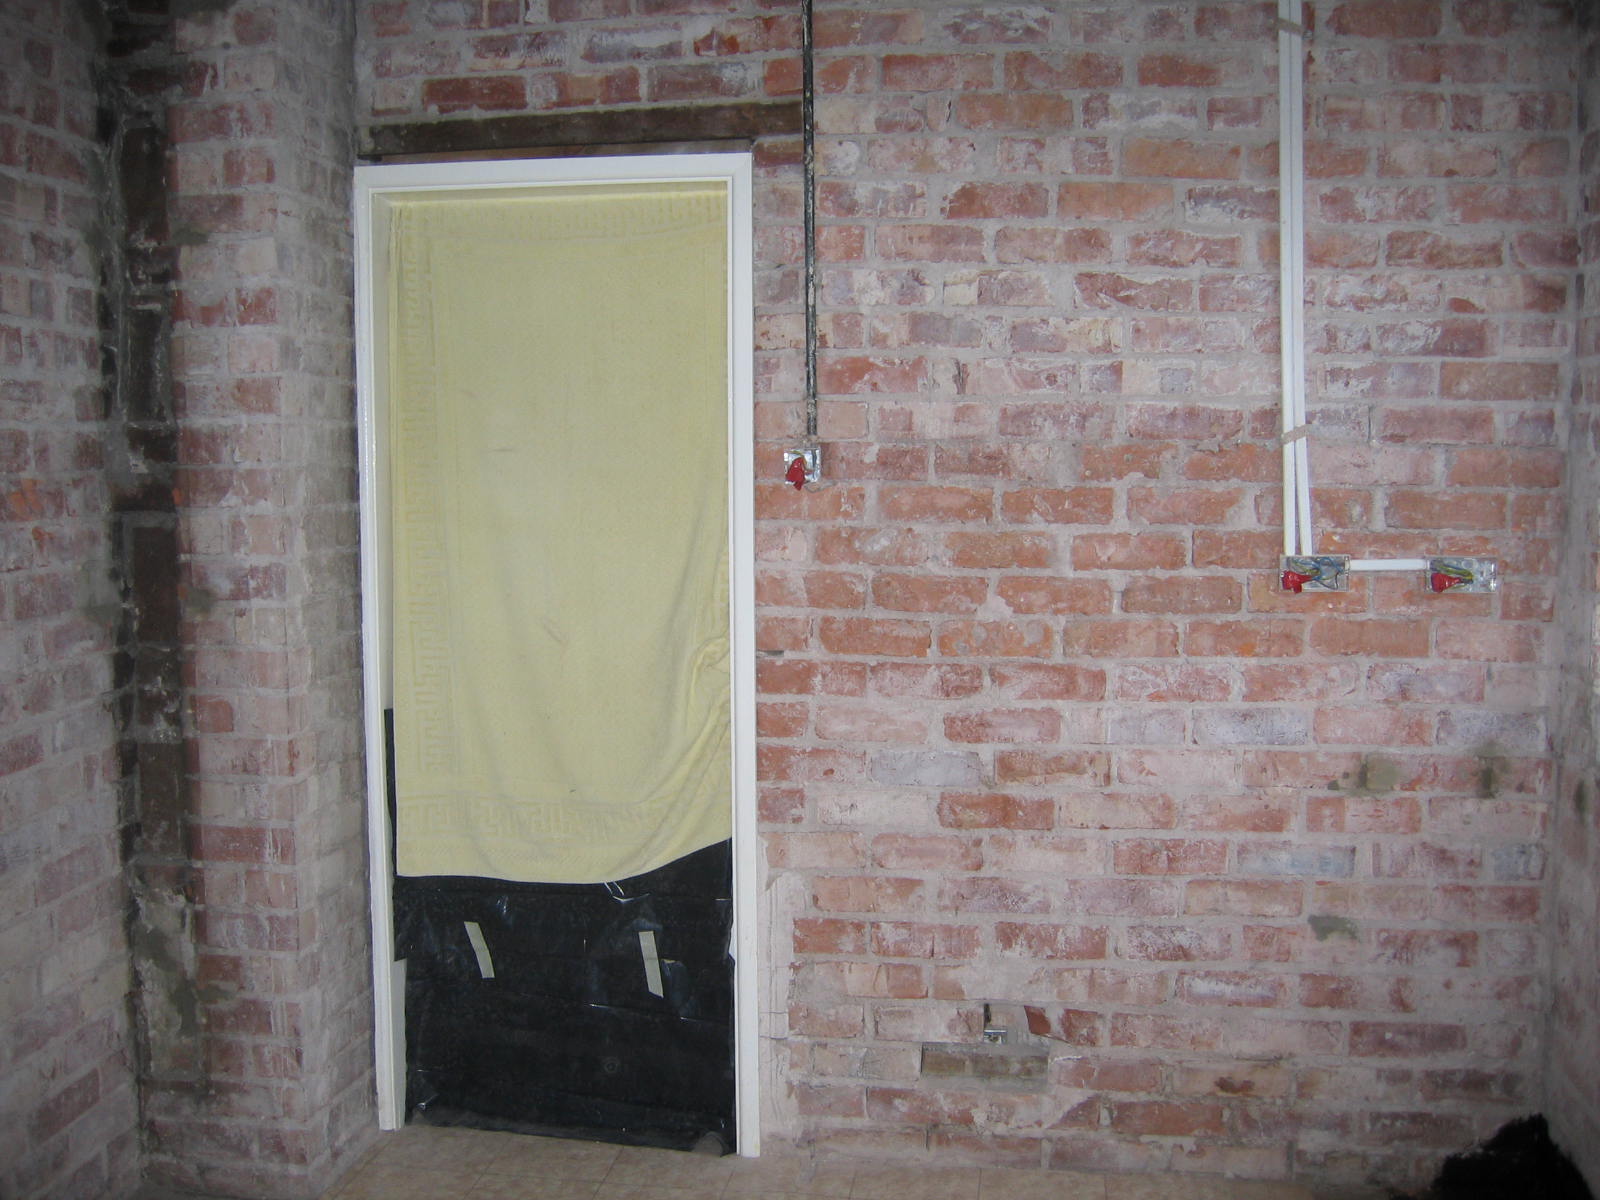
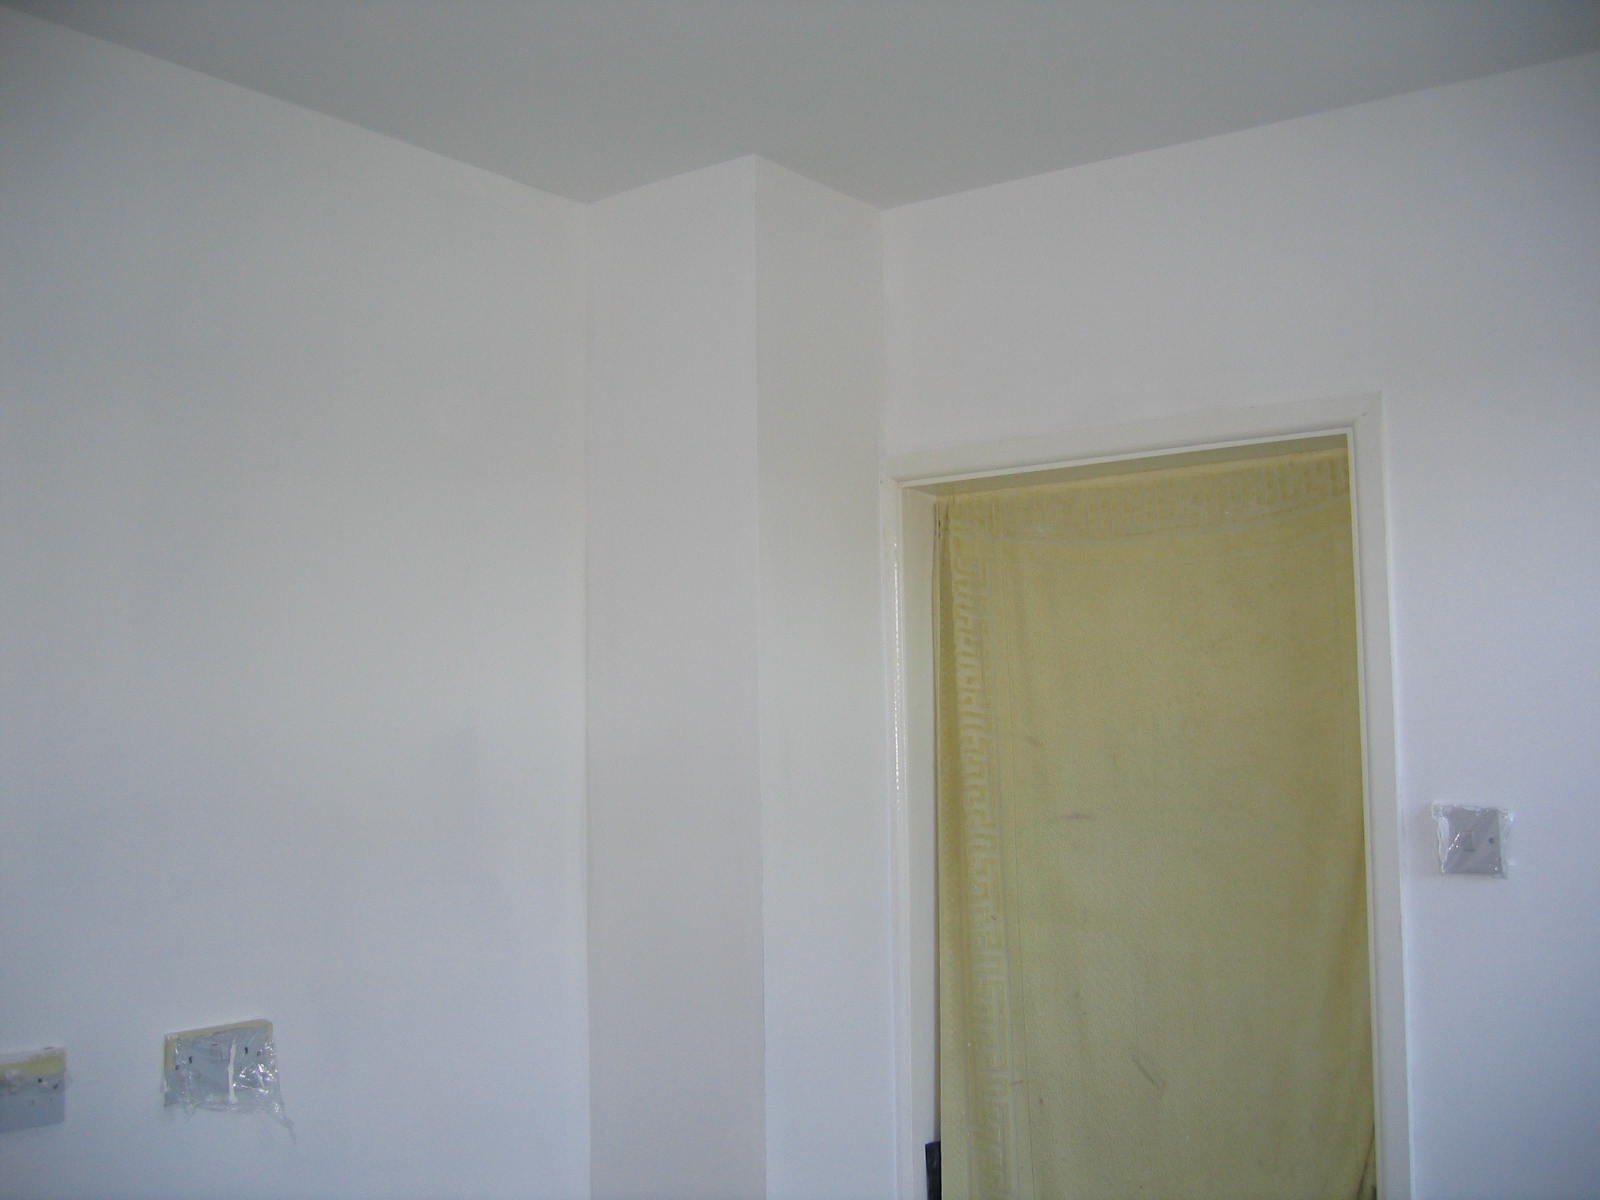
| Knock out the redundant doorway, cut off the non load bearing stub wall and make good Before and after |
|
|
|
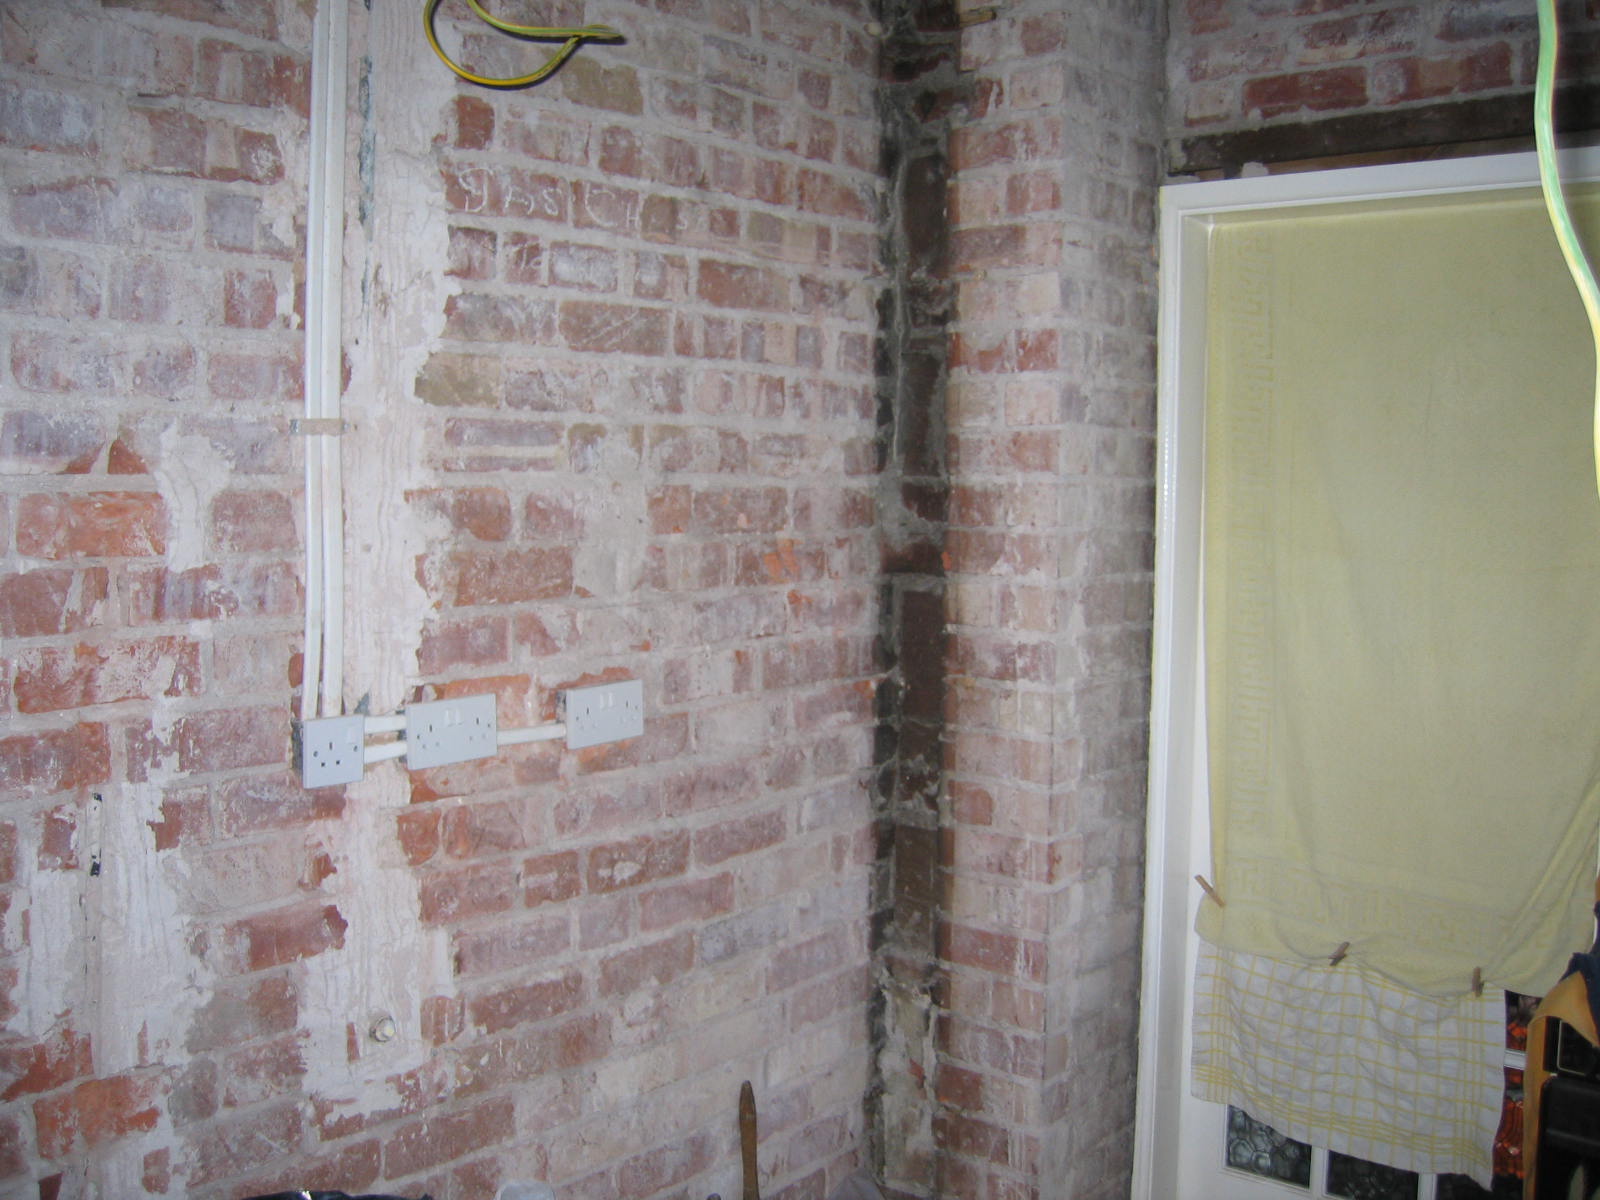
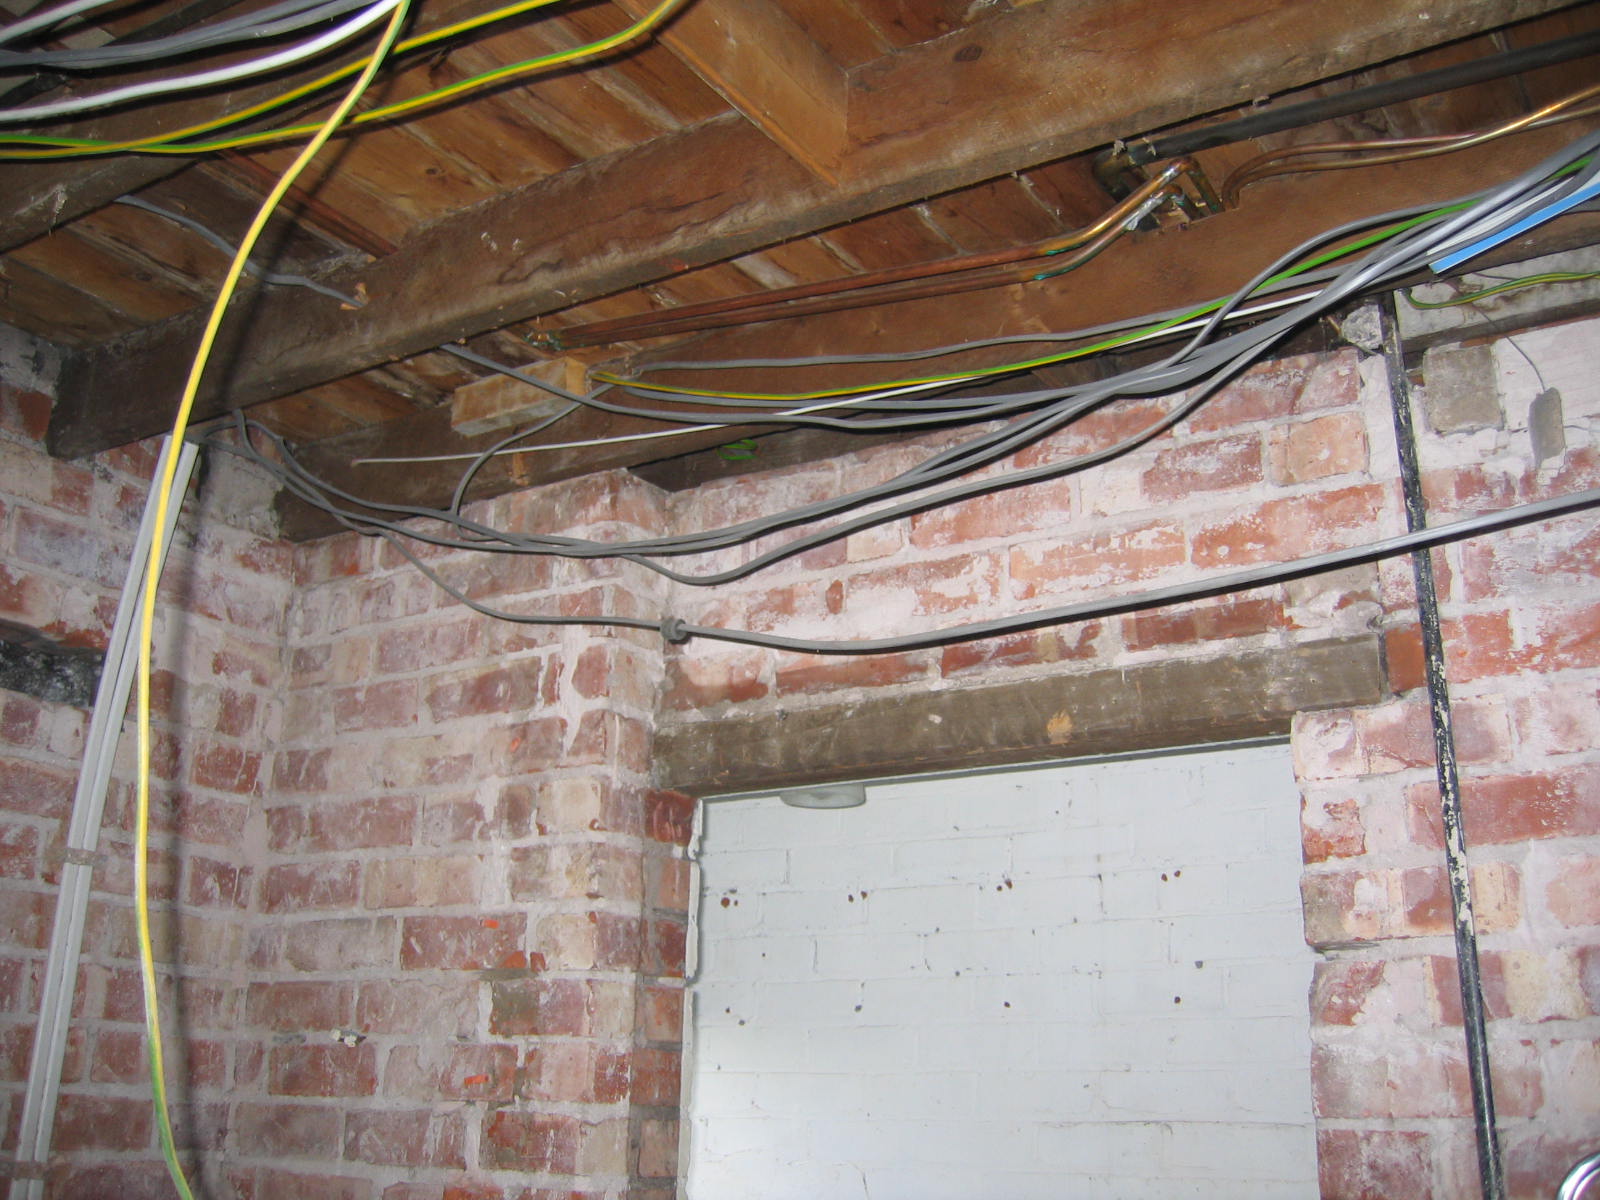
| Make good where the redundant piping and conduit has been ripped out of the walls | |
|
|
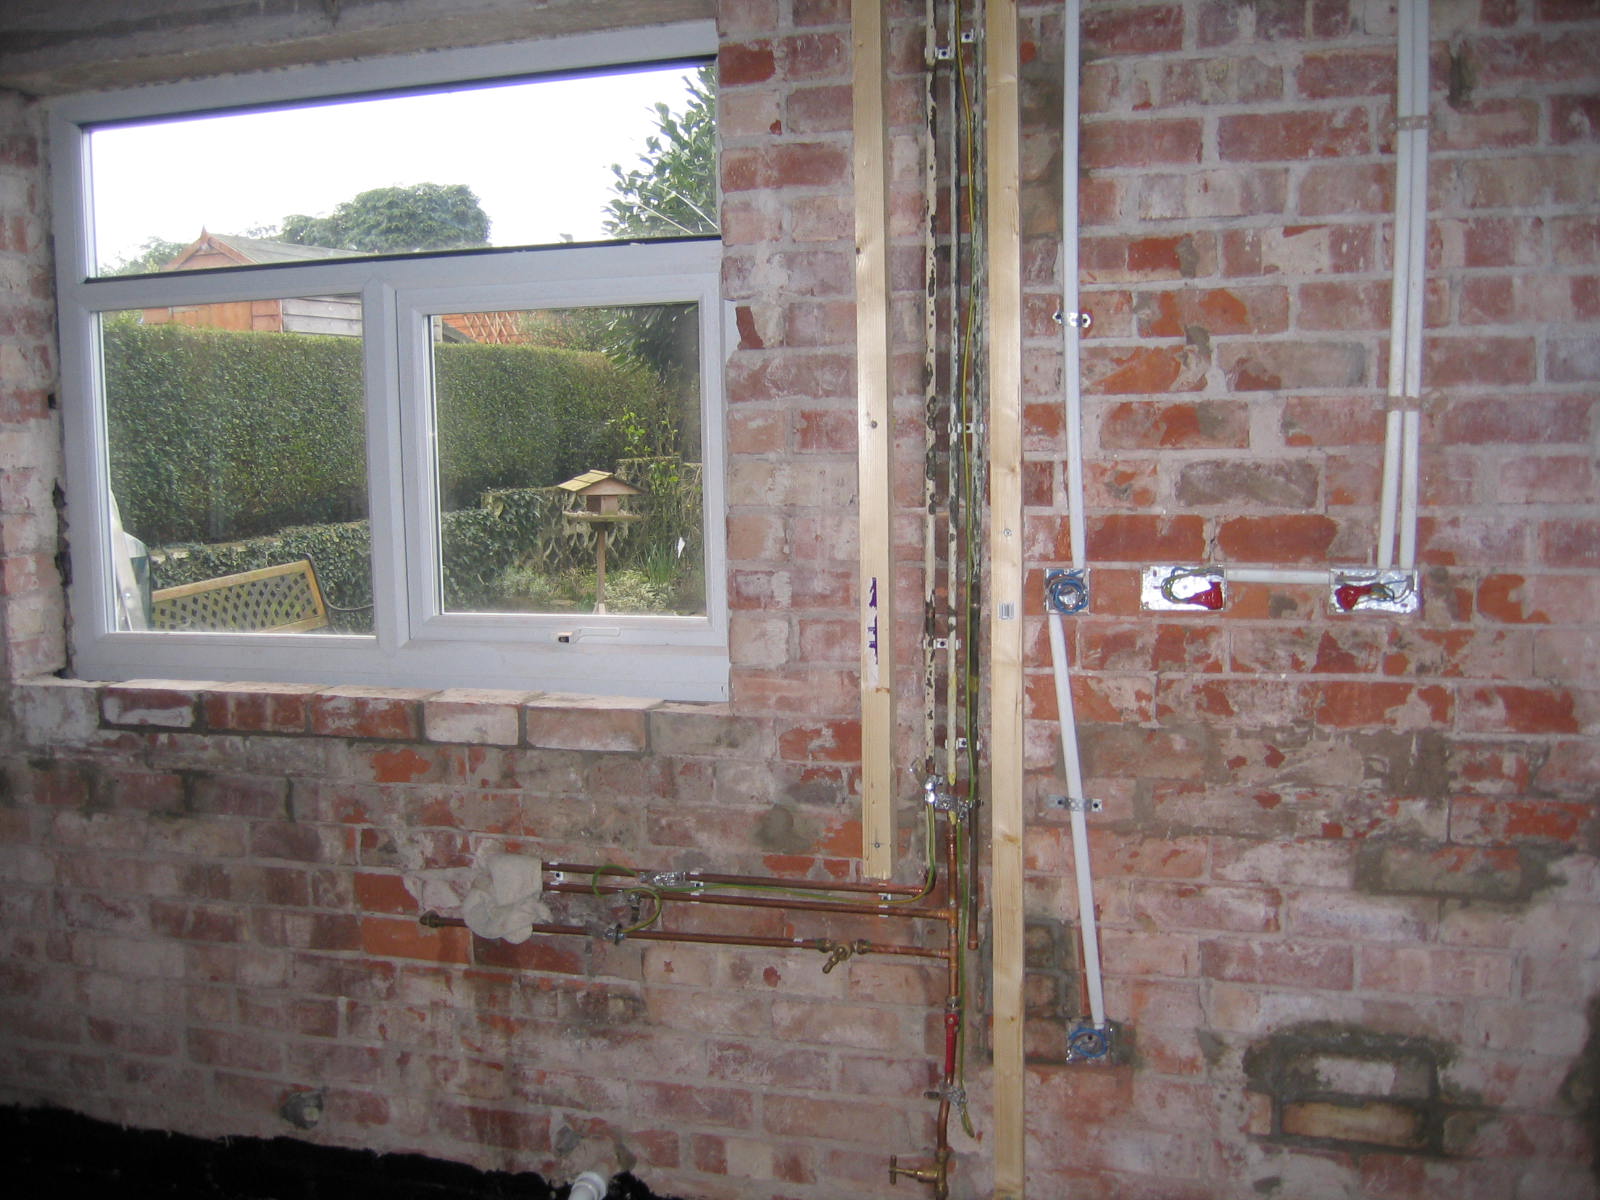
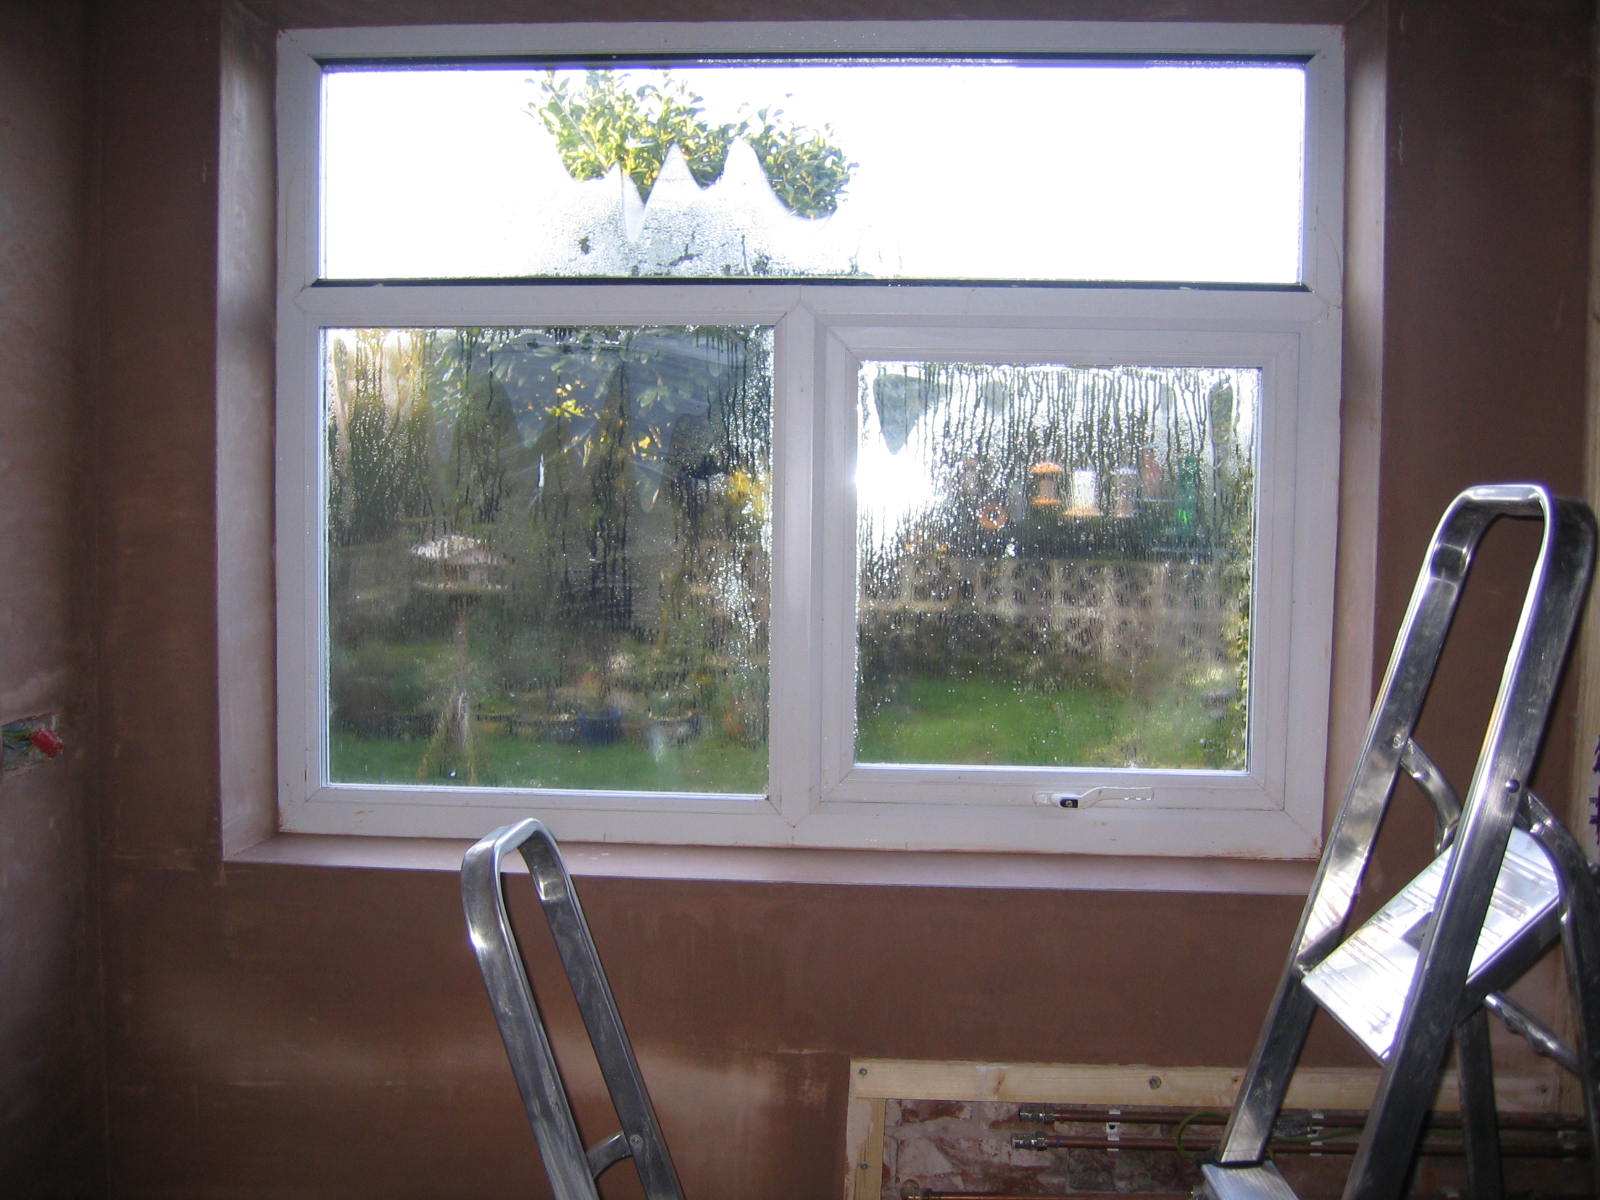
| New window, with proper lintel under the outside wall leaf Before and after |
|
|
|
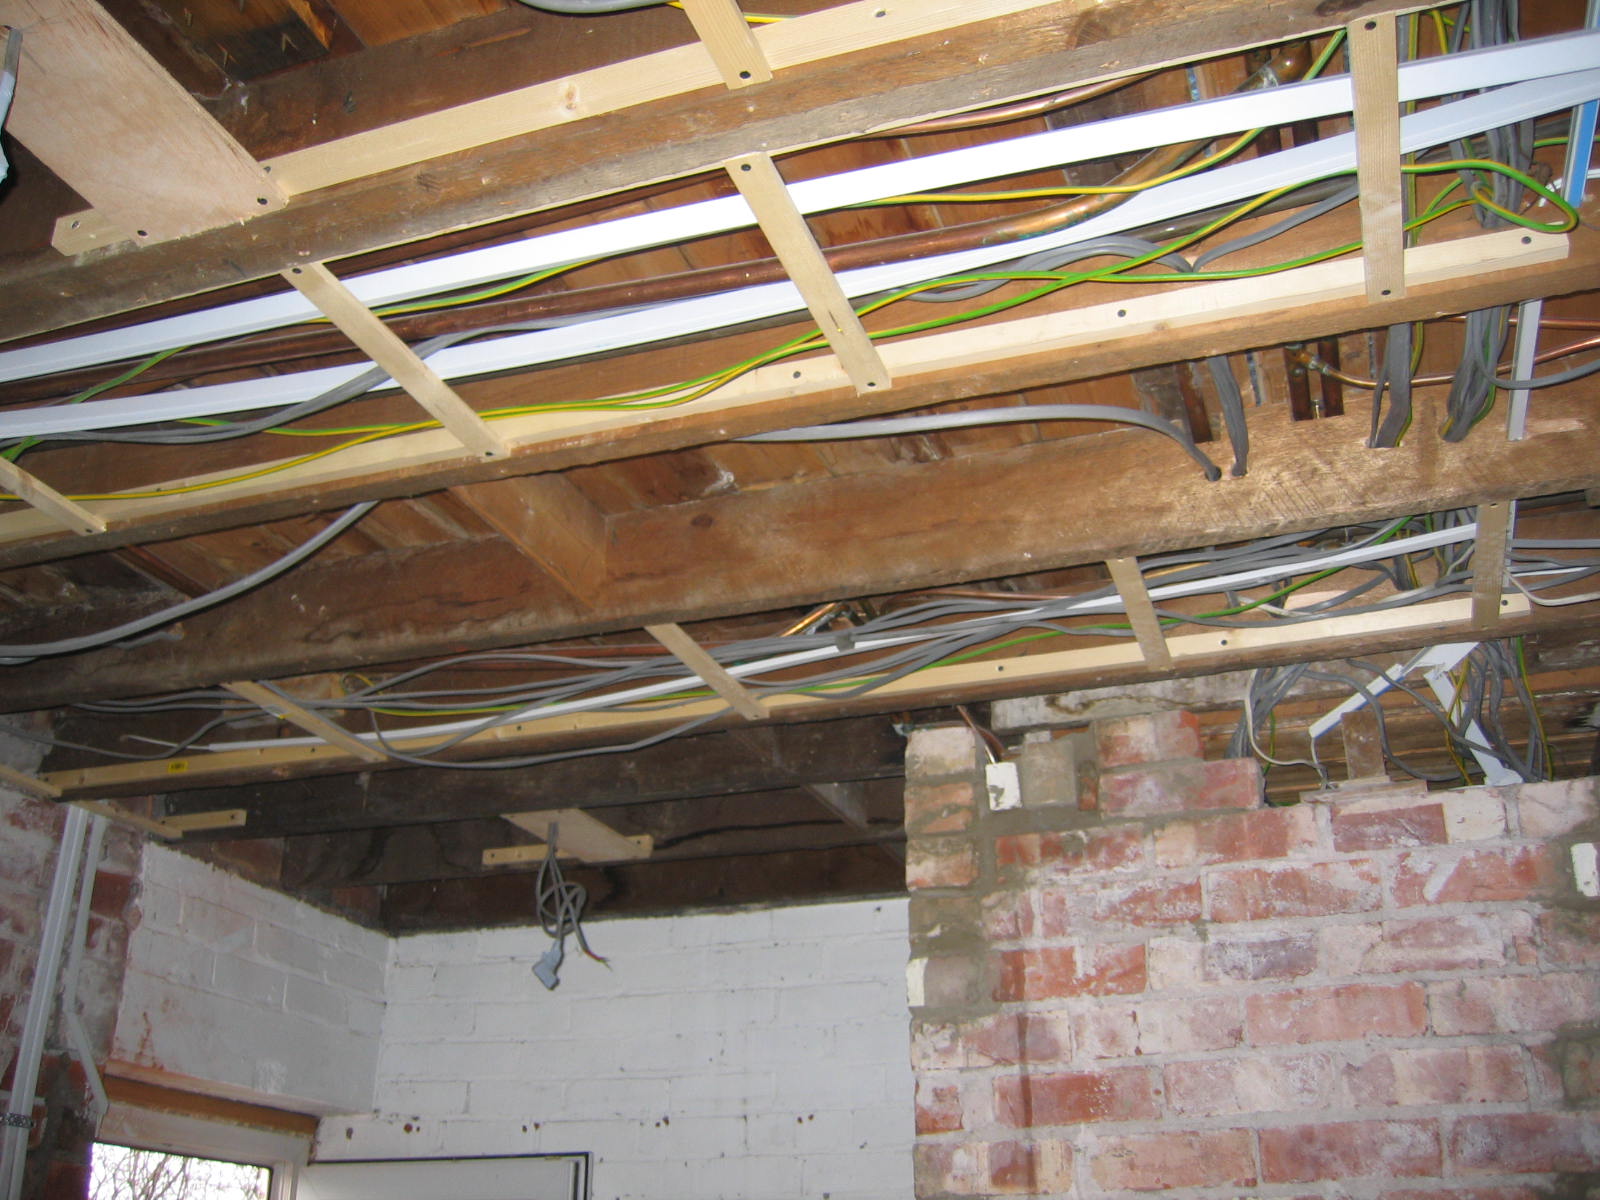
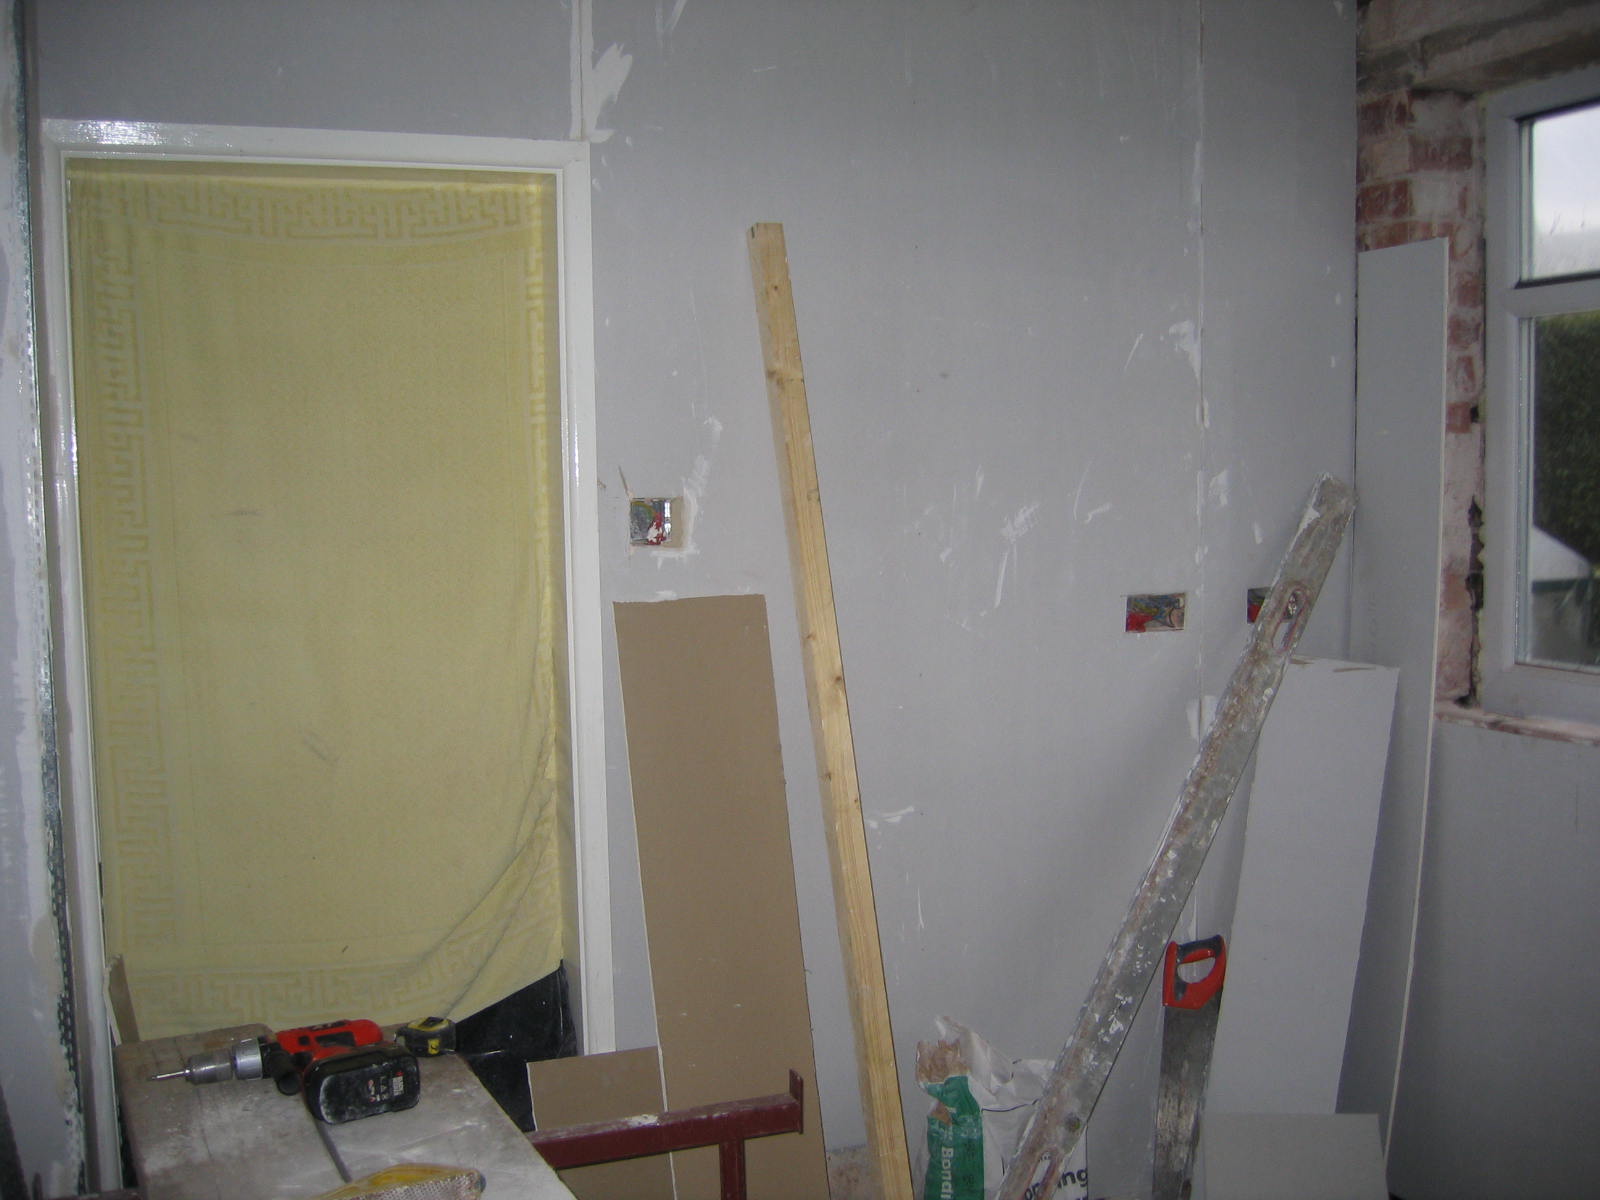
| Boarding out and the new ceiling | |
|
|
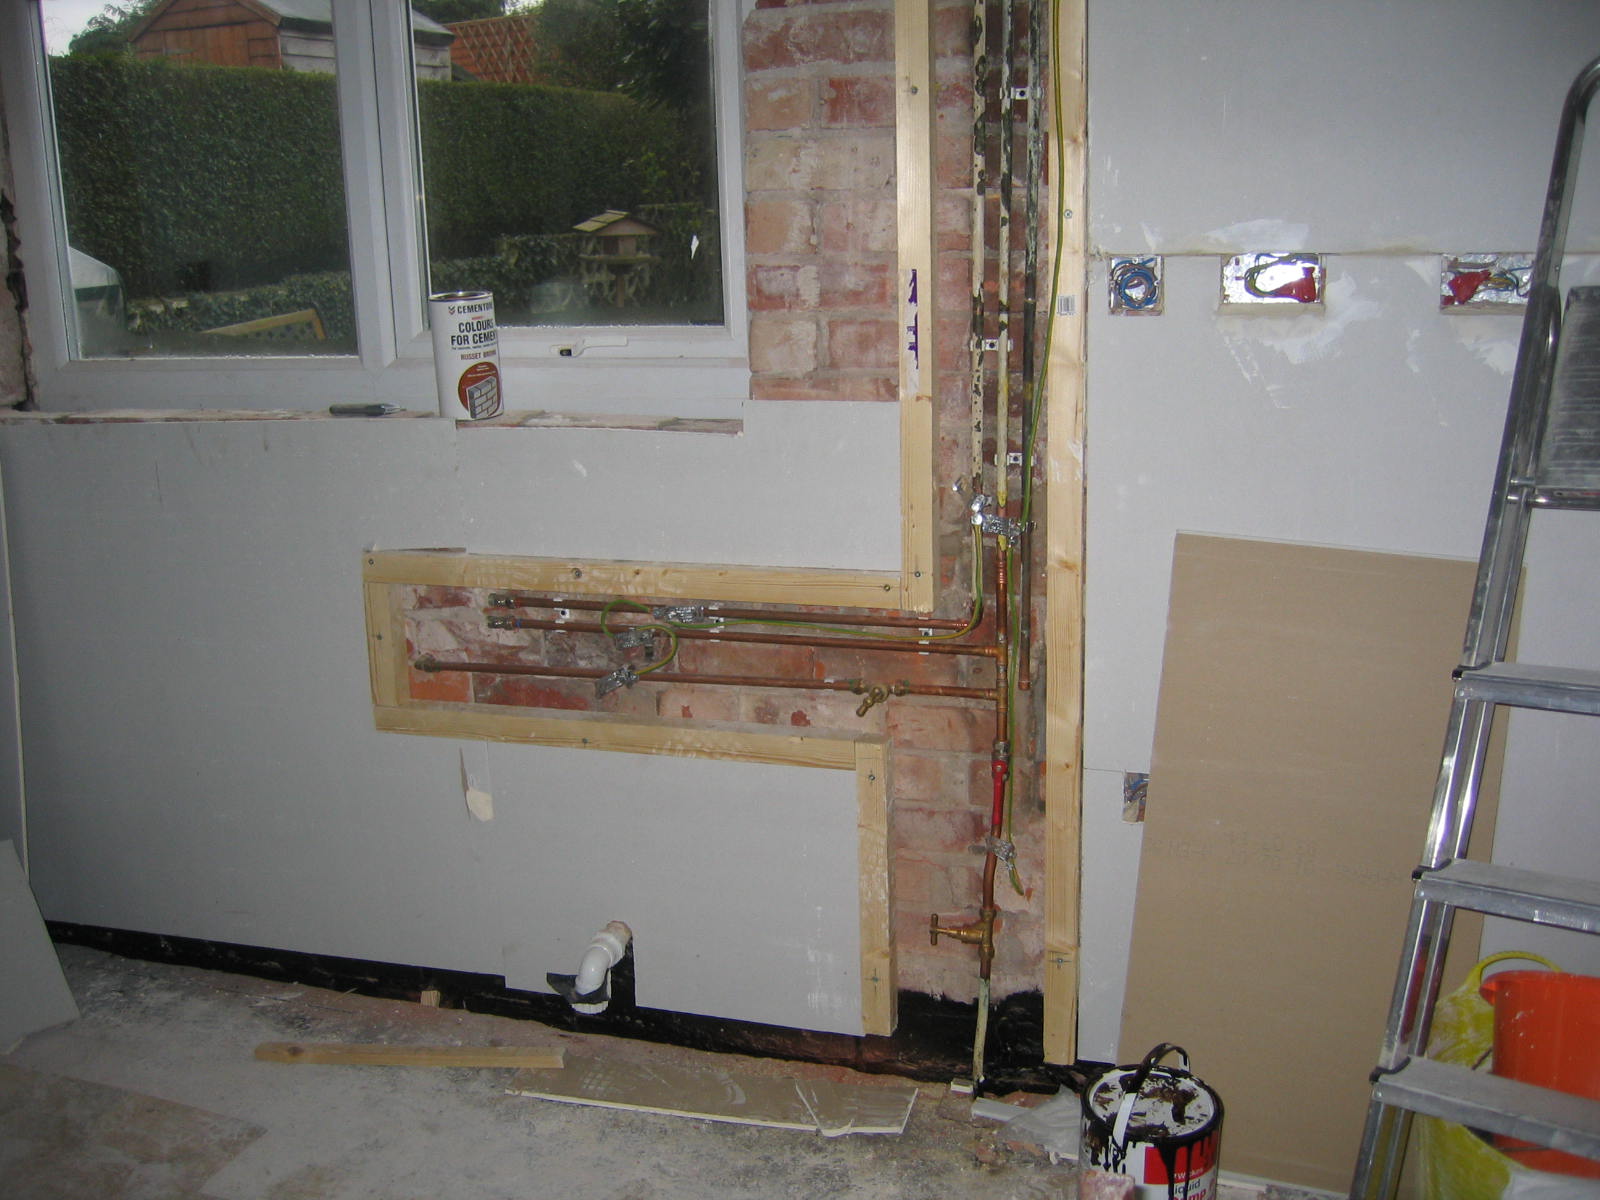
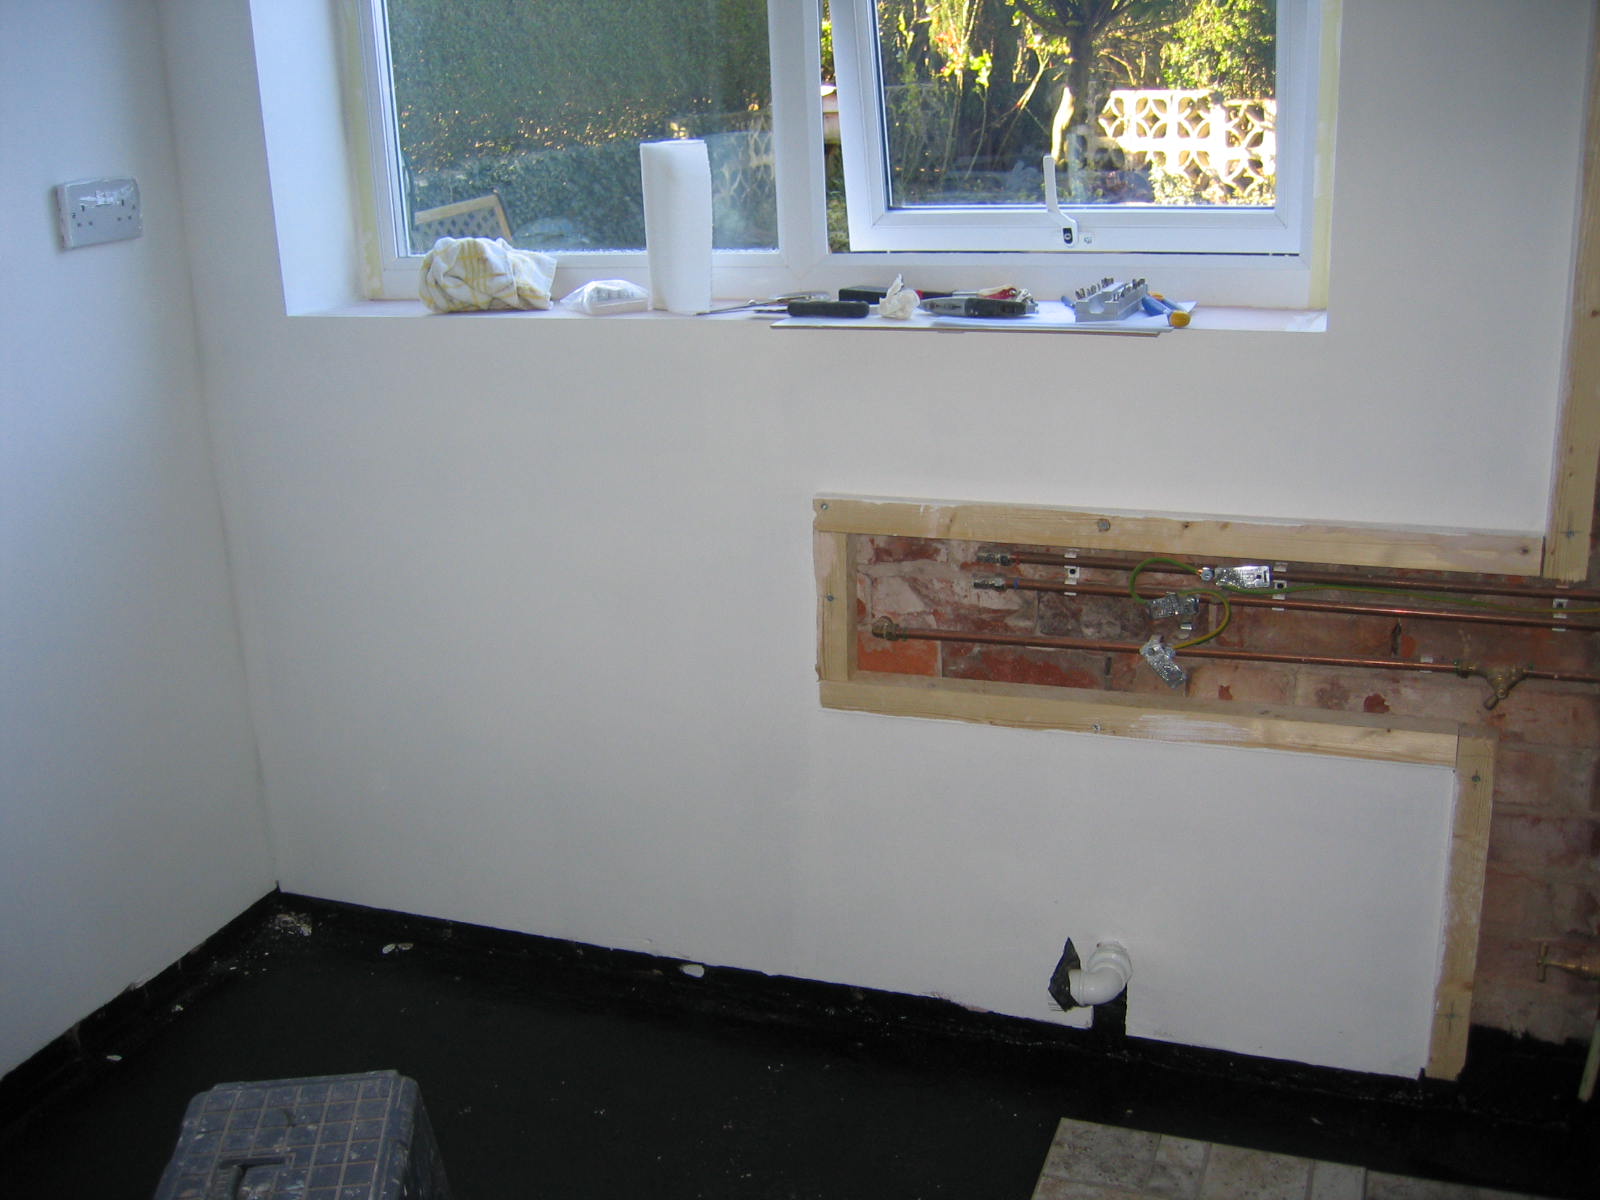
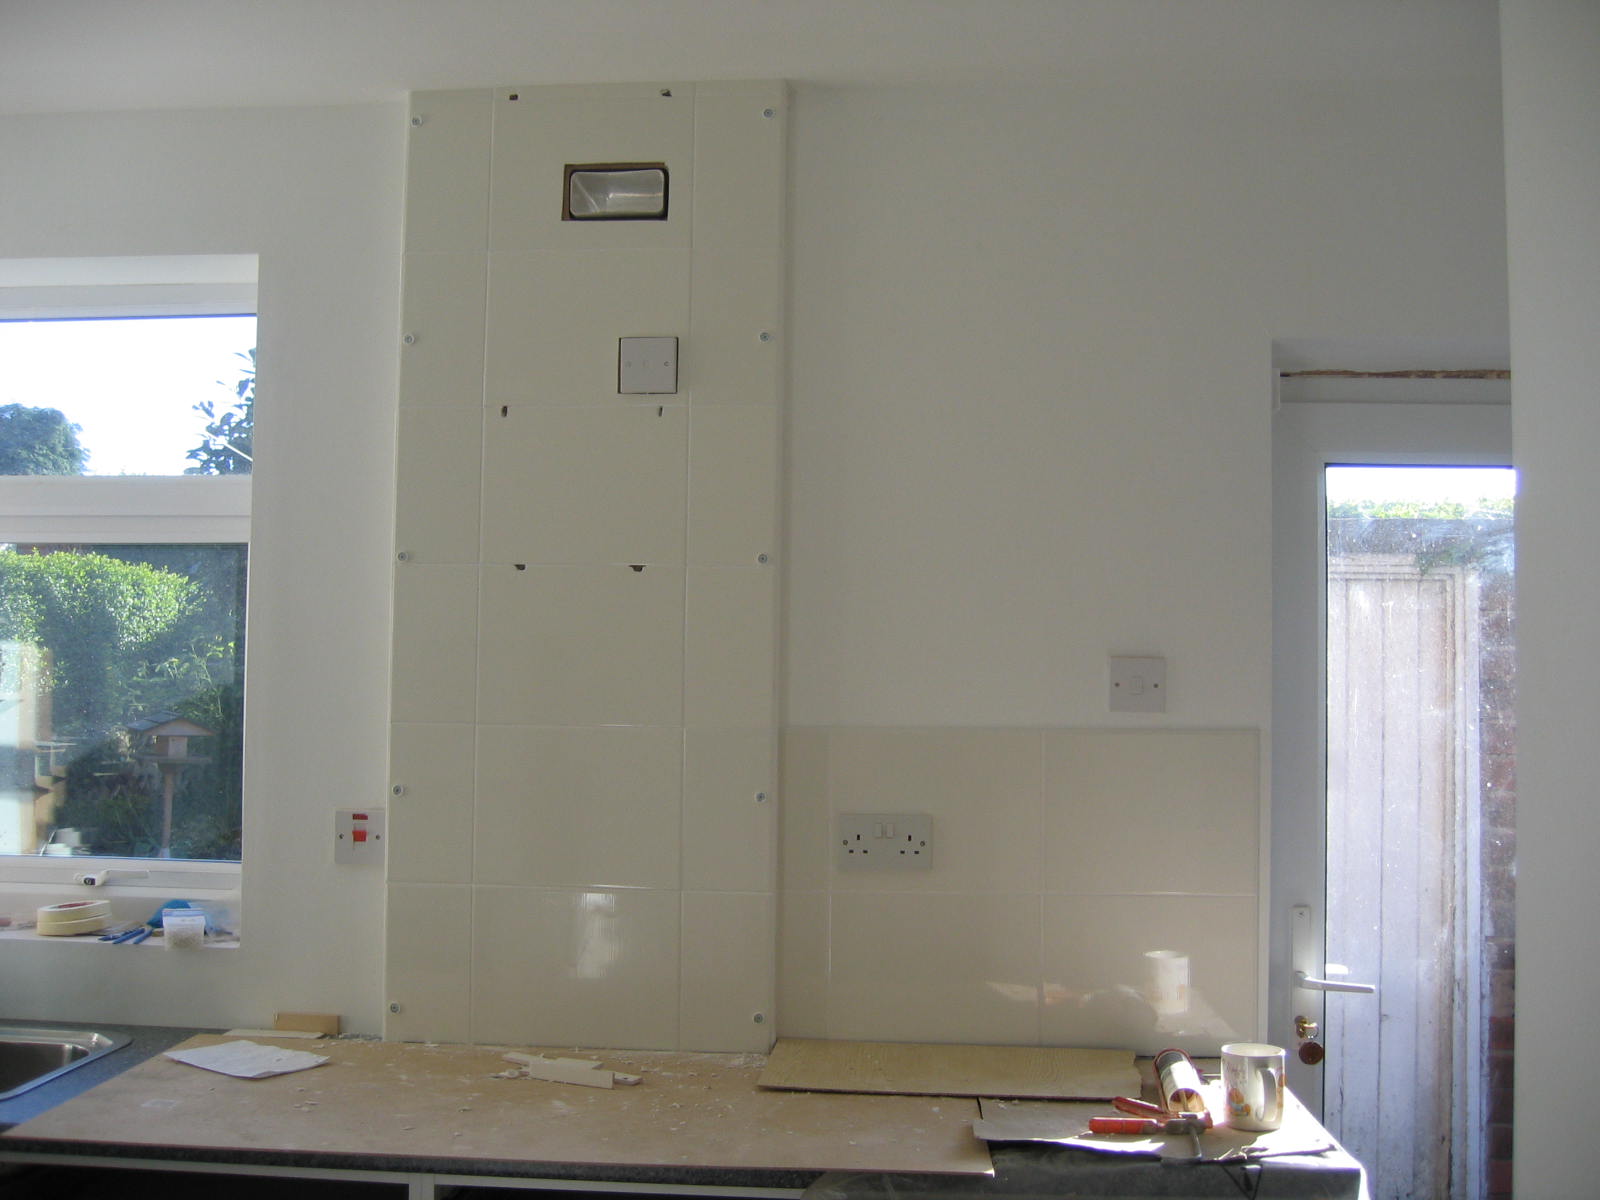
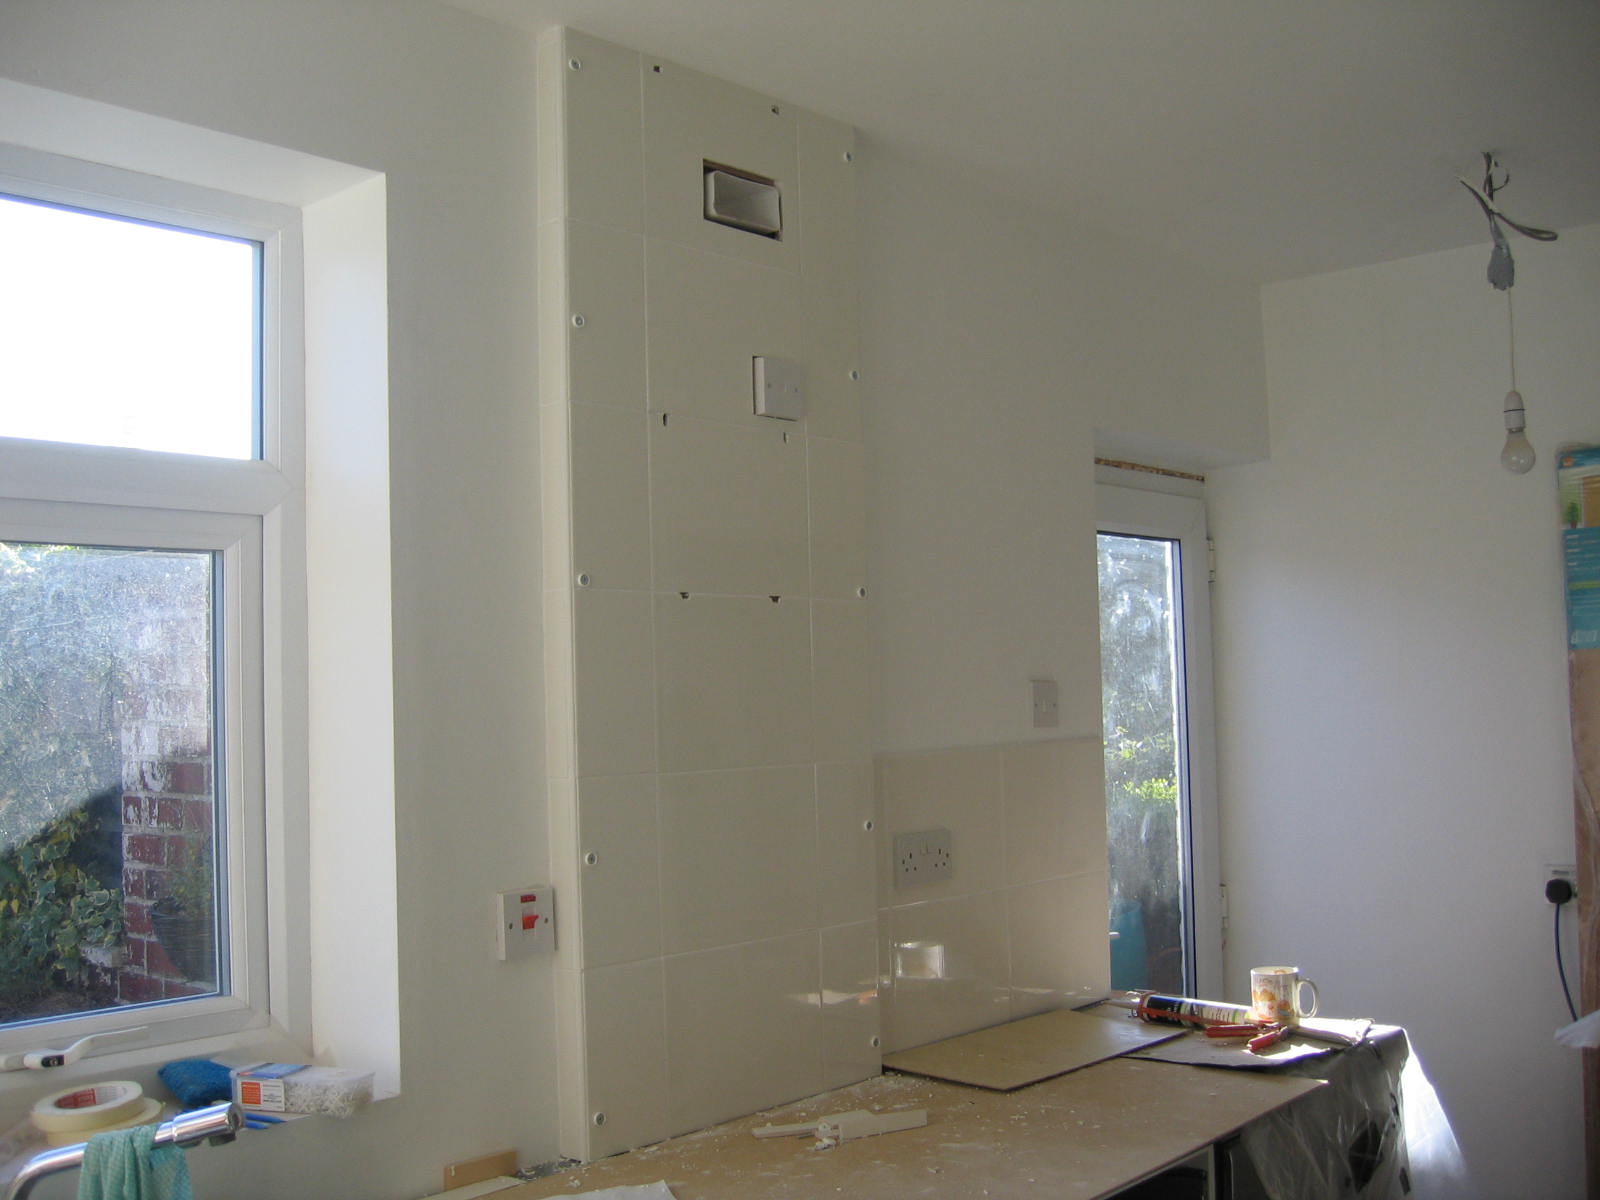
| Revised and rebuilt service duct | |
||
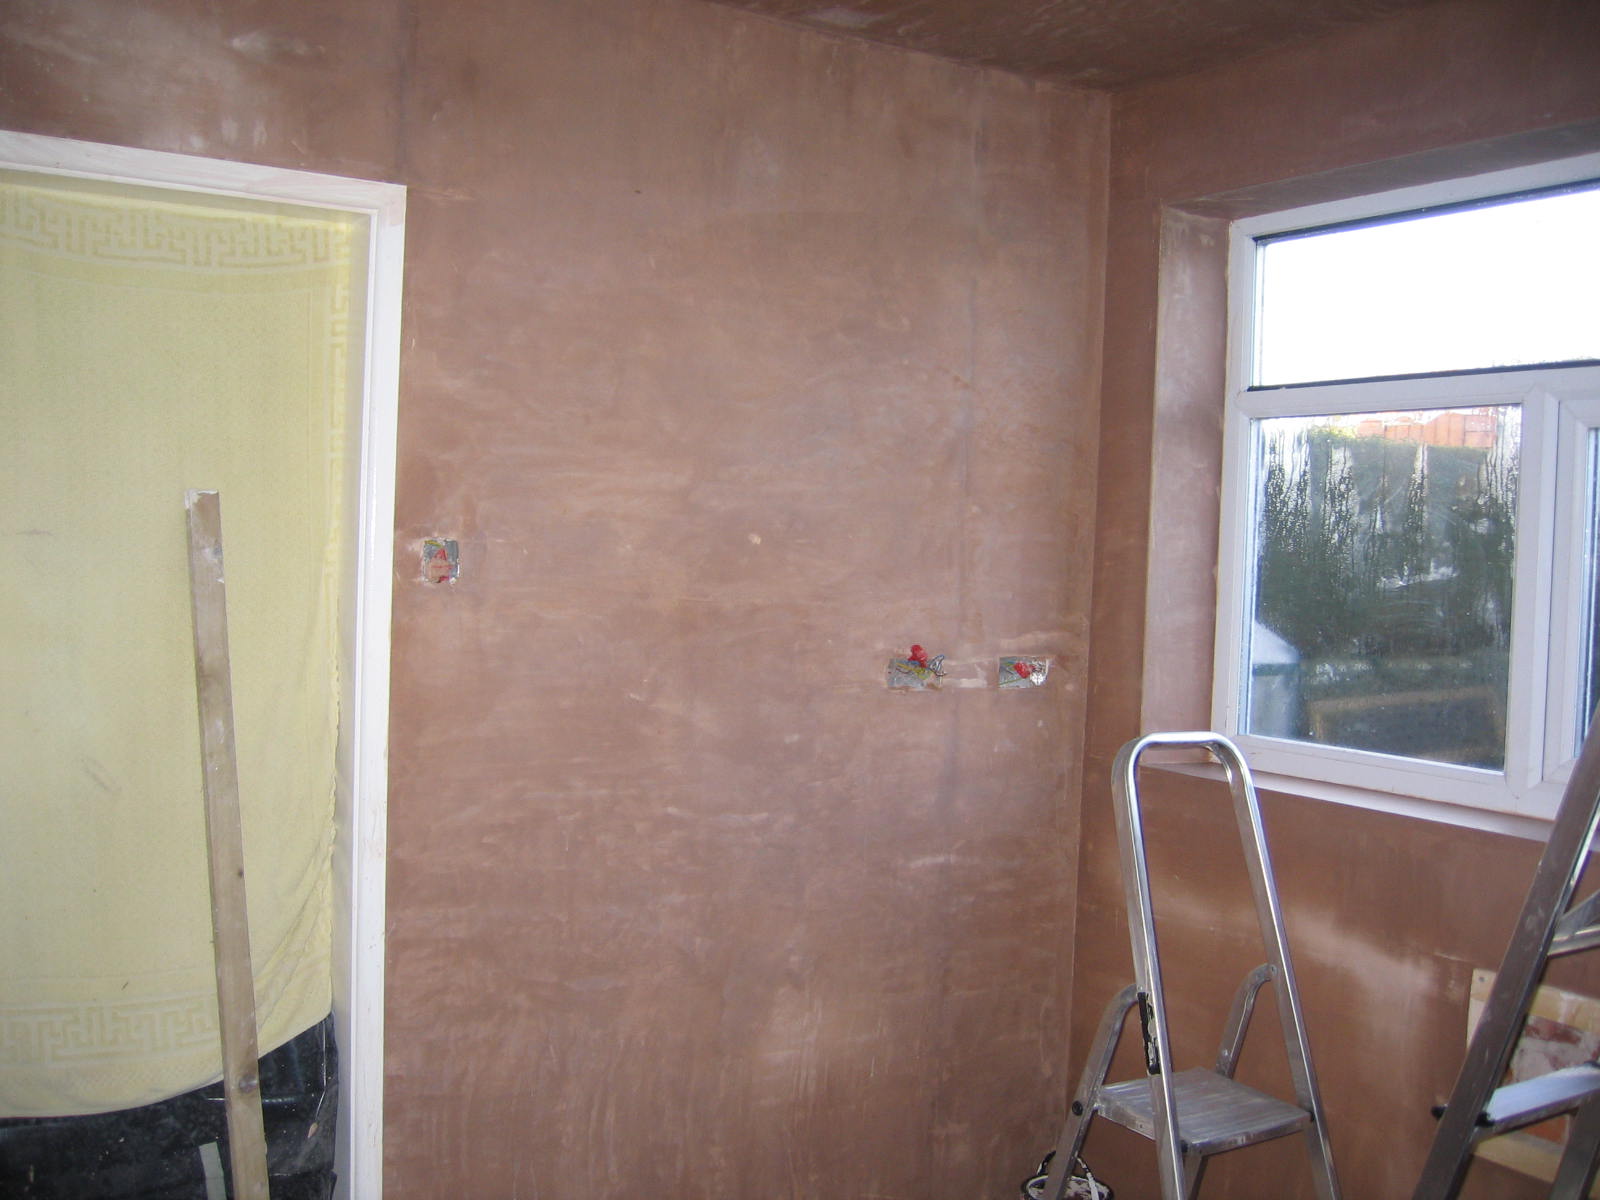
| Plaster out | |
|
|
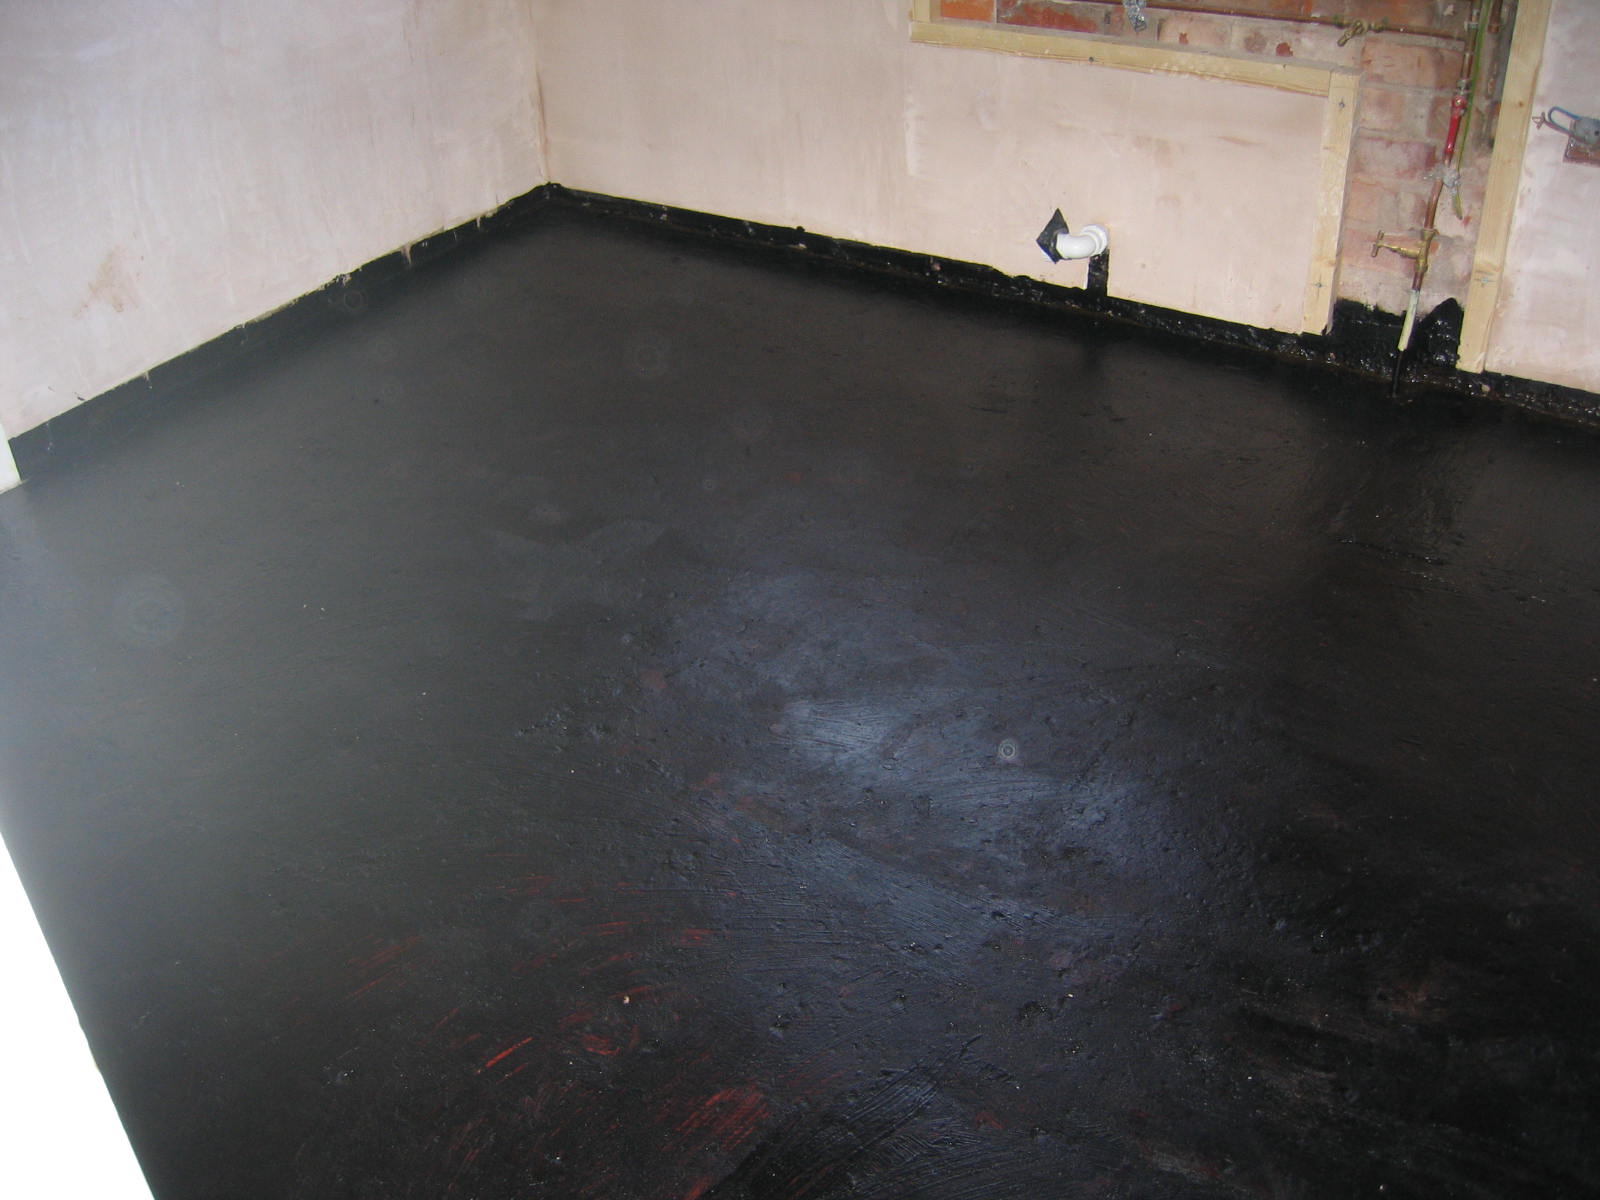
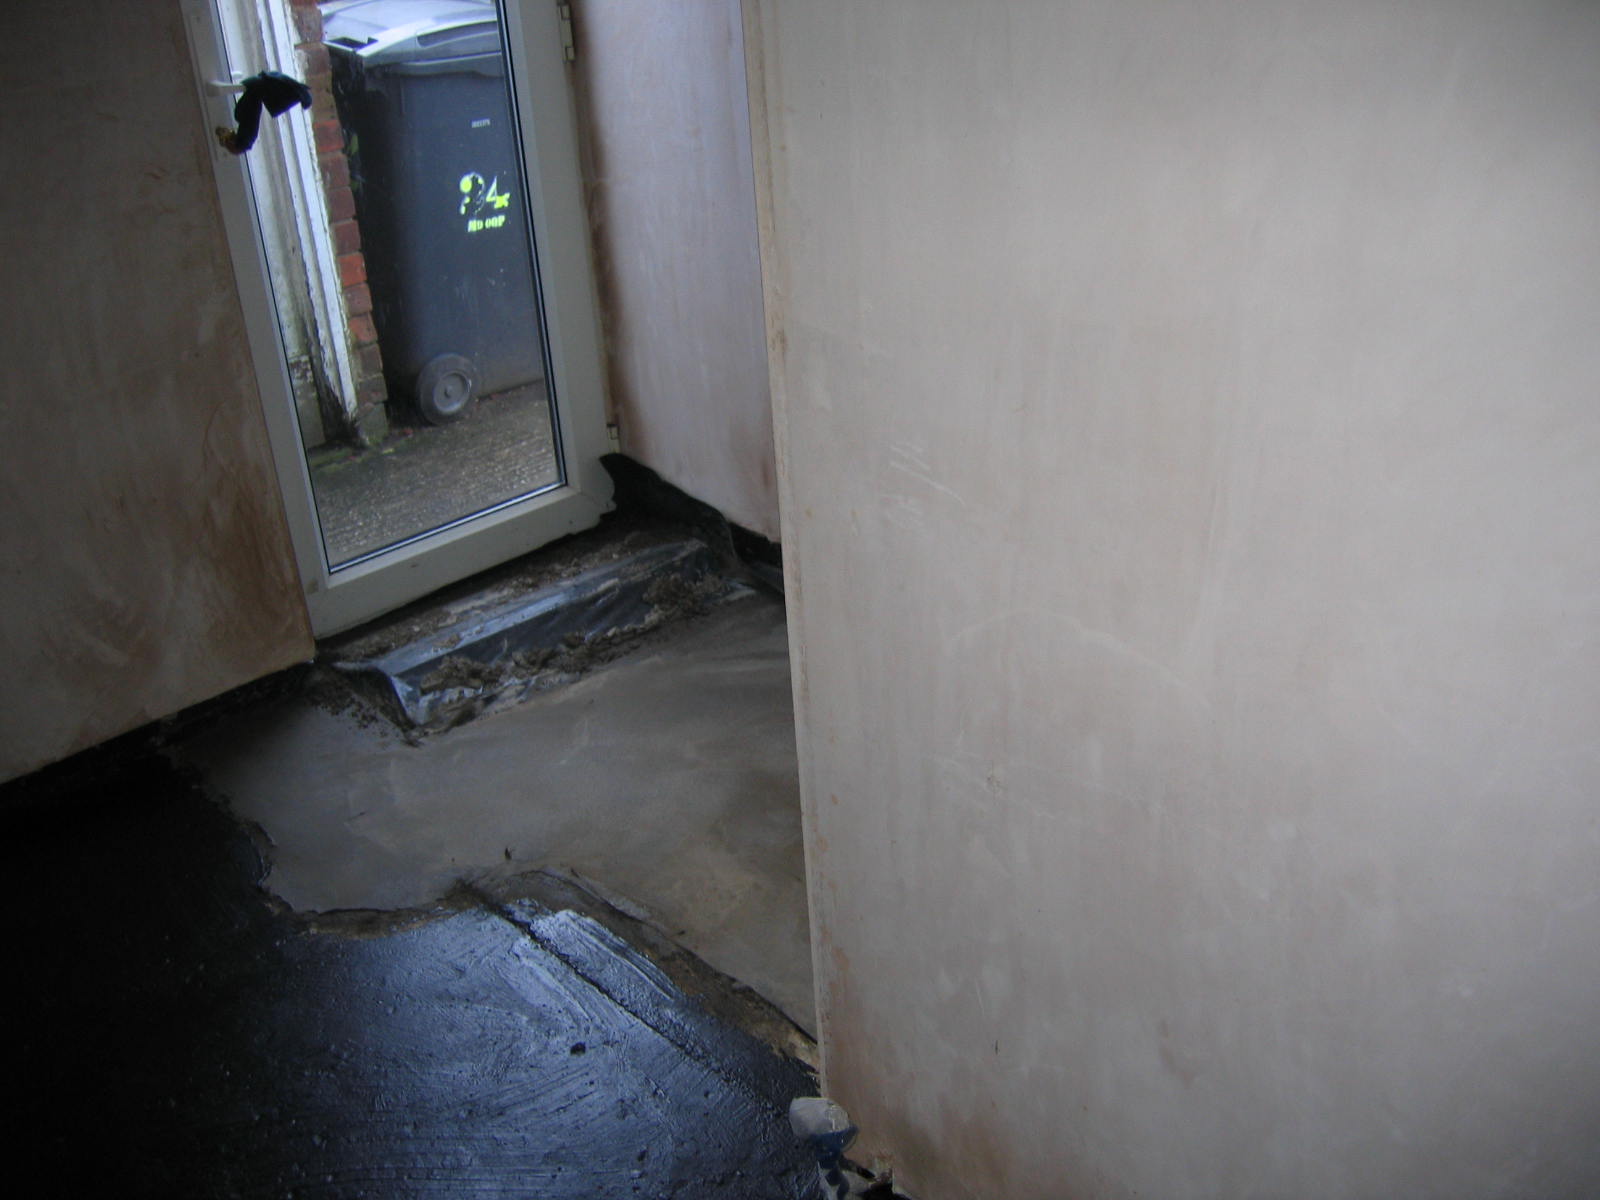
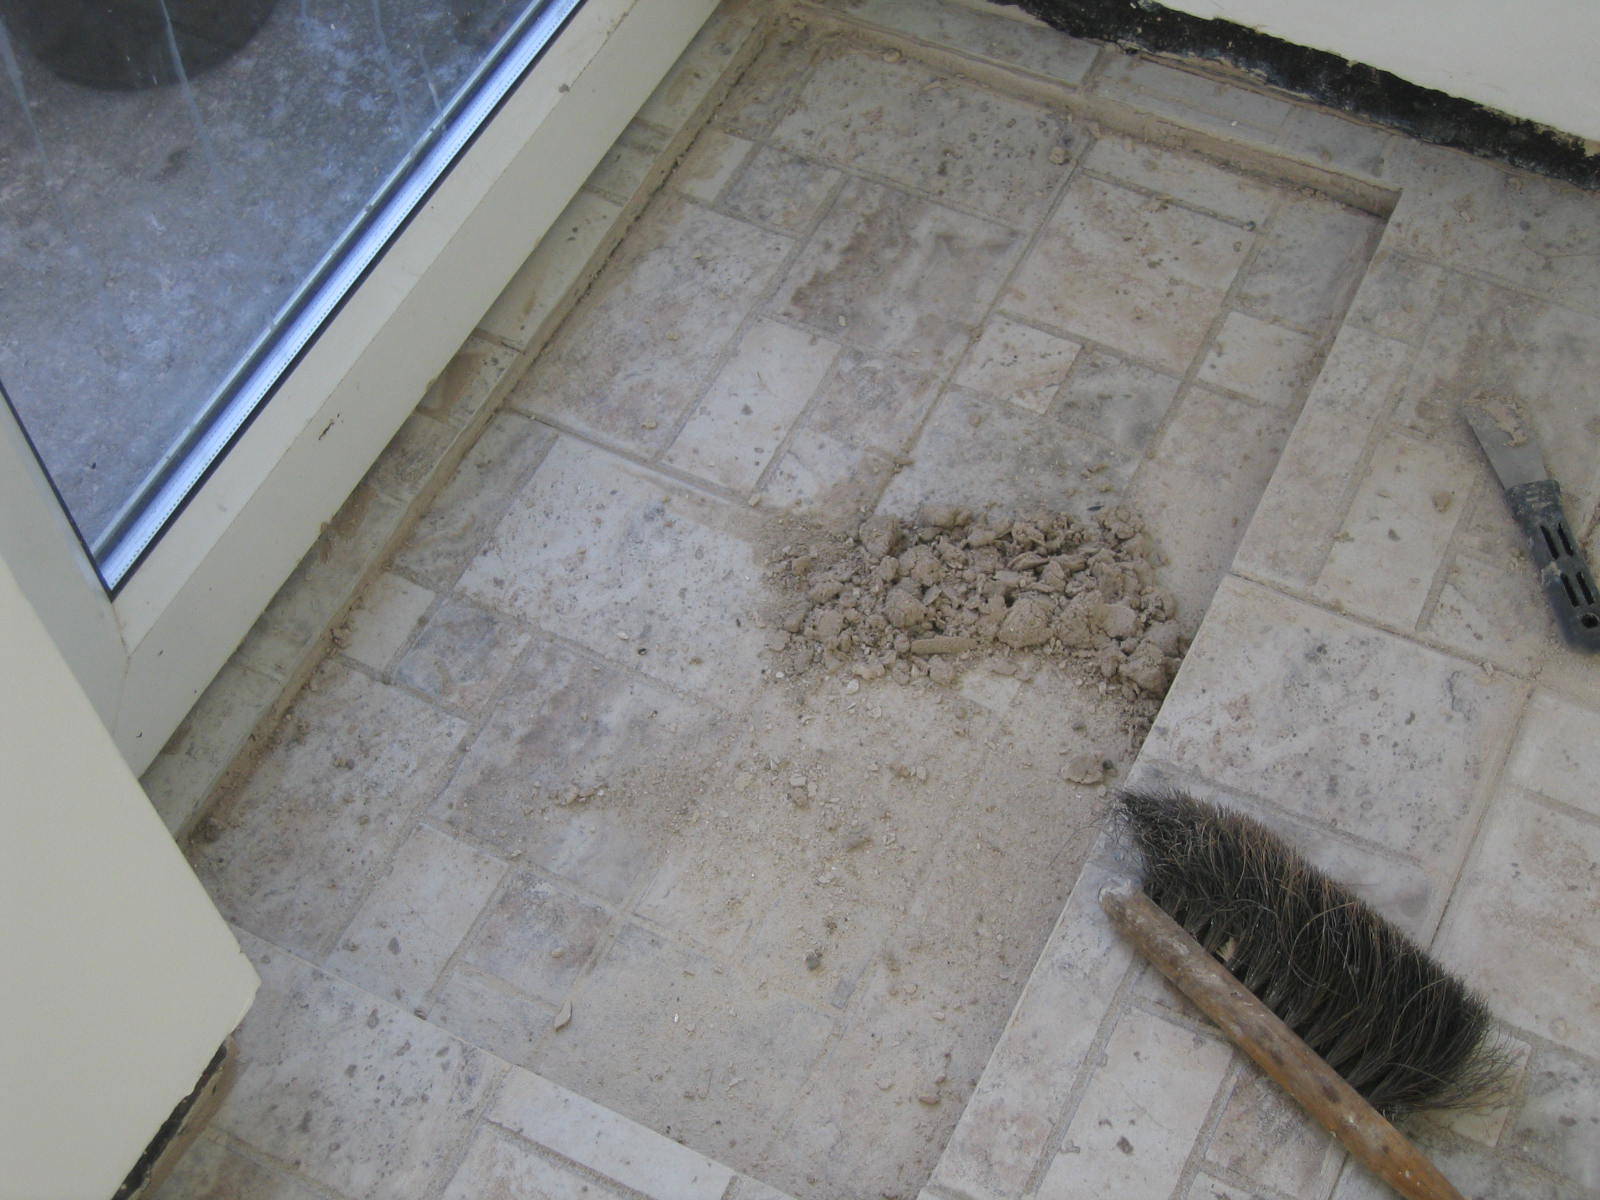
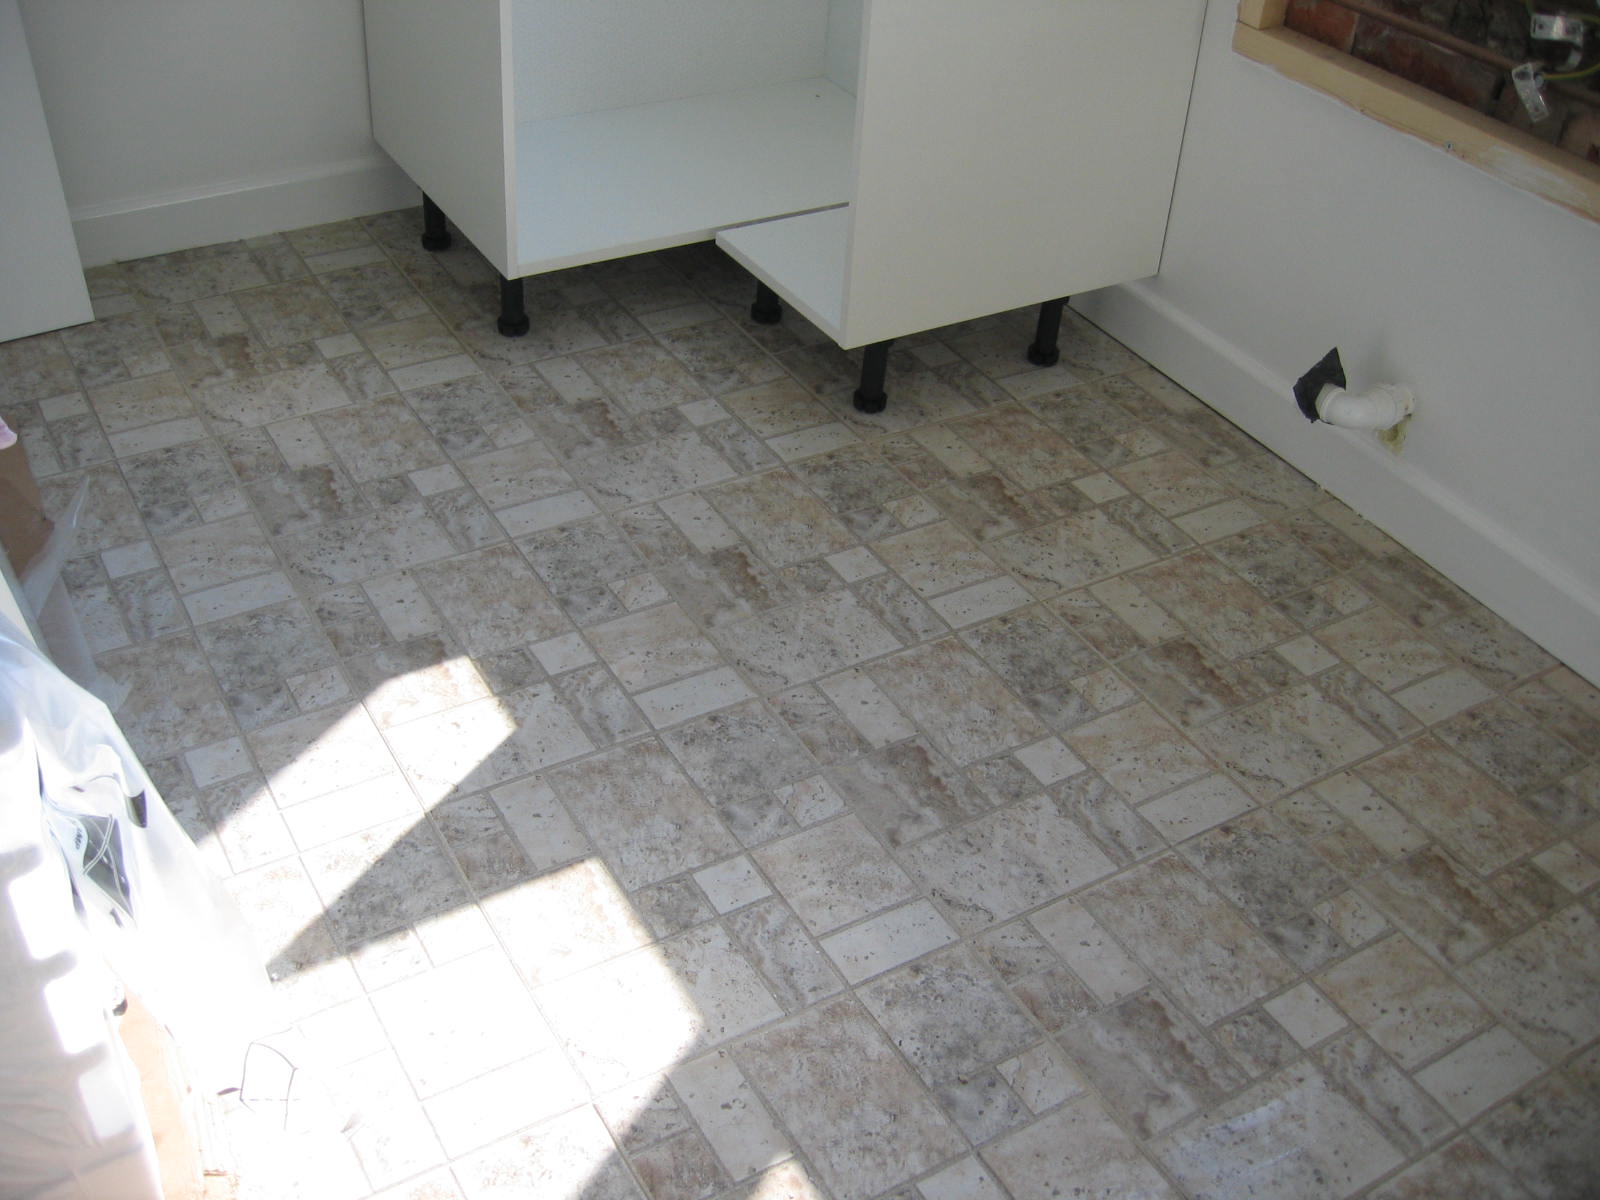
| Seal the floor Note slab cast to level floor with form for the mat well still in place |
|
|
|
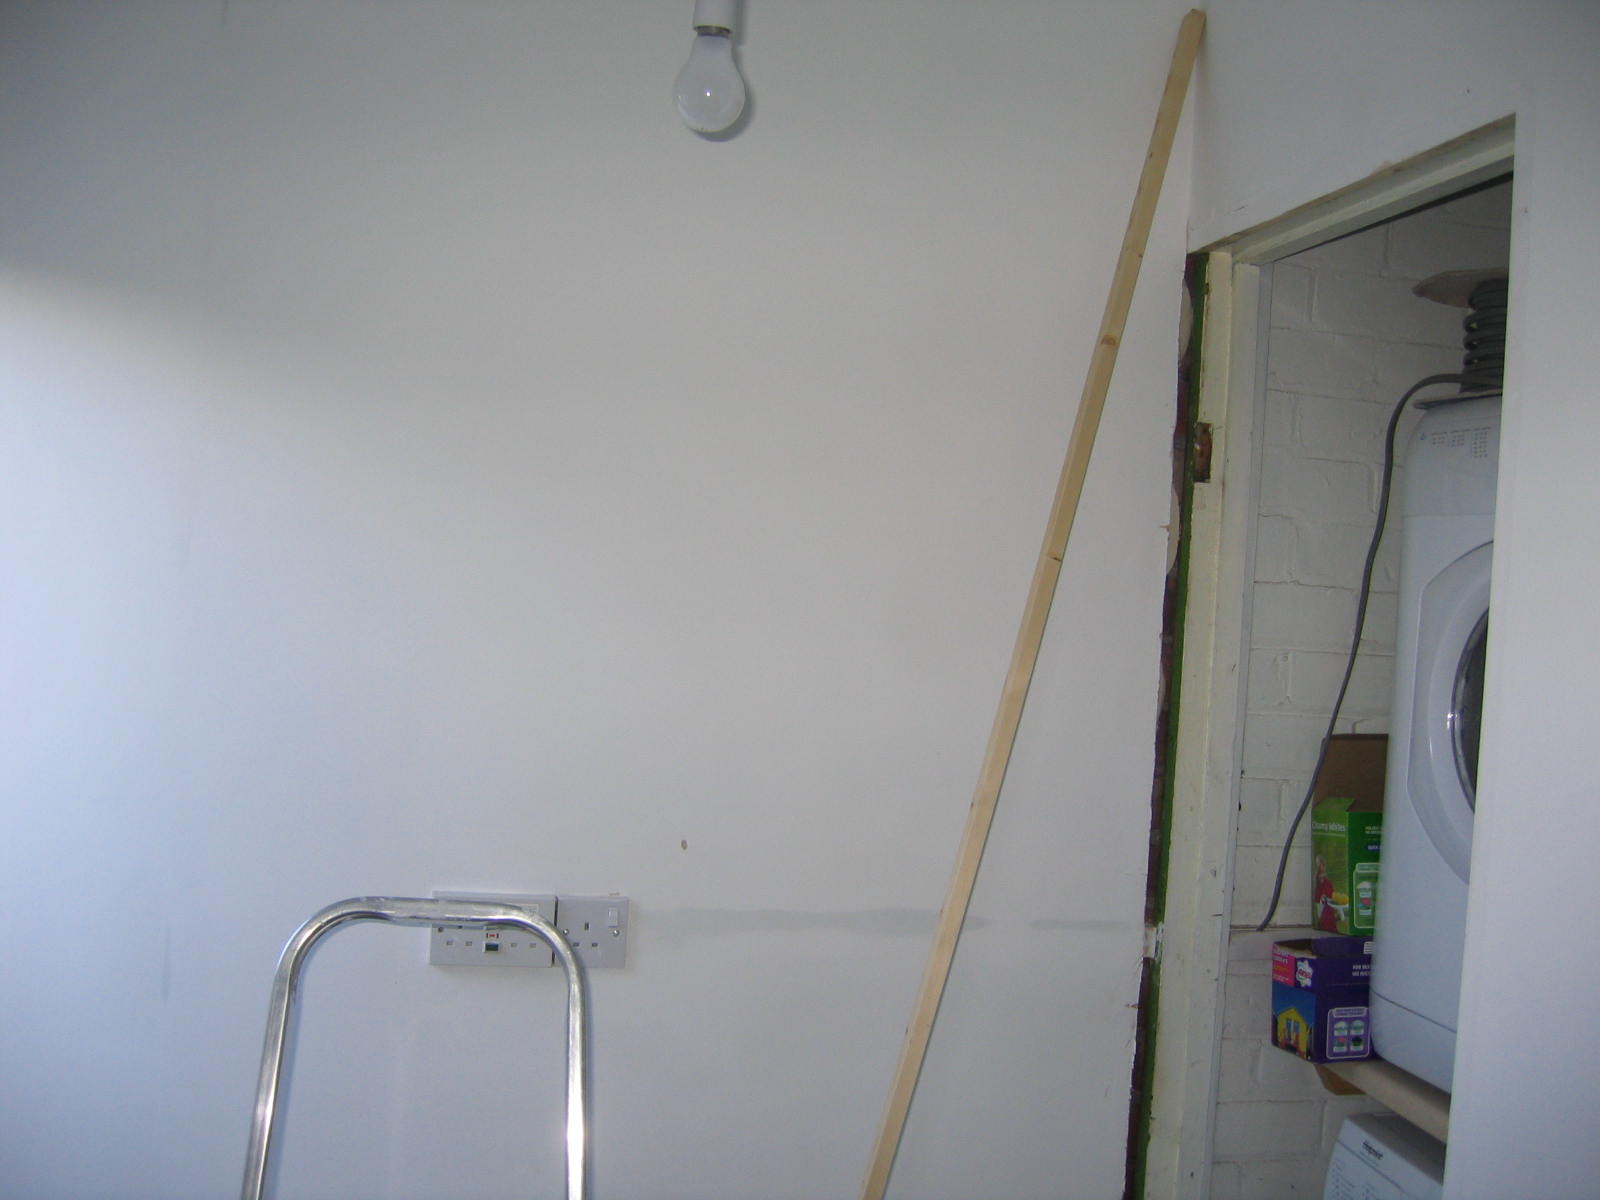
| Paint through | |
|
|
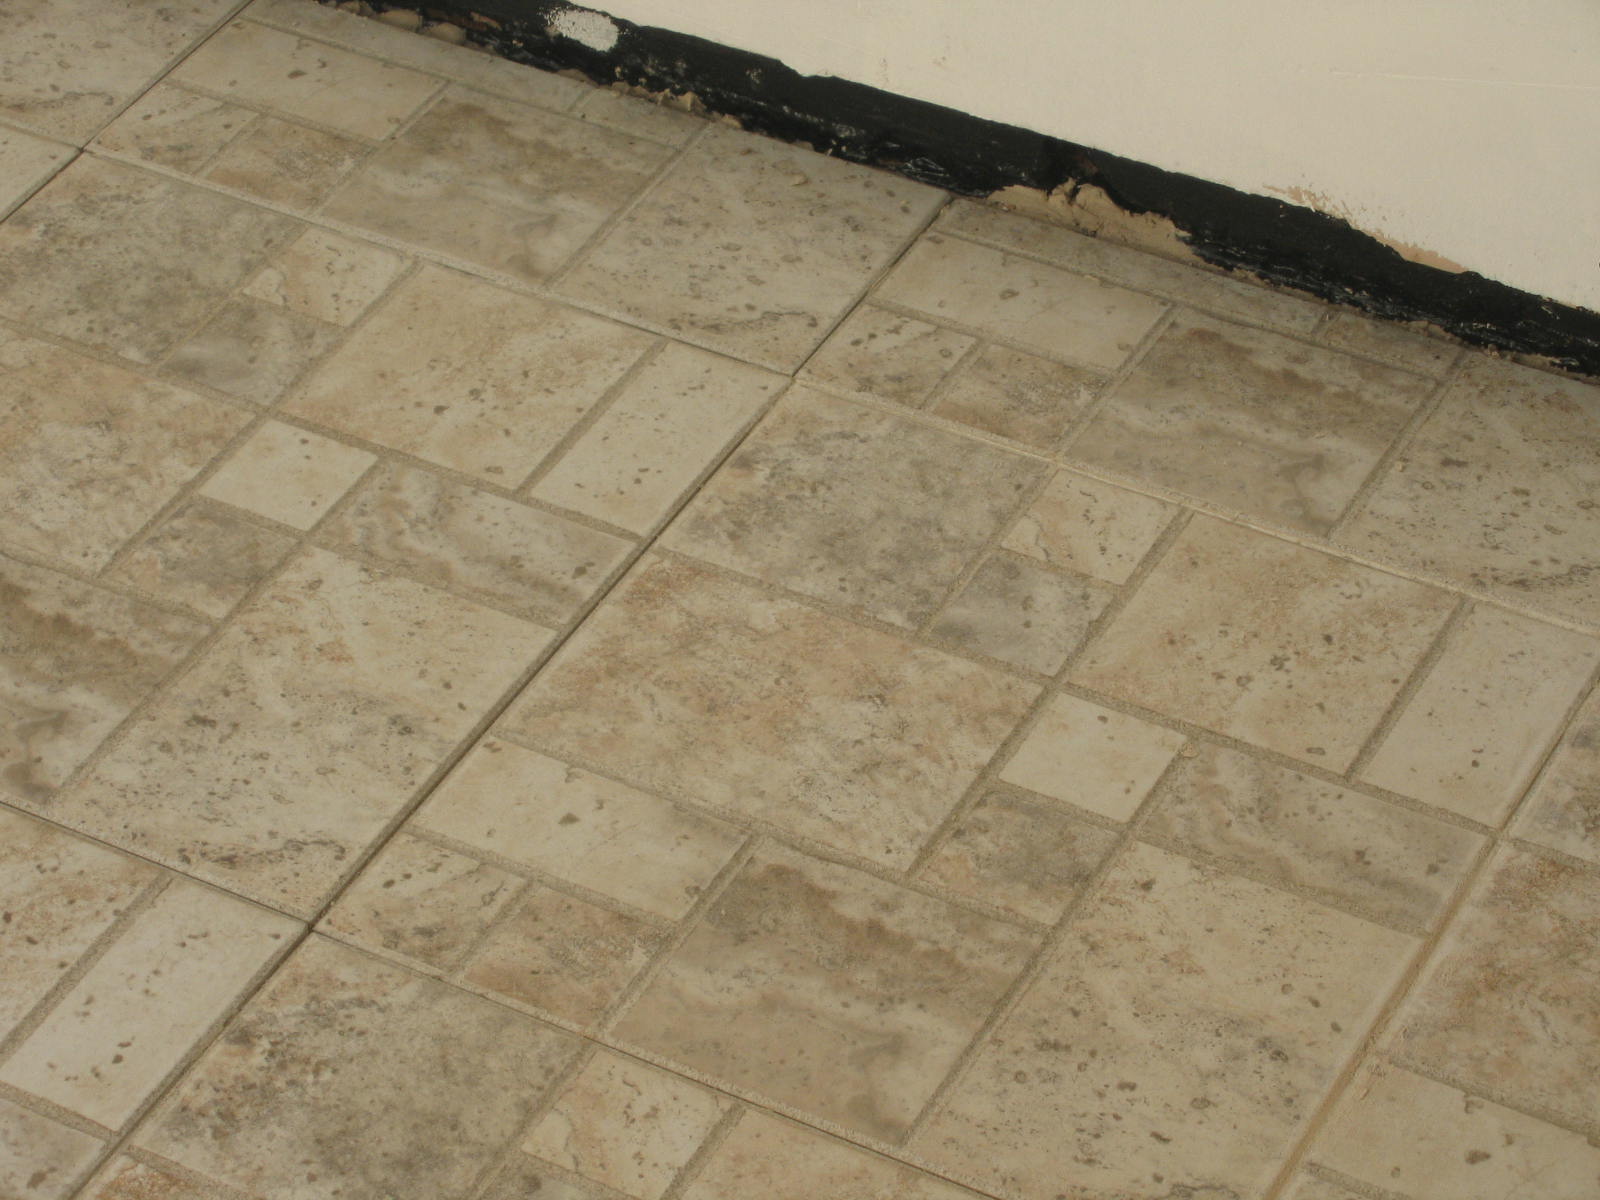
| Lay porcelain tile floor | |
|
|
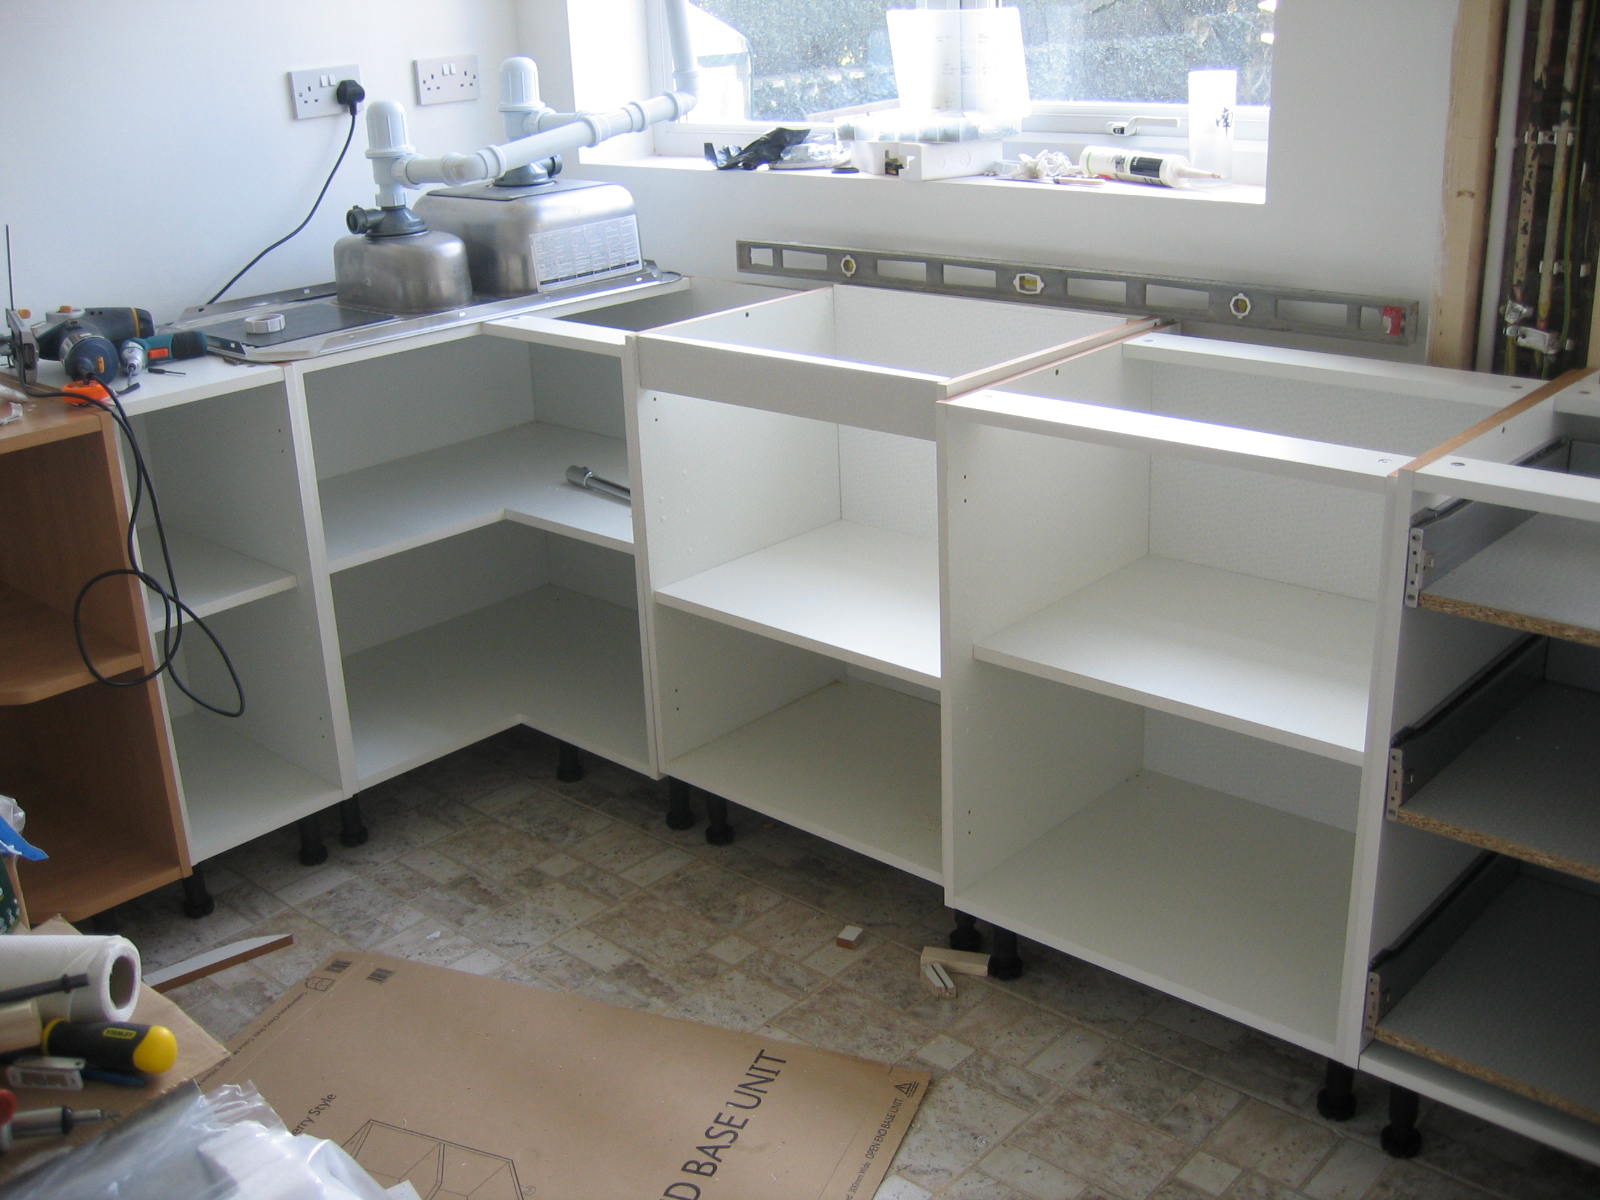
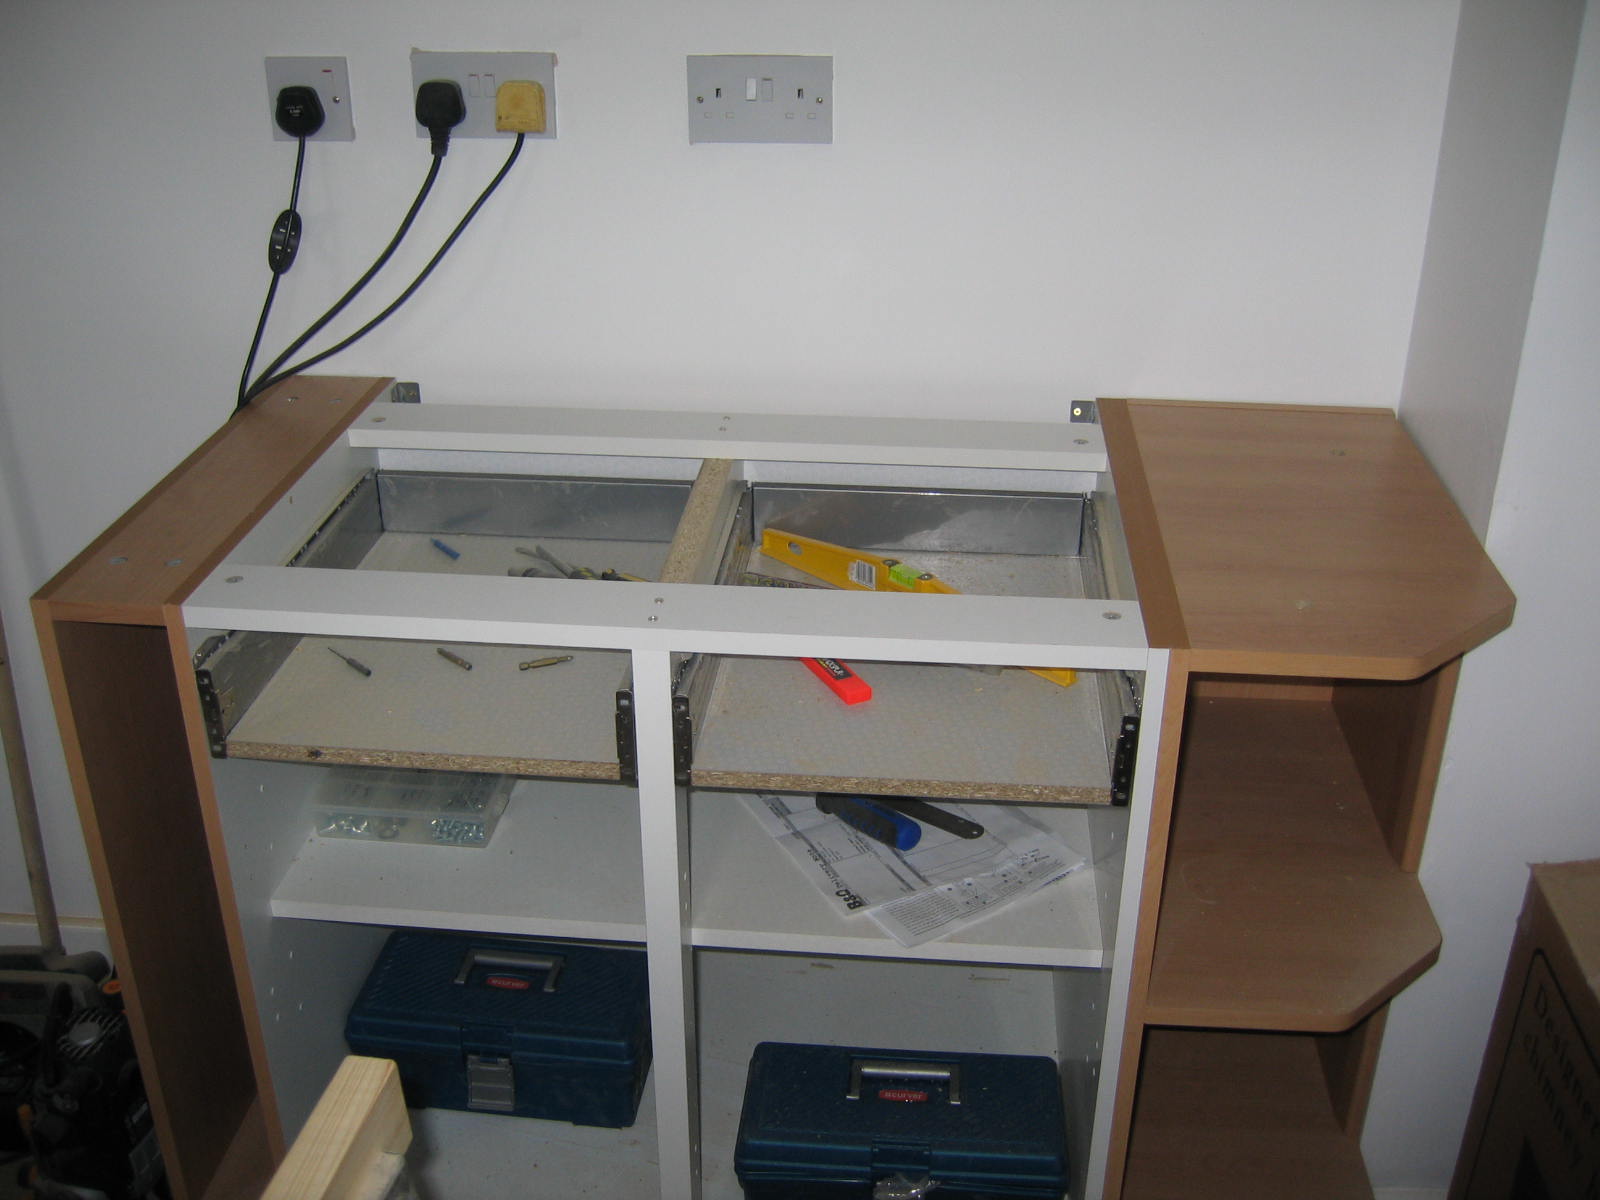
| Skirting boards fitted, kitchen units go in | |
|
|
| Building the gas water cooker supply service duct. Chopping the vent for the extractor hood |
|||
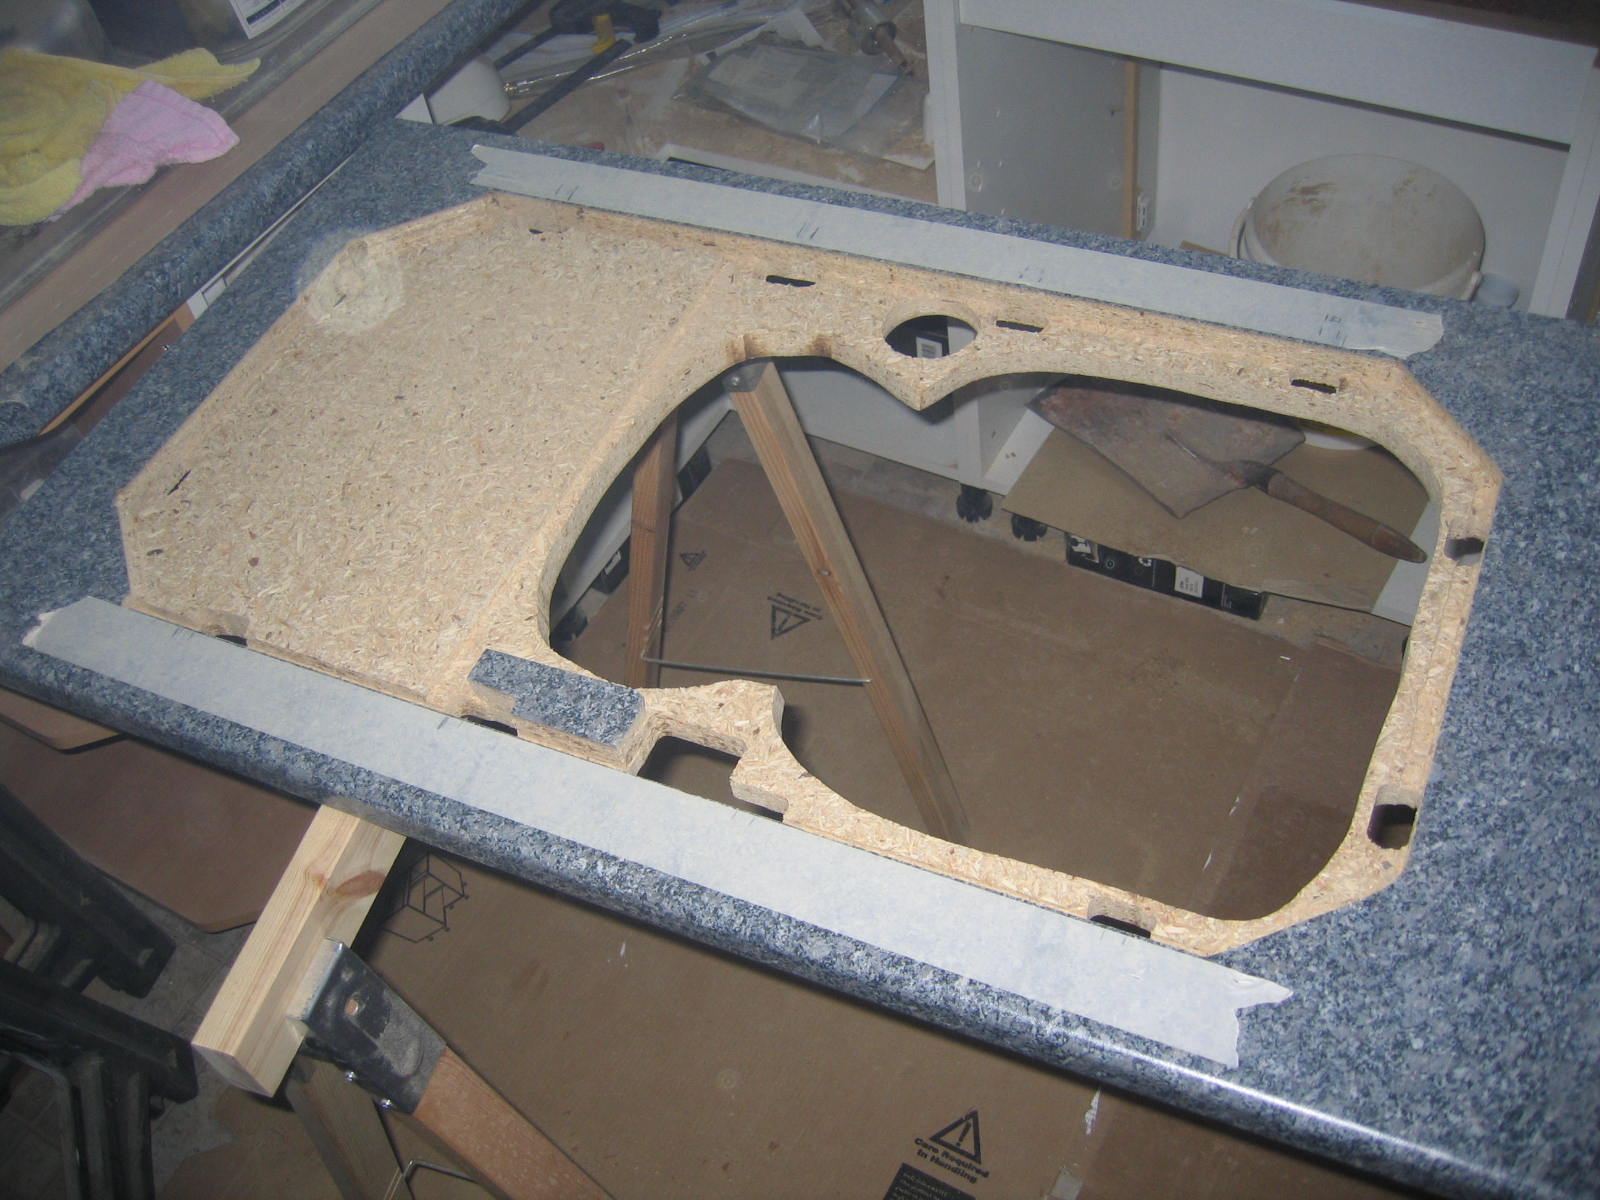
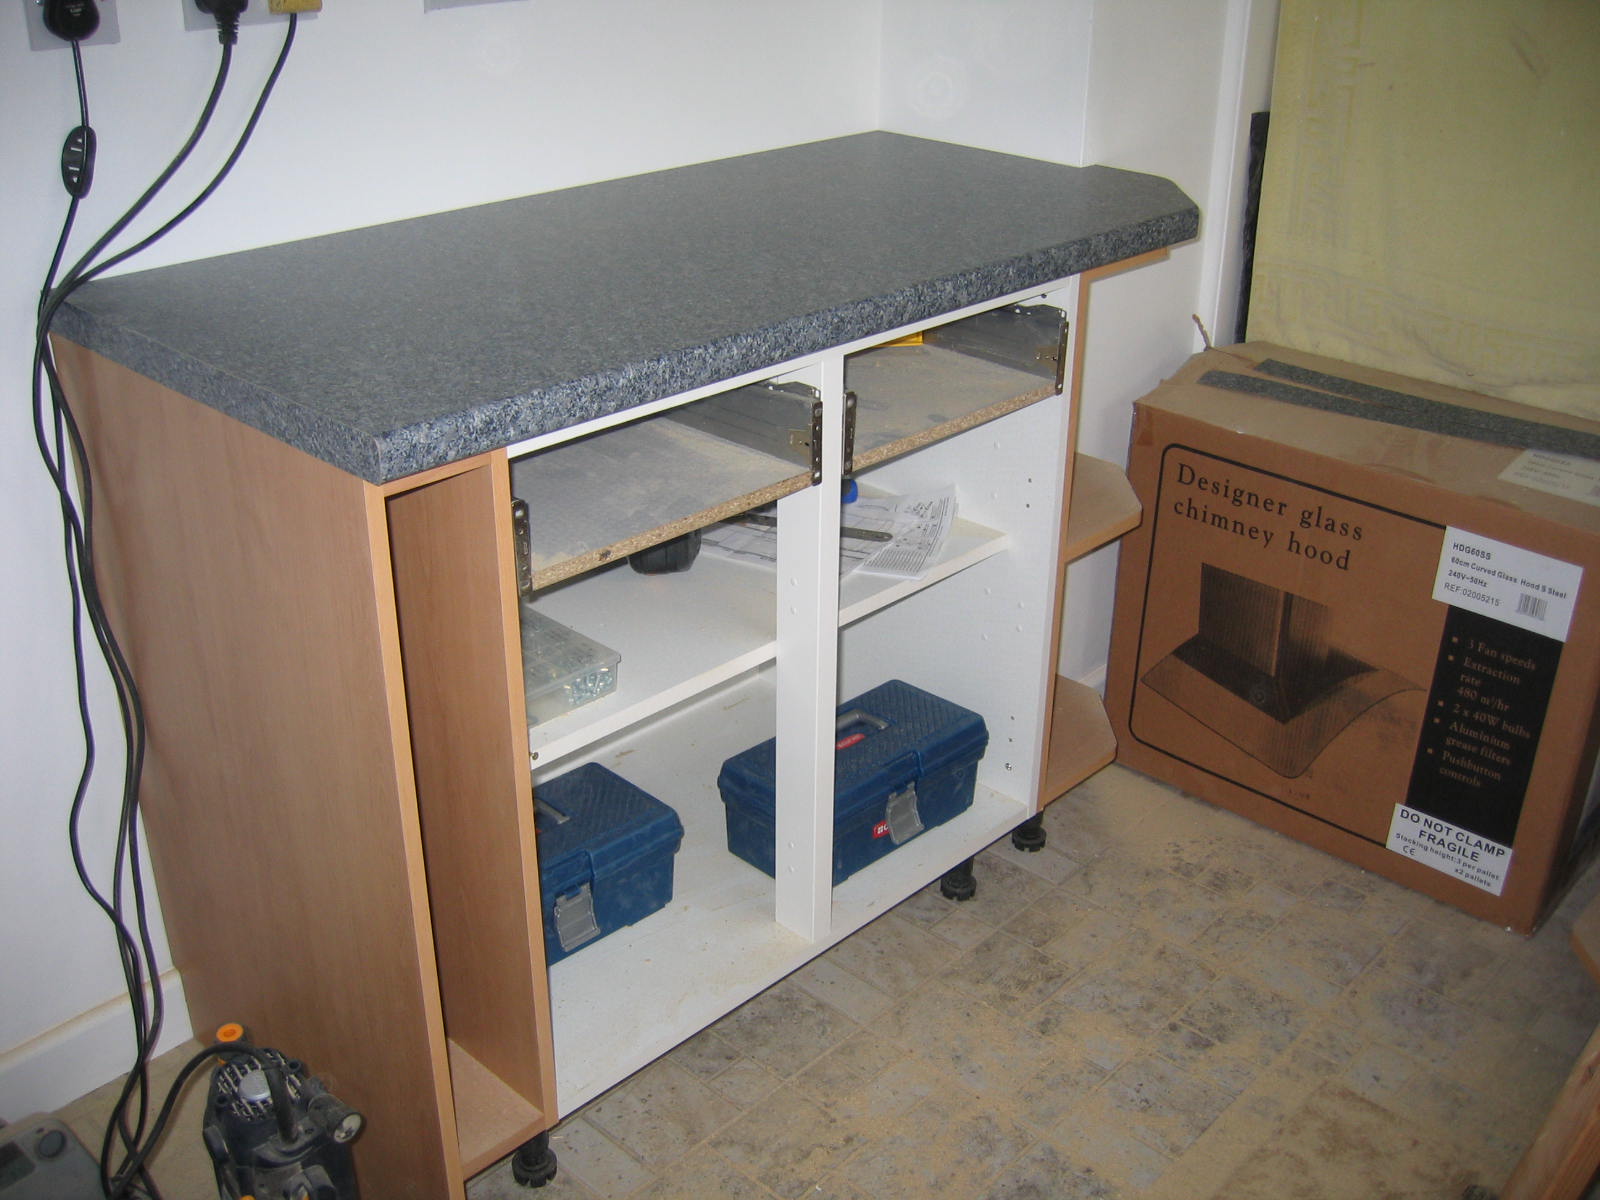
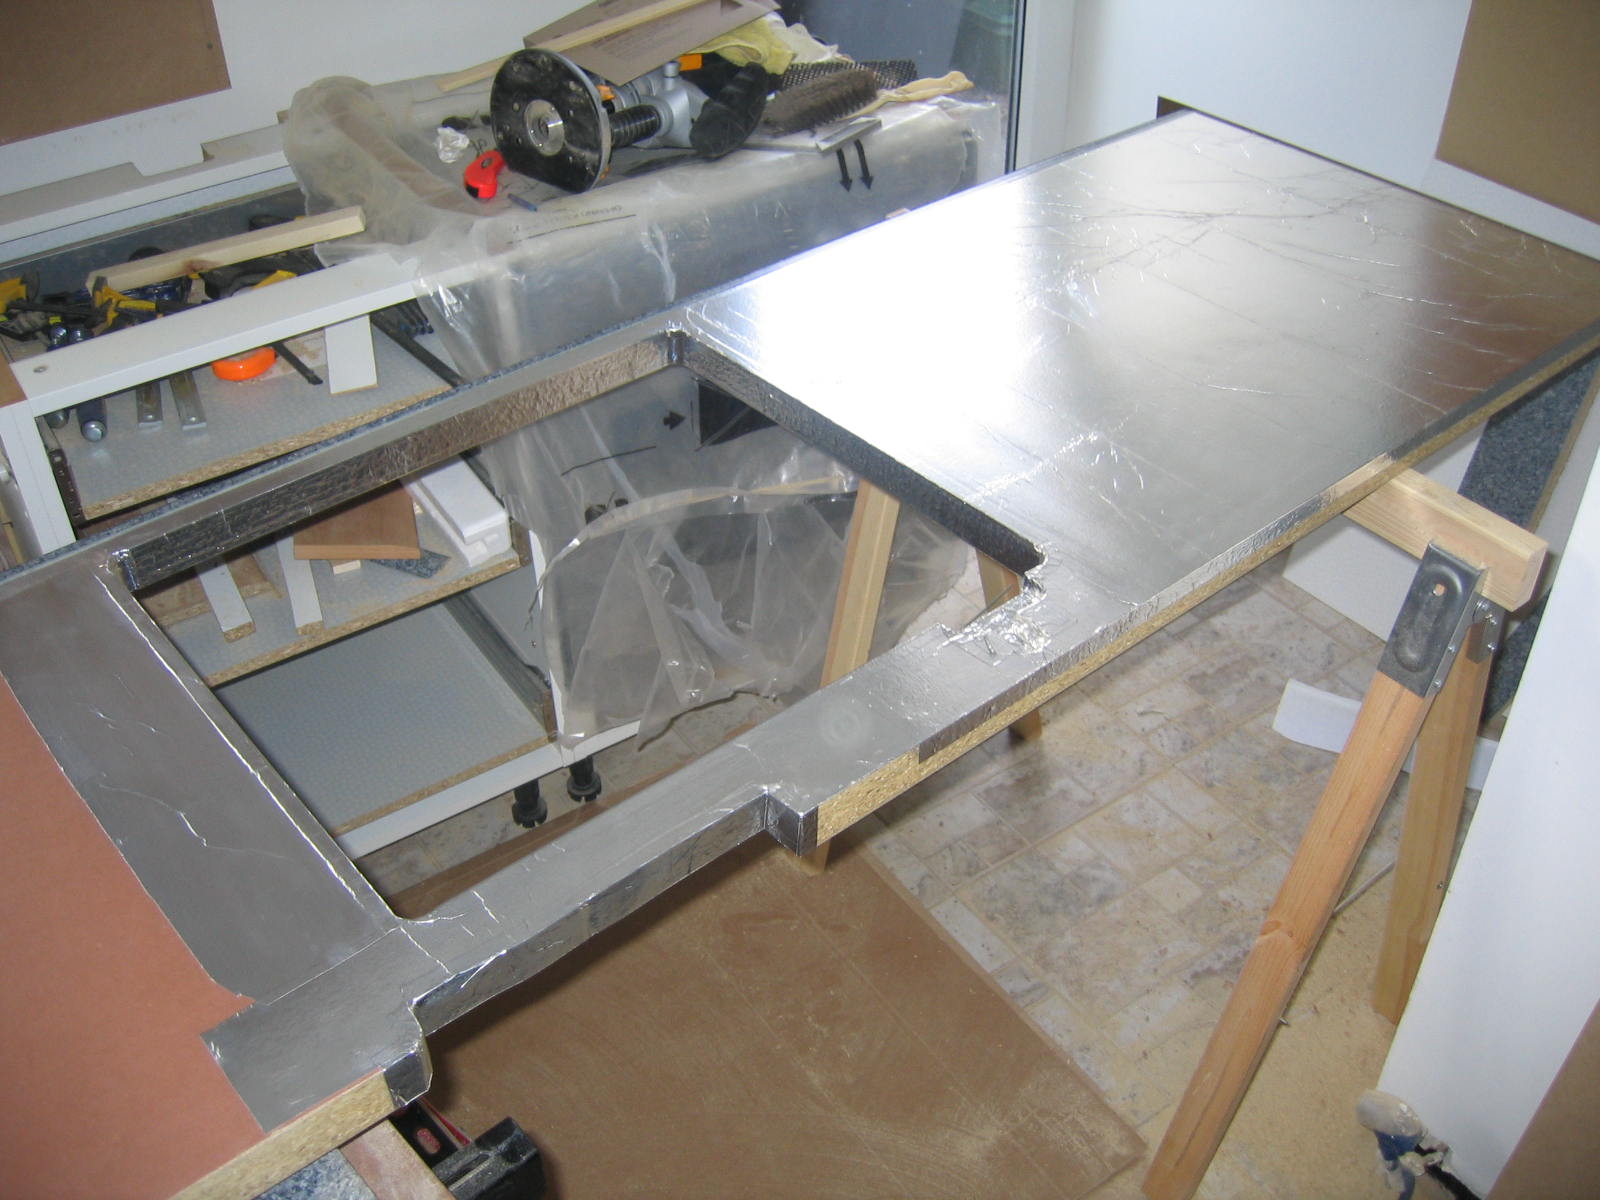
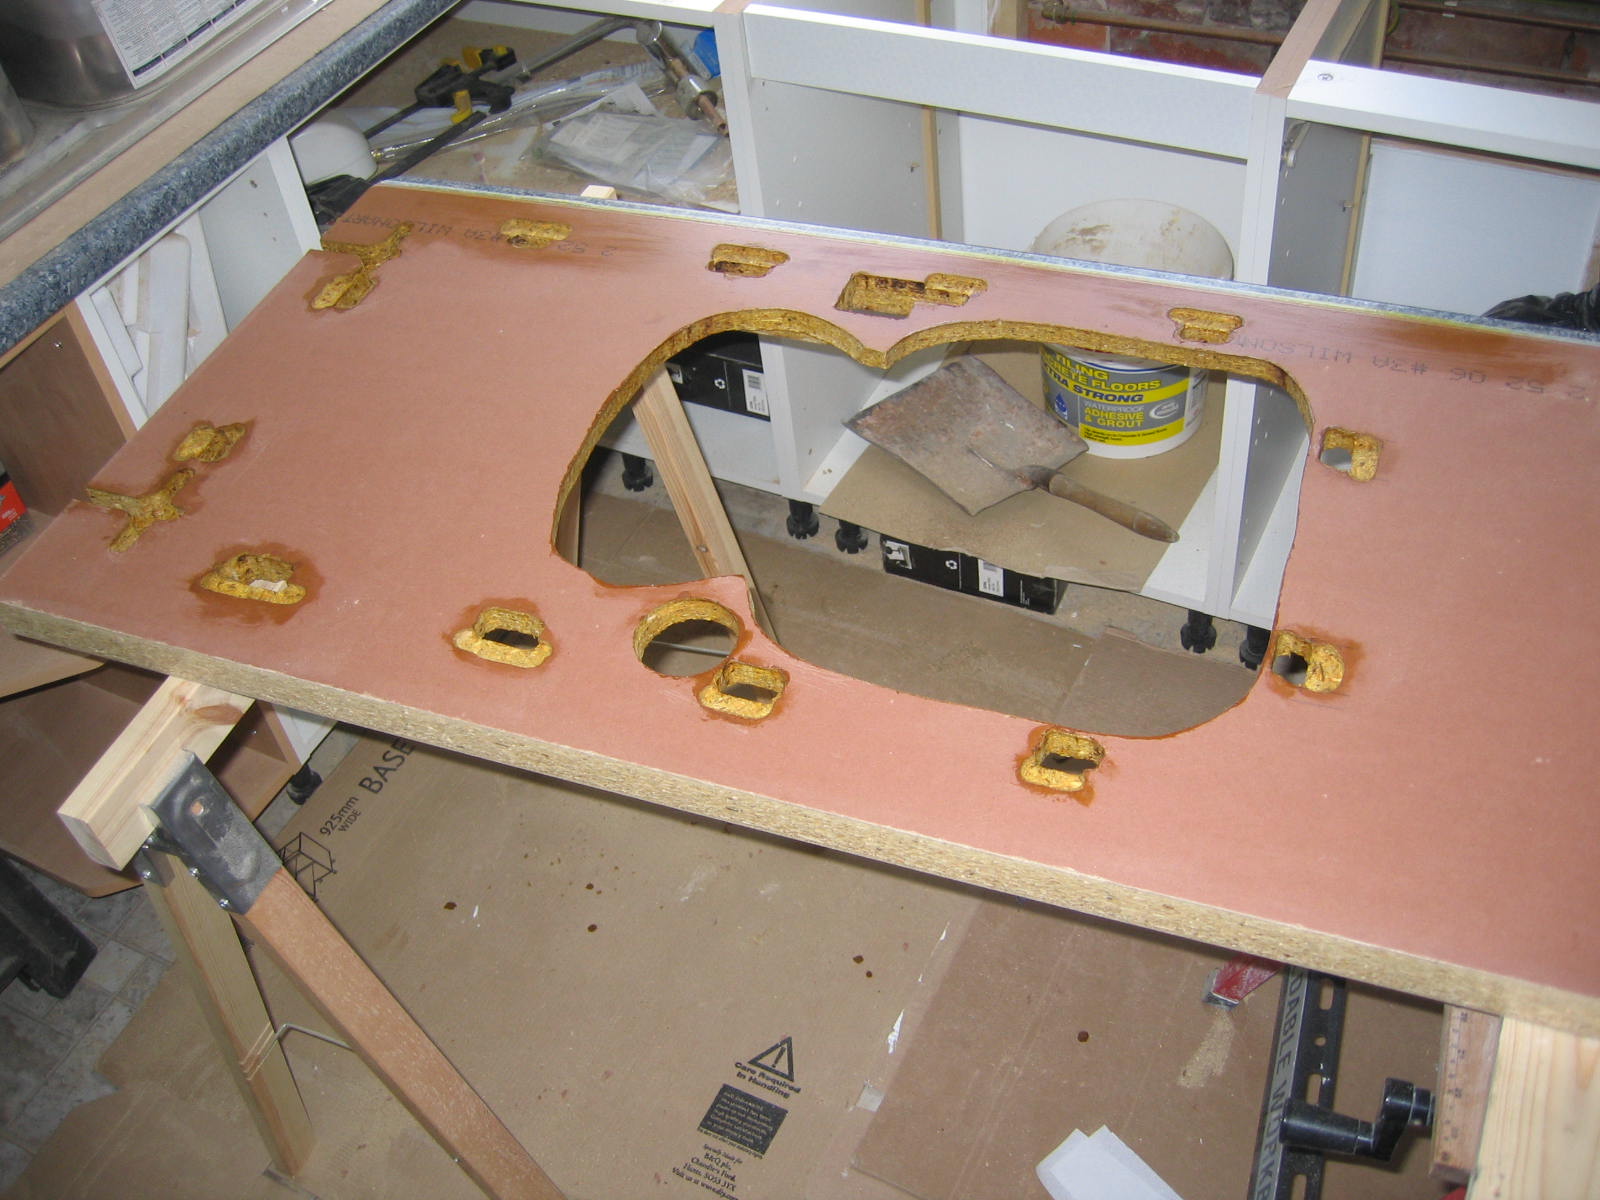
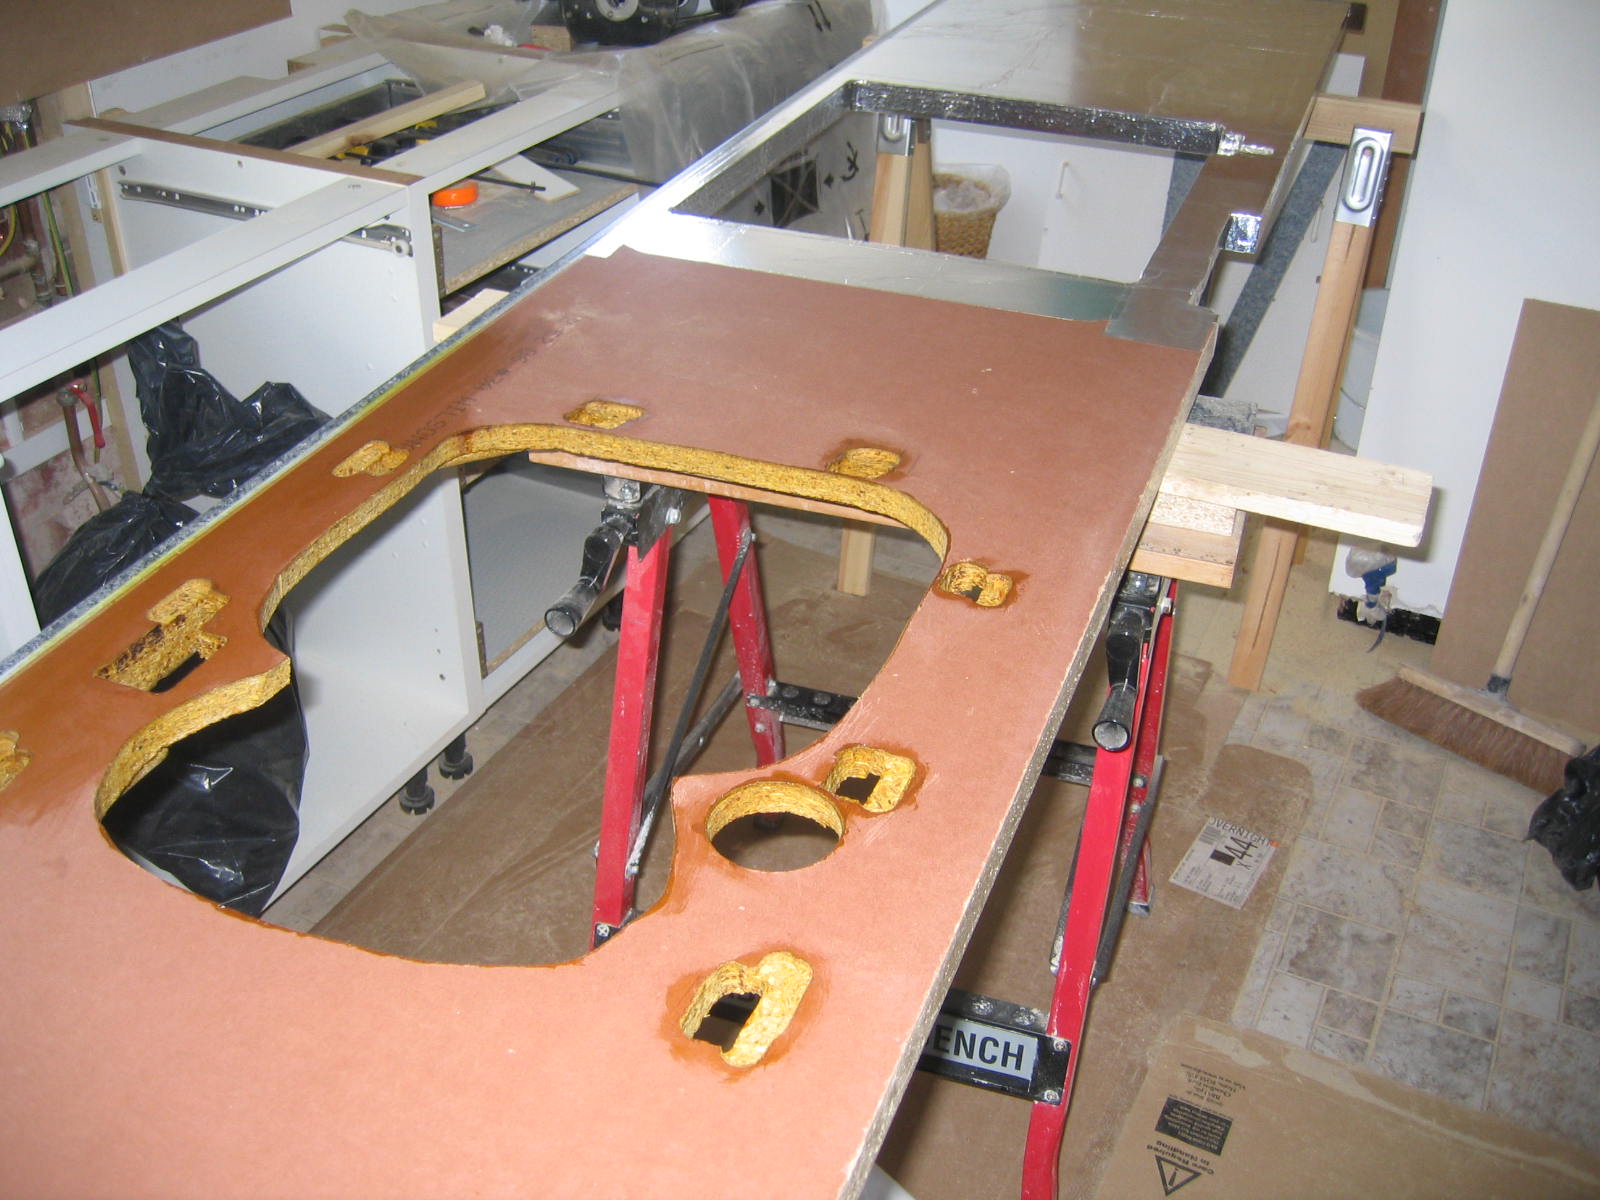
| Routing the worktops | |
|
|
| Trial fit of the worktops | |
|
|
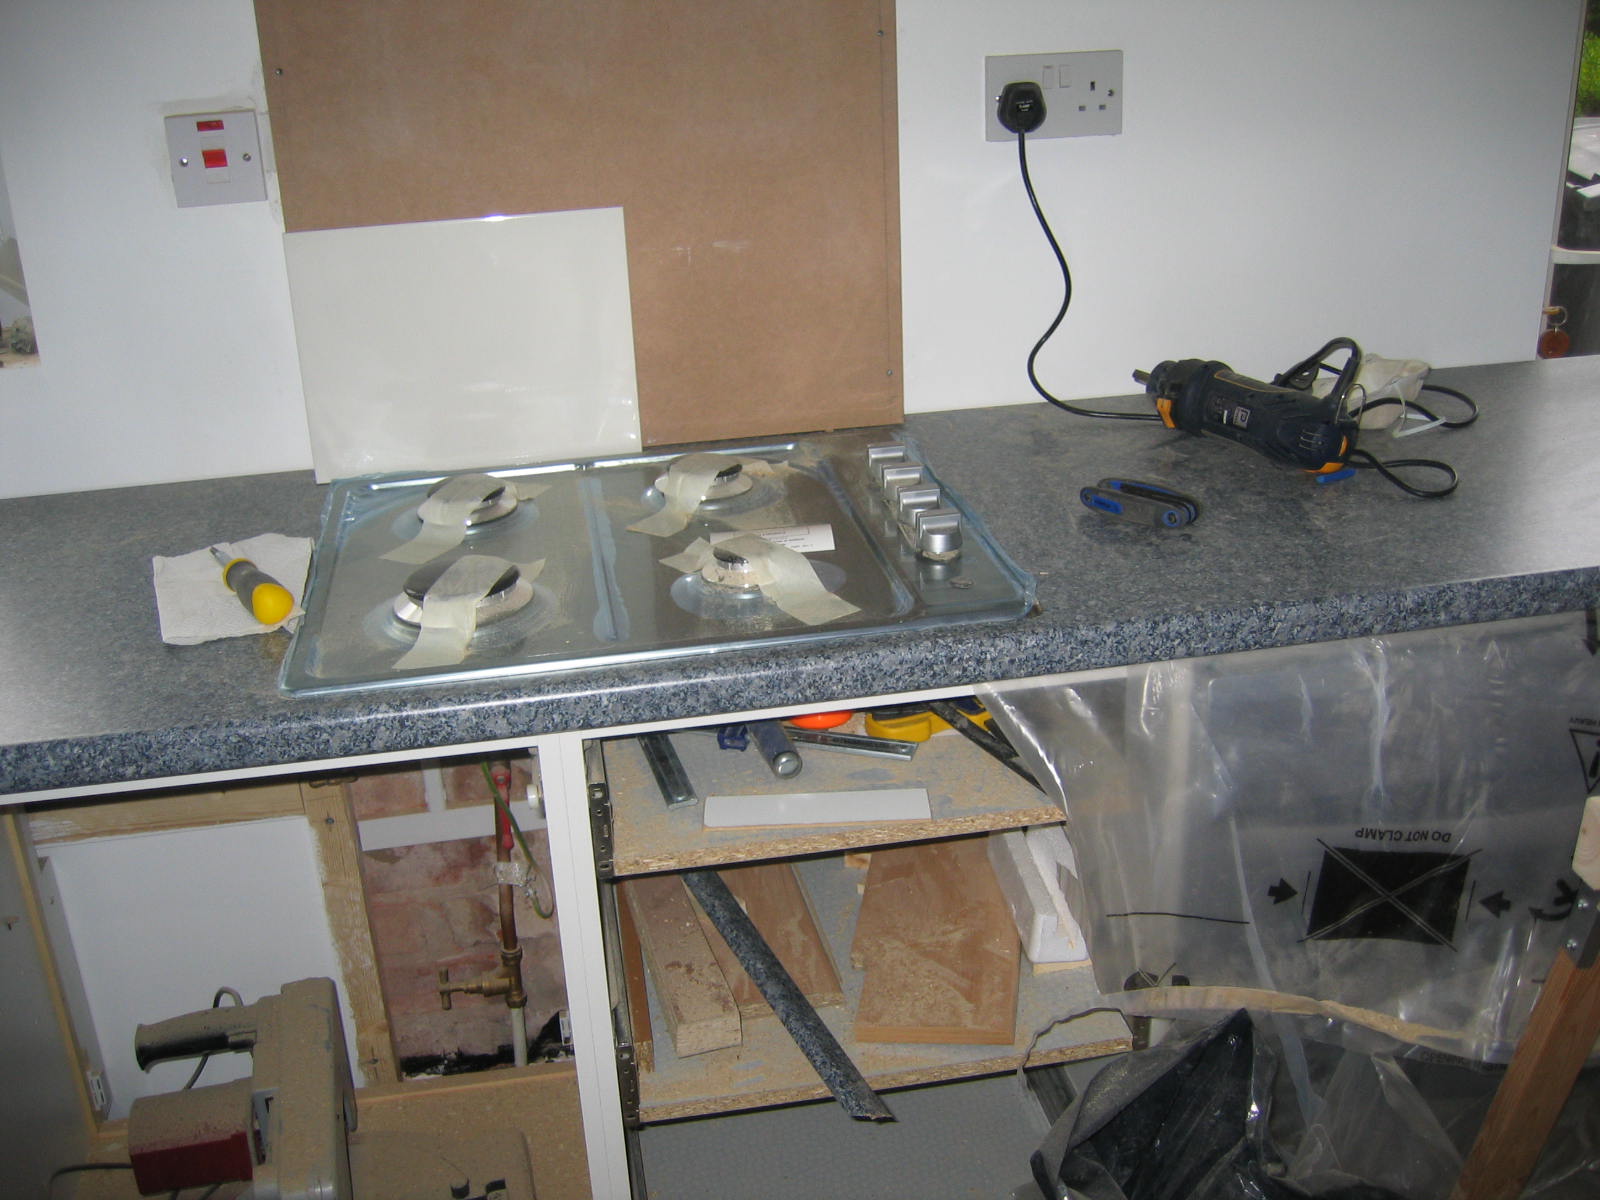
| Sealing and final preparation of the worktops | |
|
|
| Worktops fitted, tiling the spashback and the service duct | |
|
|
| Installing the extractor hood, and testing it | |
||
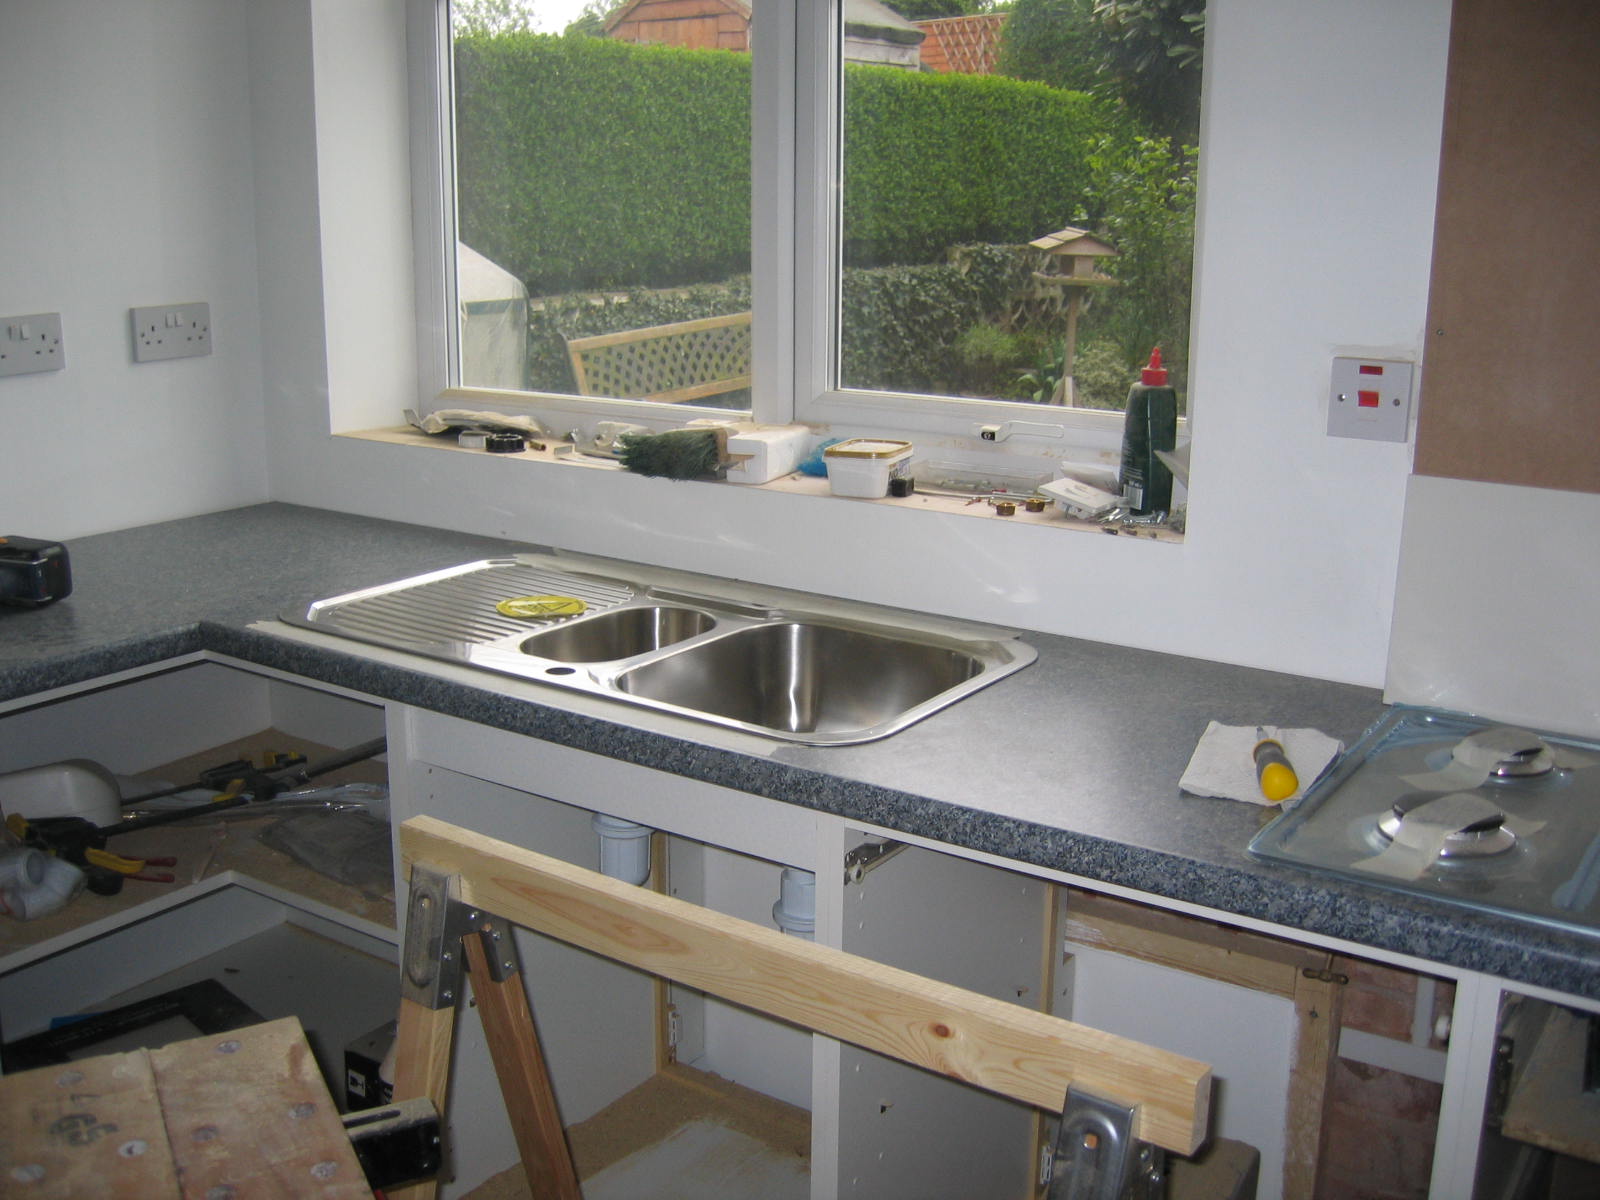
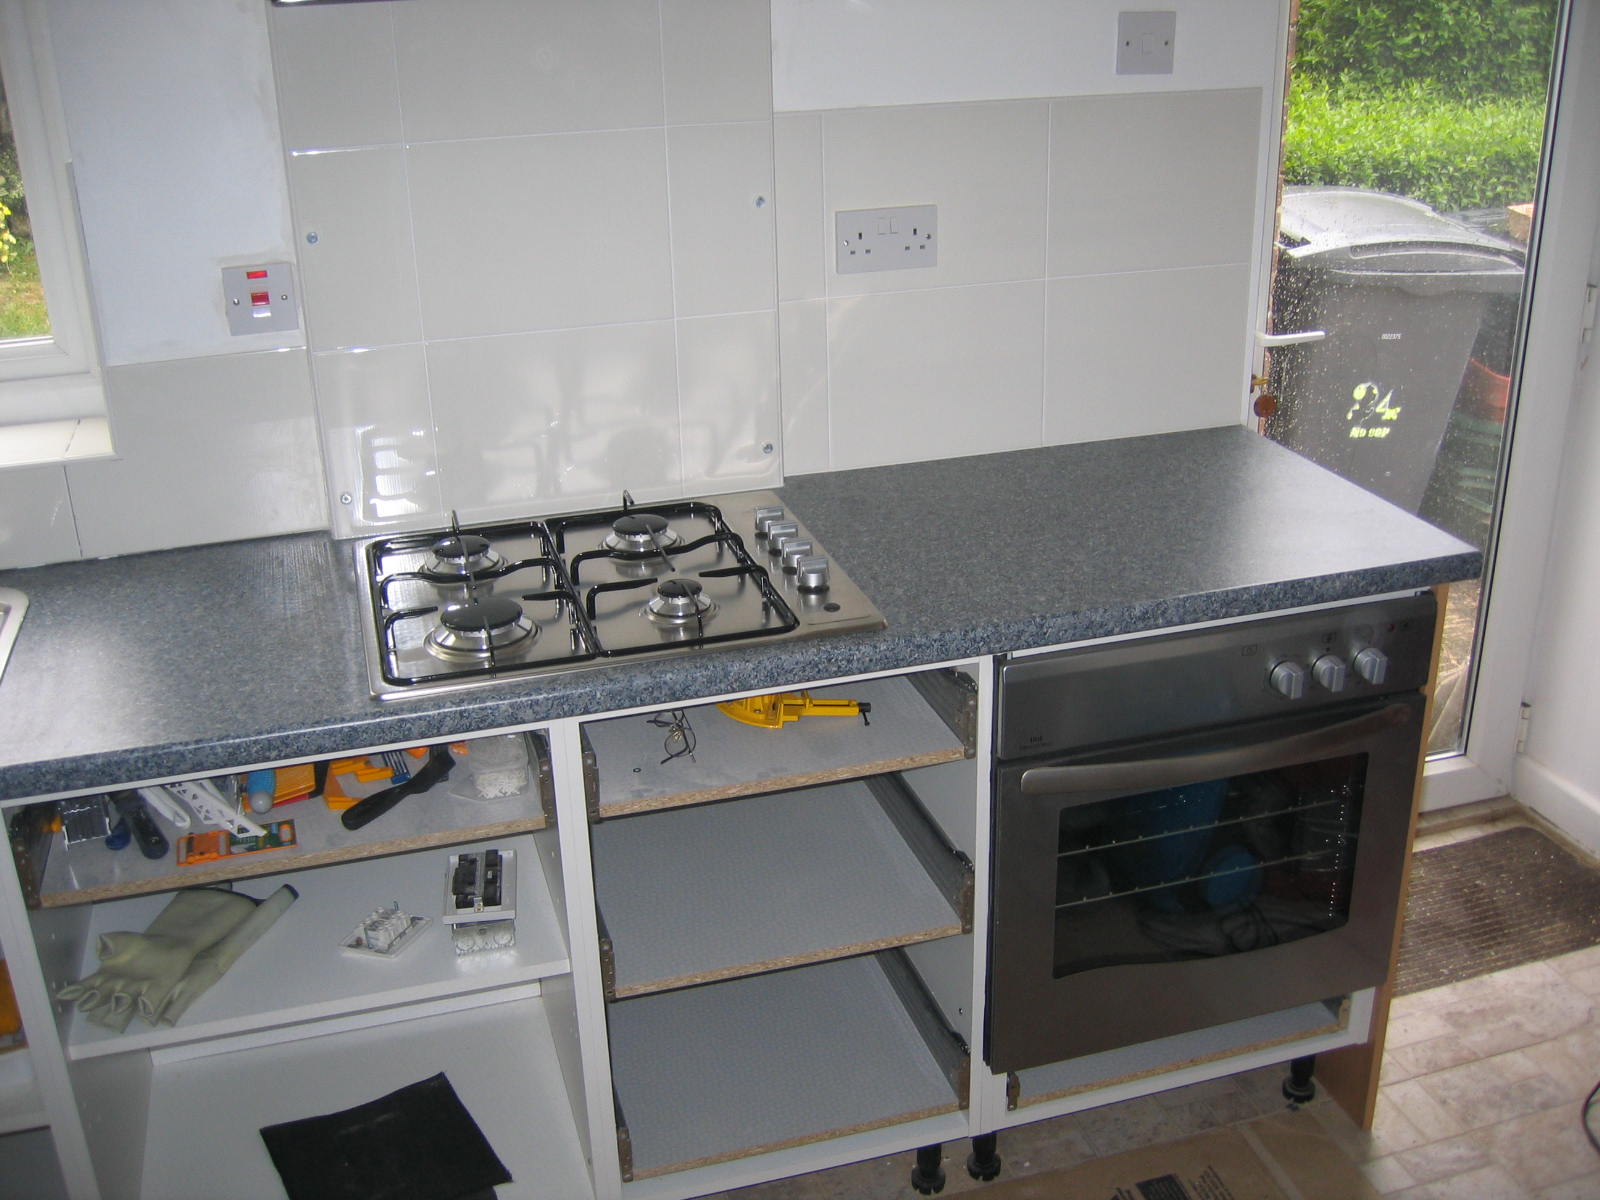
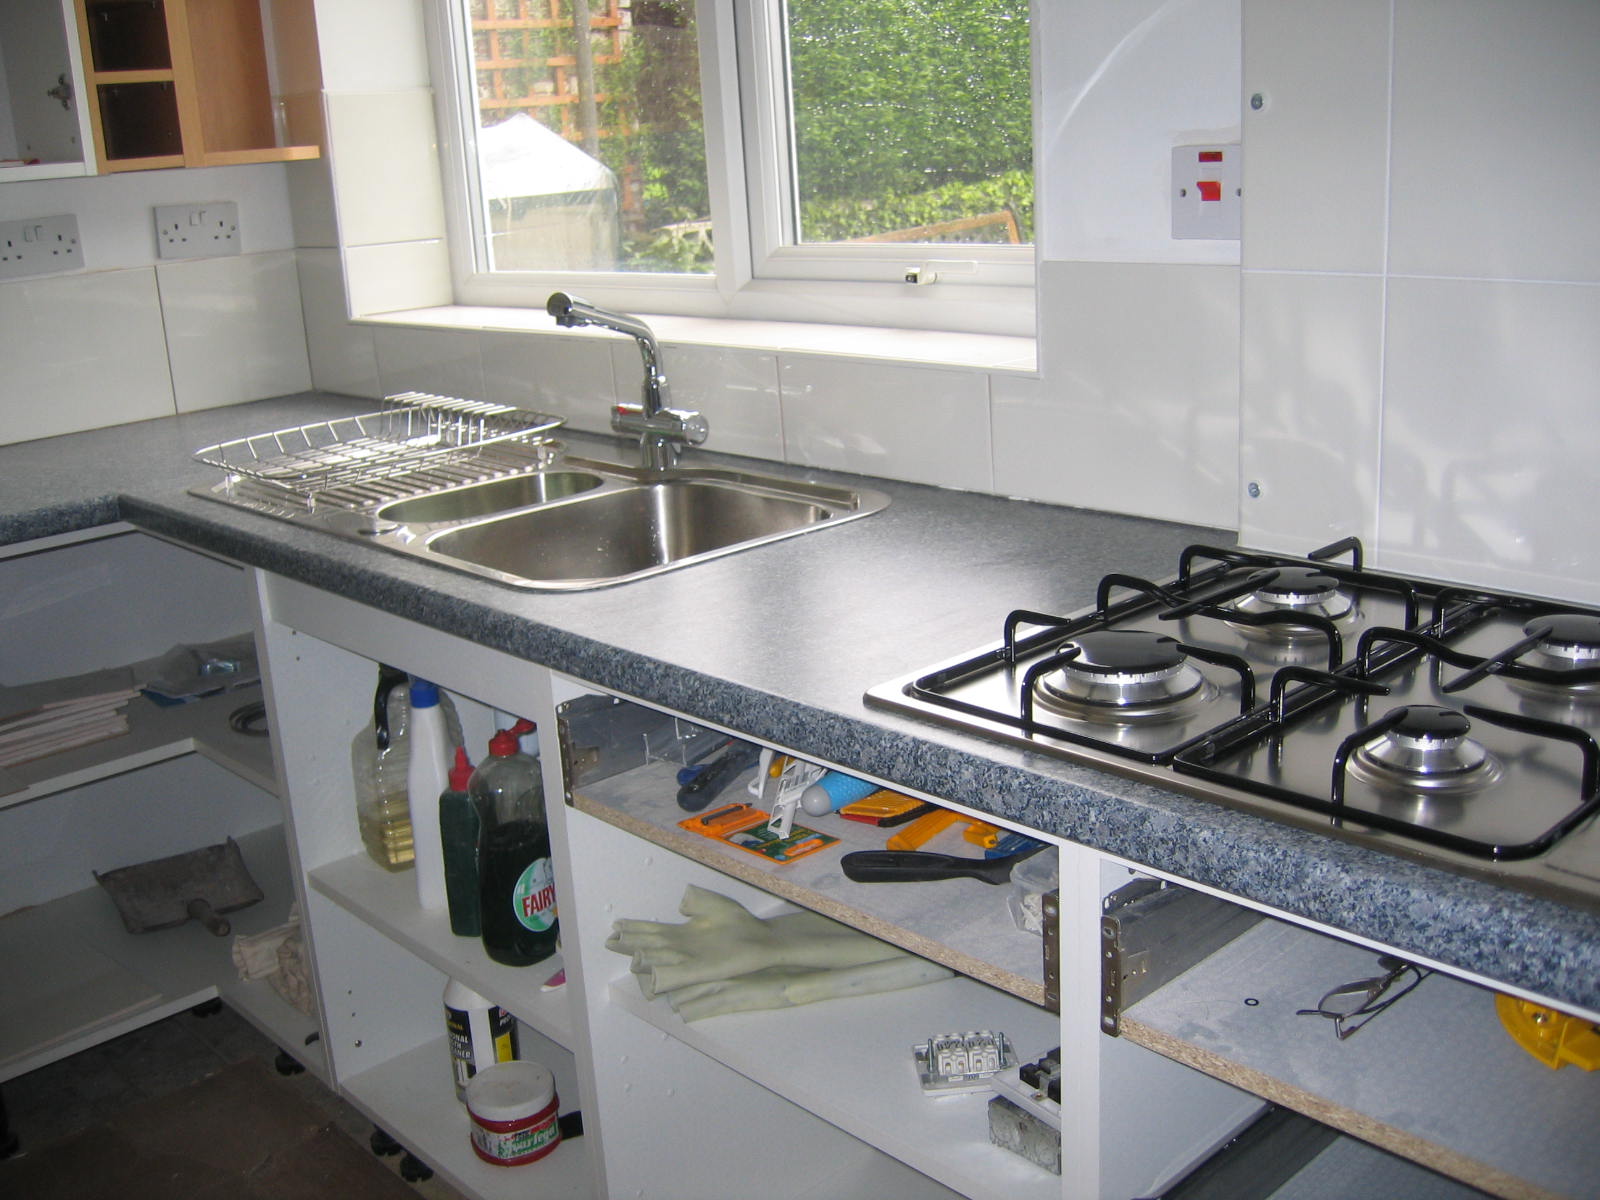
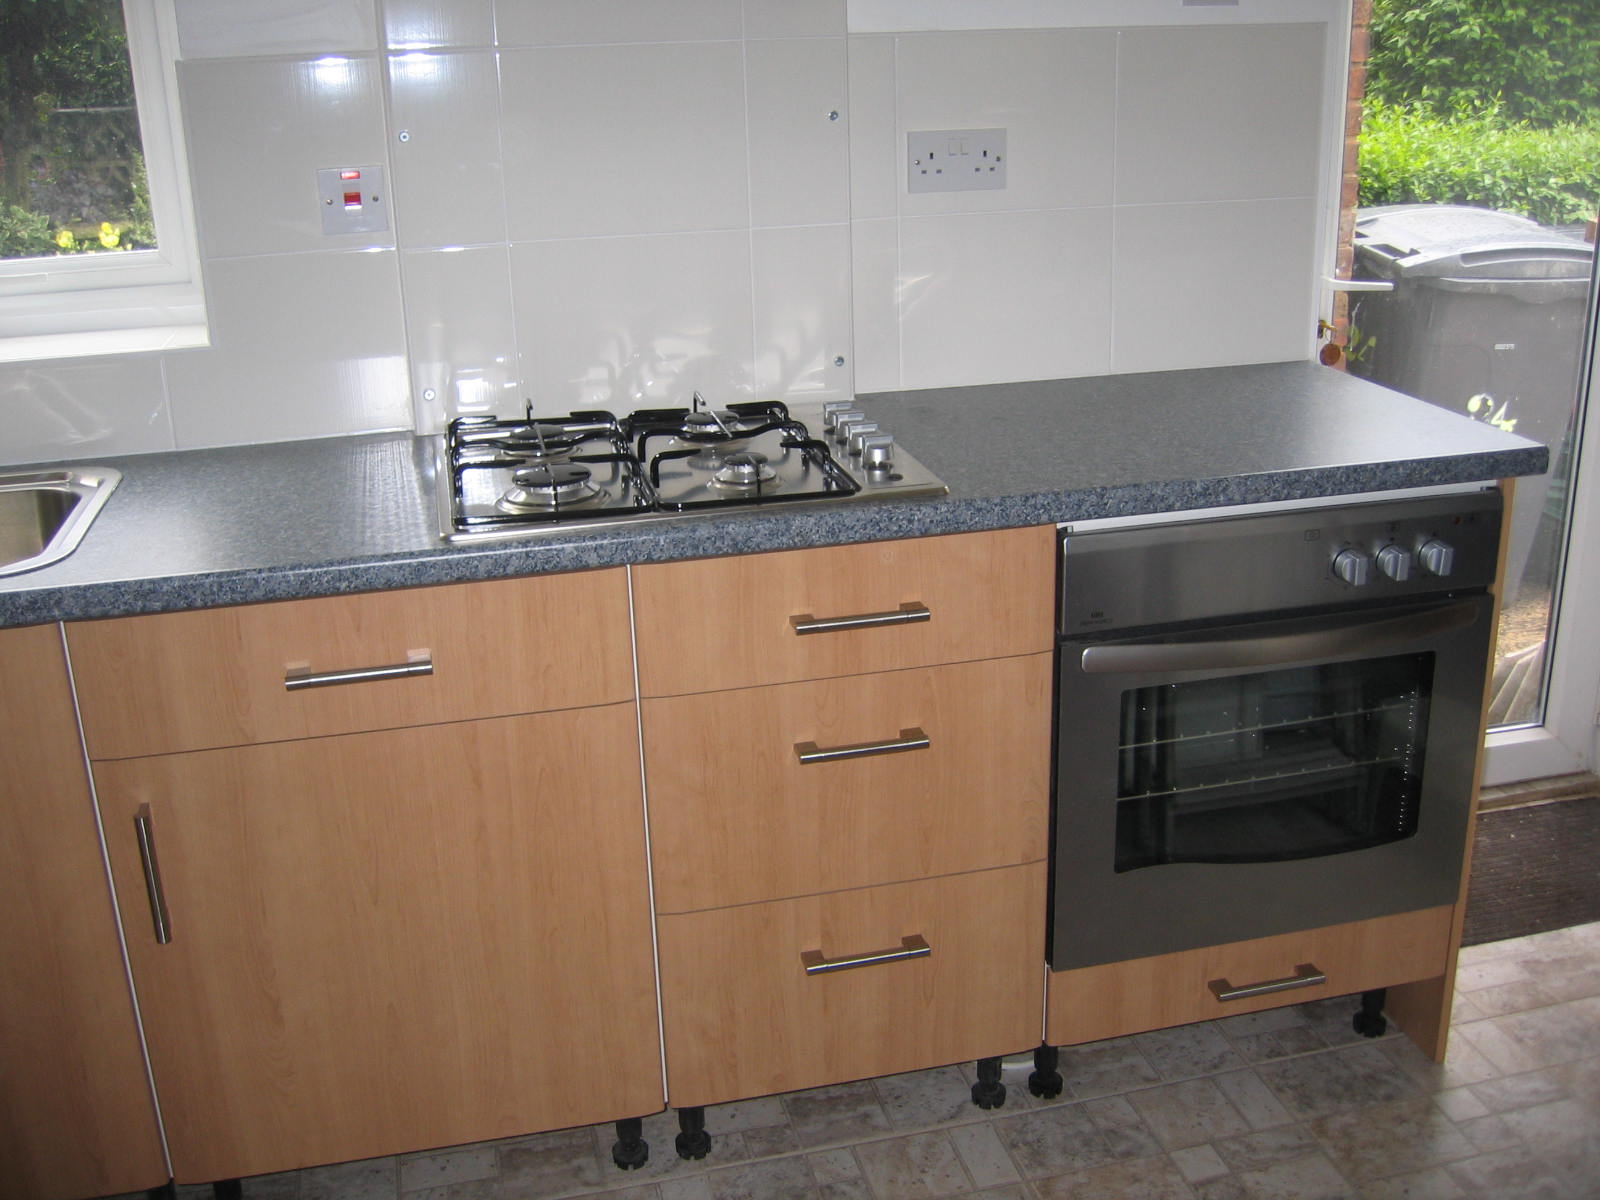
| Cooker, hob and sink functional | |
|
|
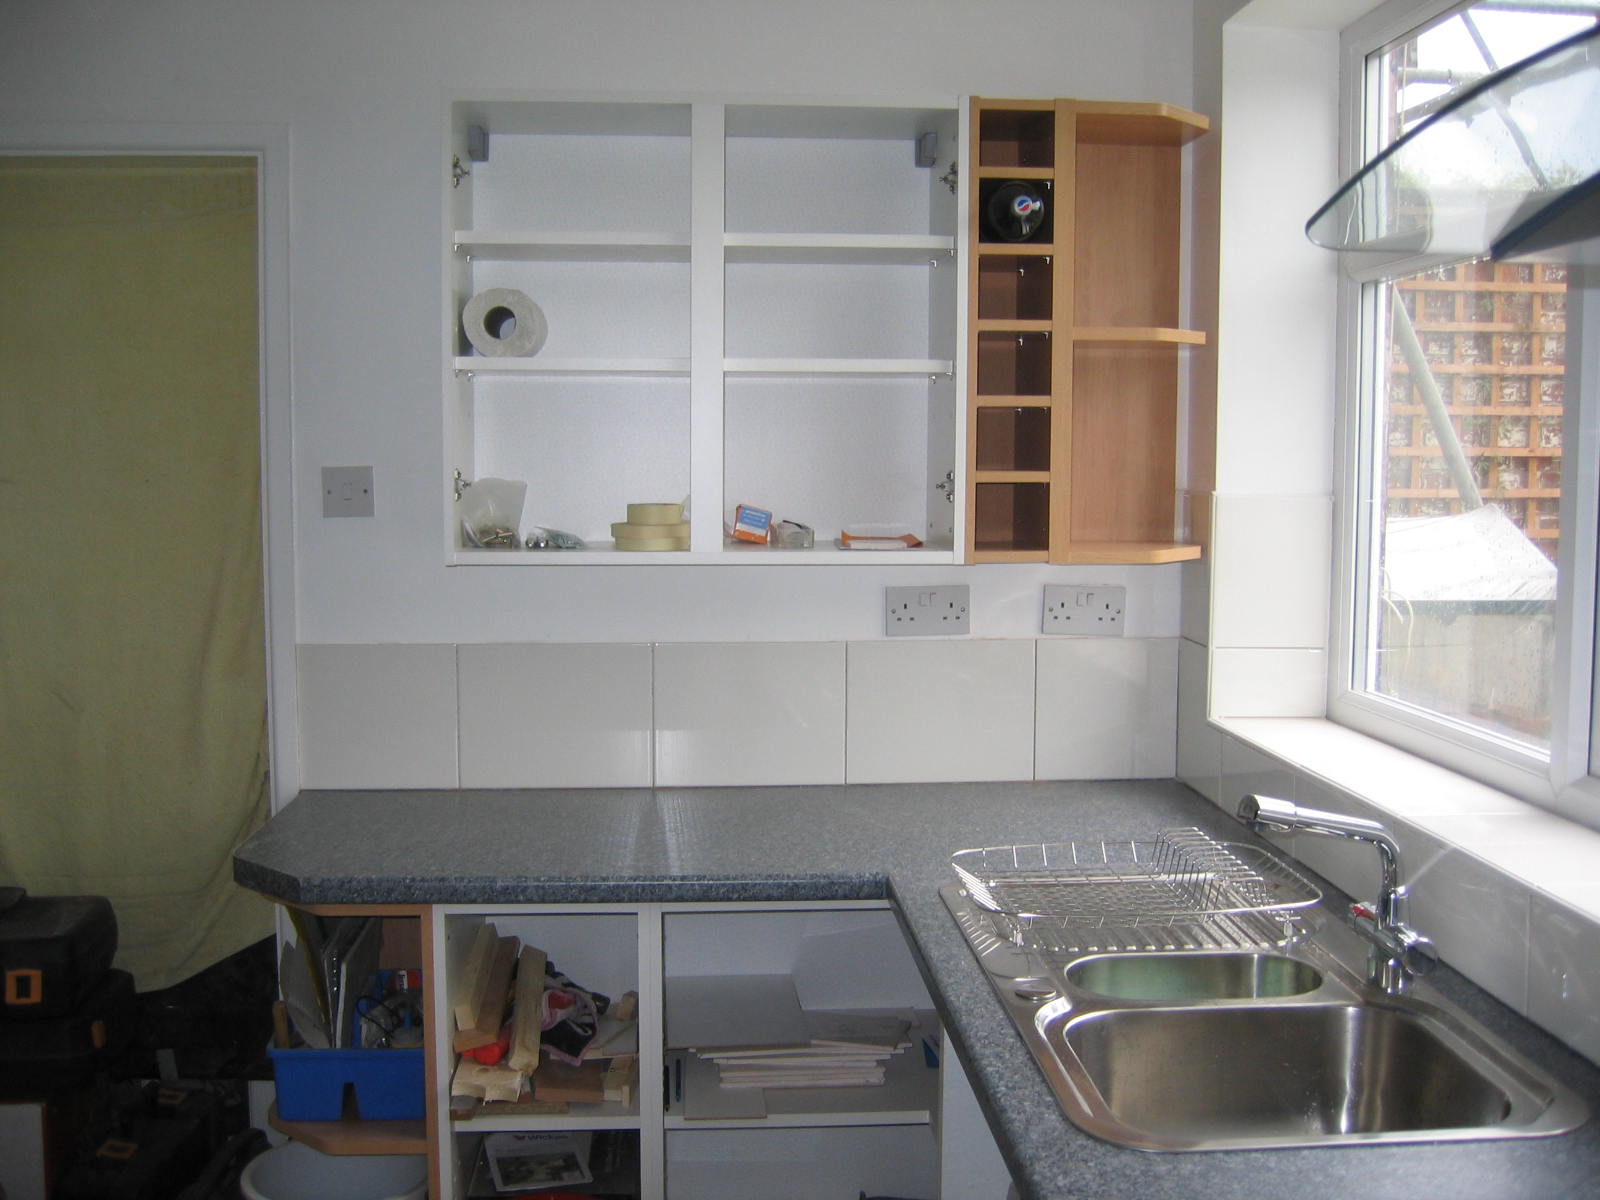
| Wall cupboards installed | |
||
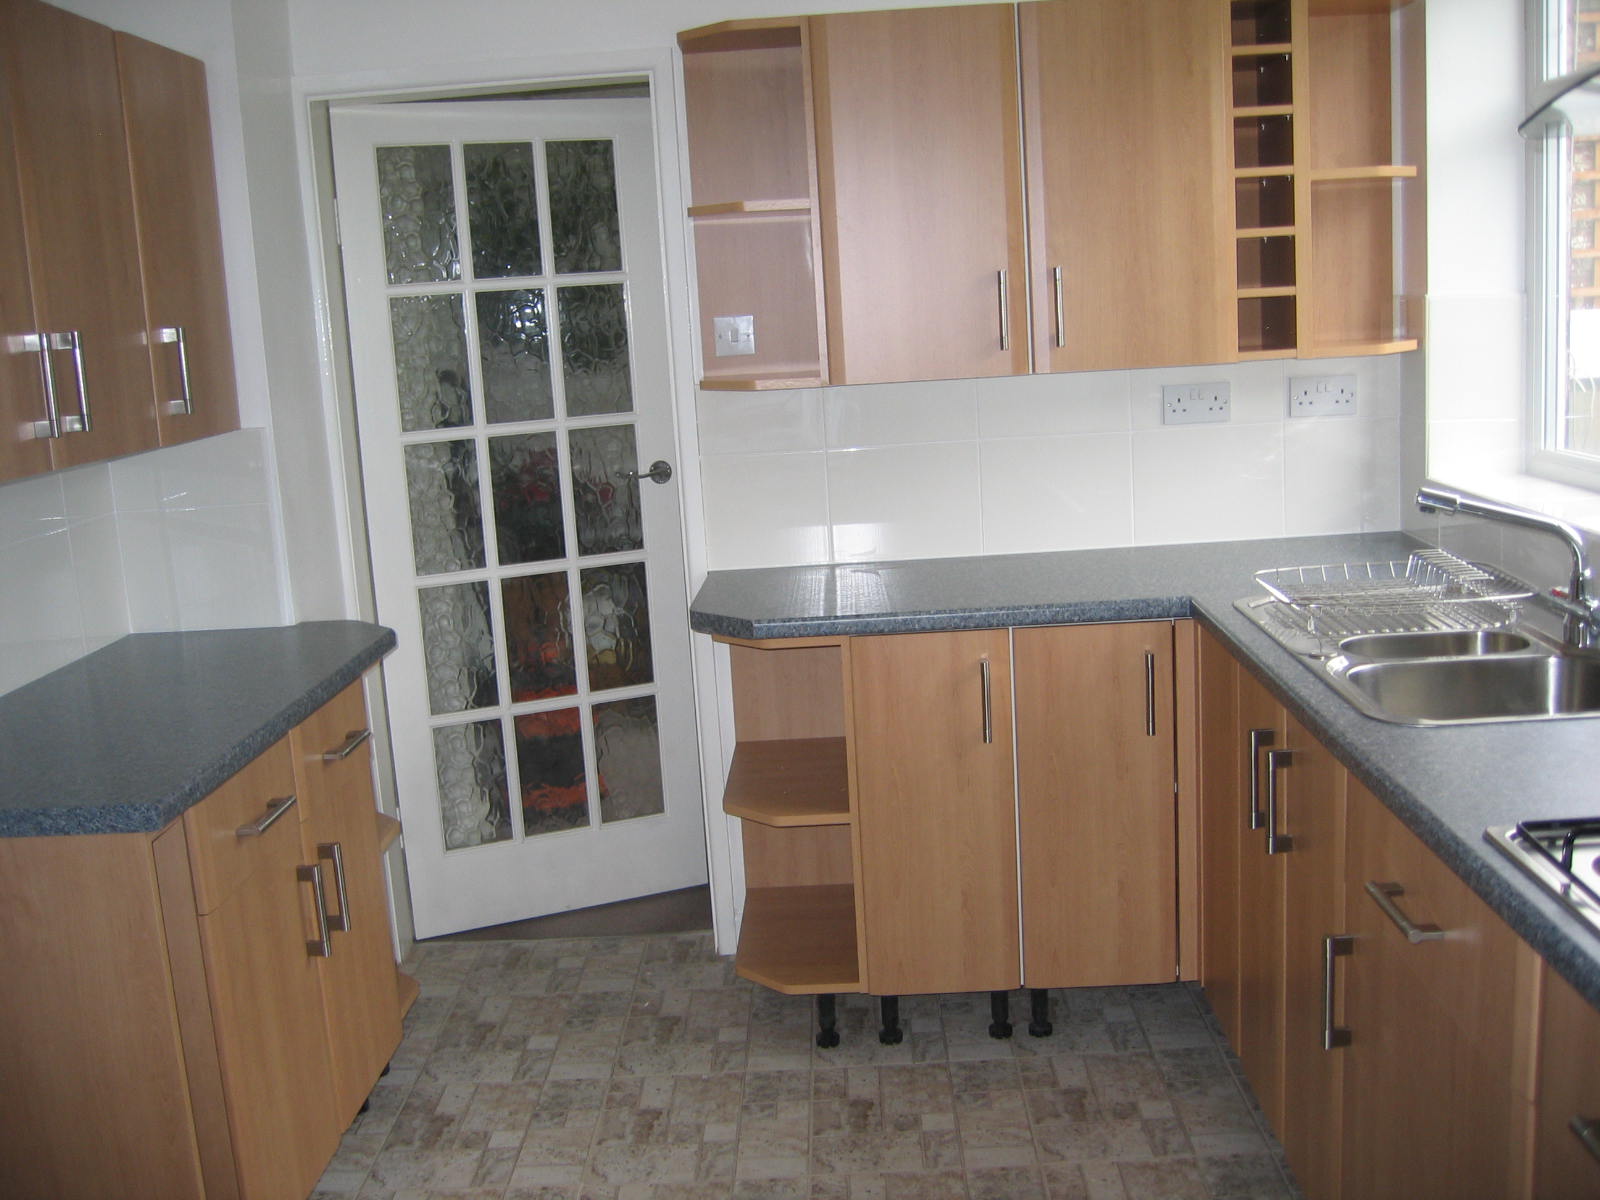
| Doors on and levelled | |
||
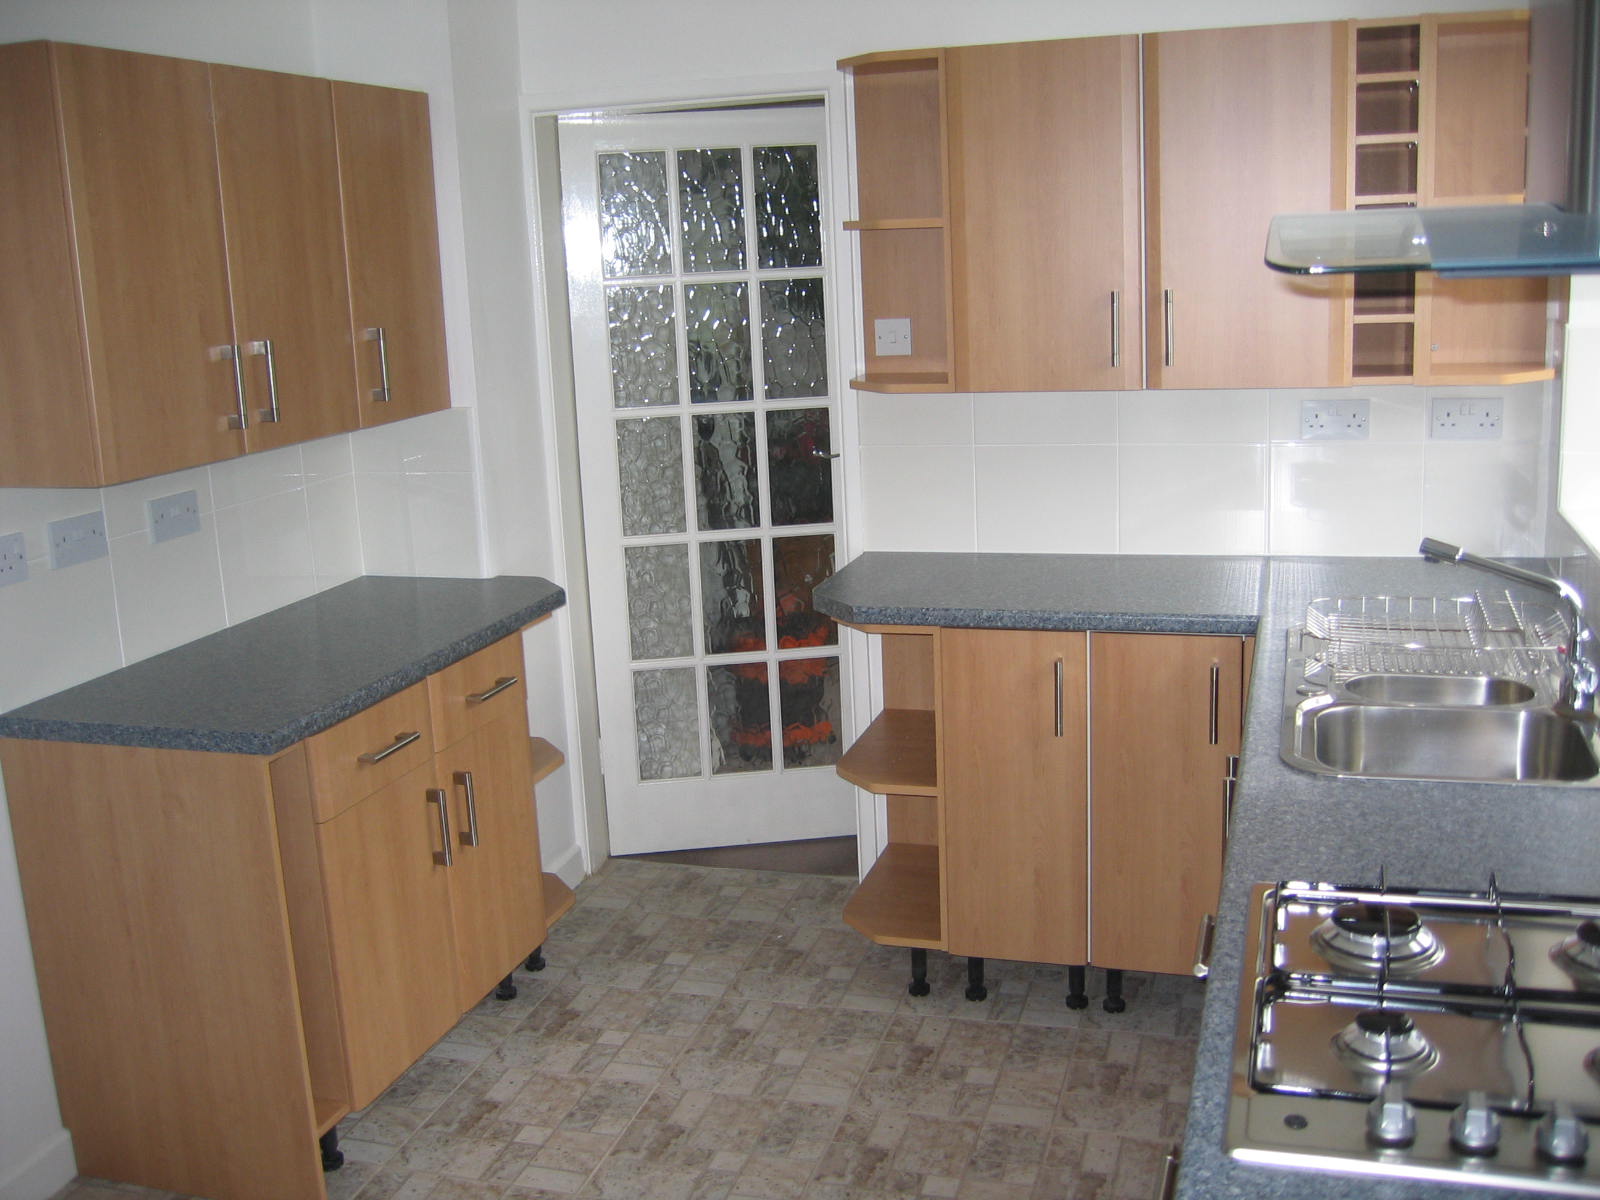
| Usable if not quite finished | |
|